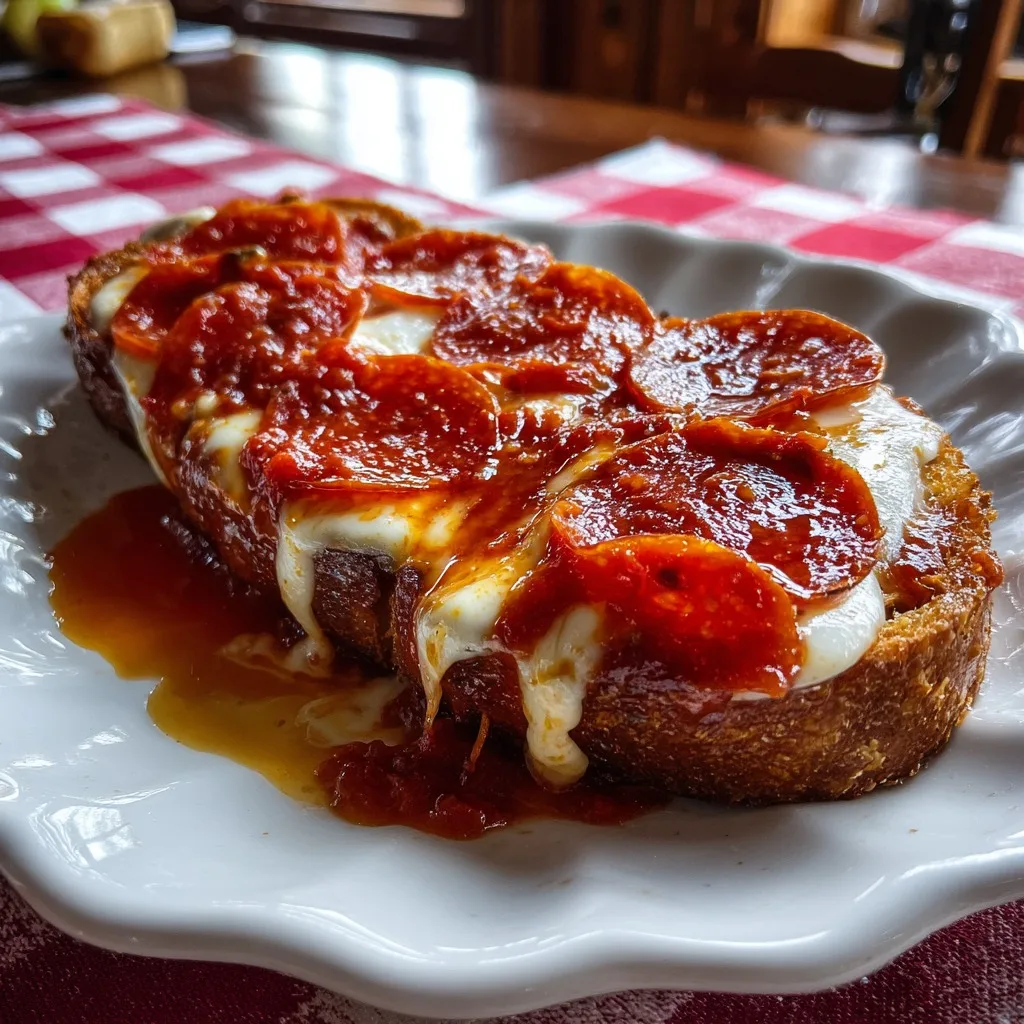
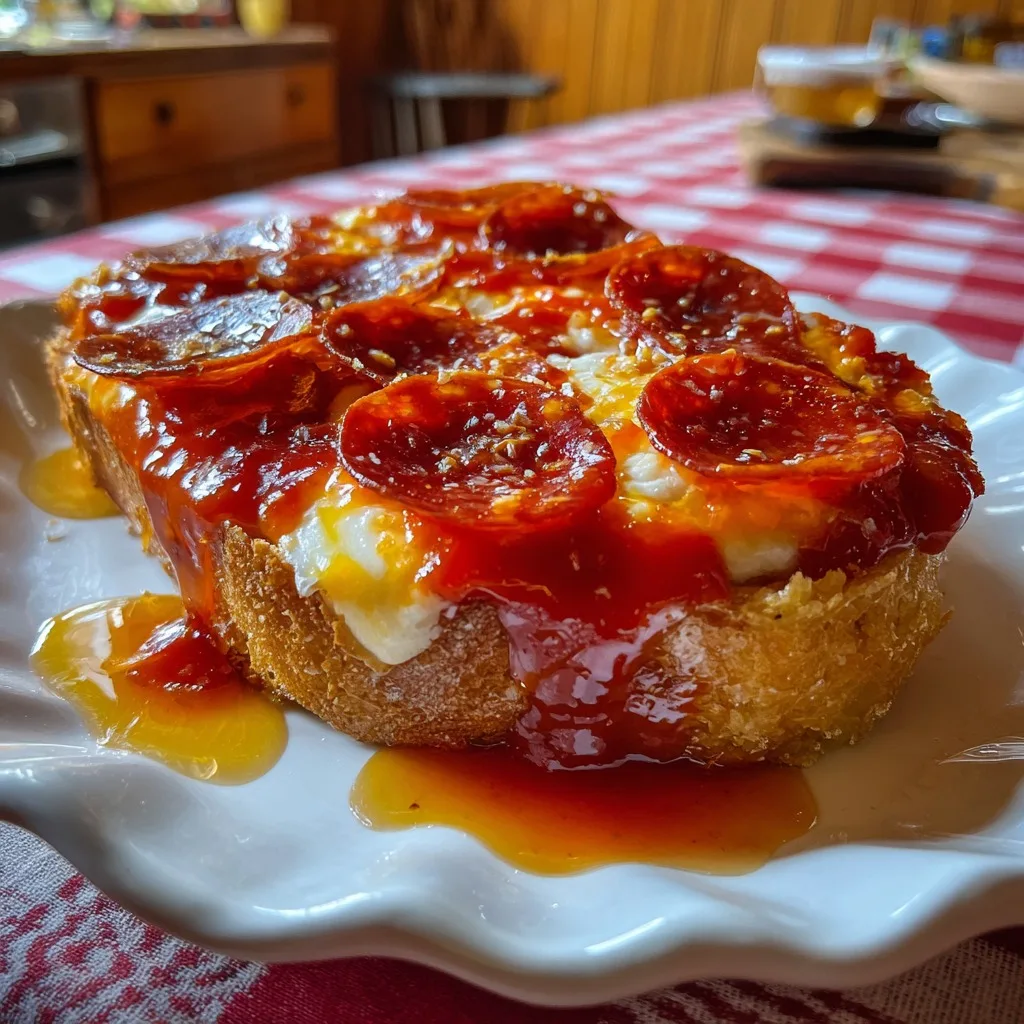
Garlic Toast Pizzas
The Ultimate 10-Minute Garlic Toast Pizzas: Your New Go-To Weeknight Dinner
We all have those days. You walk through the door after a long, exhausting day, and the absolute last thing you want to do is spend an hour standing over a hot stove, chopping, prepping, and monitoring a complicated meal. Yet, the craving for something warm, comforting, and deeply satisfying—like pizza—is undeniably strong. Enter the ultimate life-hack of the culinary world: Garlic Toast Pizzas. This incredibly simple, borderline genius recipe transforms an ordinary box of frozen garlic toast into a tray of bubbly, cheesy, savory mini pizzas in a matter of minutes. Not only is it a massive time-saver, but it also delivers a flavor profile that rivals your favorite local pizzeria, thanks to the buttery, garlic-infused crust that serves as the foundation.
In this comprehensive guide, we are going to dive deep into the magic of Garlic Toast Pizzas. We will explore exactly why this combination works so perfectly, break down the minimal ingredients you need, walk you through the foolproof step-by-step instructions, and inspire you with creative variations that will keep this recipe fresh every time you make it. Whether you are cooking for a crowd of hungry kids, looking for a rapid midnight snack, or just want a cozy dinner for one without the hassle of making dough from scratch, this recipe is about to become a permanent fixture in your weekly rotation.
Why Garlic Toast is the Perfect Pizza Crust Alternative
Traditionally, making pizza at home involves proofing yeast, kneading dough, letting it rise, and stretching it out—a process that is rewarding but immensely time-consuming. Store-bought pizza crusts are an alternative, but they can often be dry, bland, or cardboard-like. This is where frozen thick-cut garlic toast (often referred to as Texas Toast) steps in to save the day.
First and foremost, the bread is already cut to the perfect individual portion size. The thick slices are robust enough to hold up to a generous amount of heavy toppings without instantly turning soggy. But the real magic lies in the built-in flavor. Before you even add a drop of sauce, the bread is pre-loaded with a rich layer of butter, garlic, and parsley. When baked, this creates an incredibly aromatic, crispy exterior with a soft, pillowy interior. The savory garlic butter melts into the bottom layer of the pizza sauce, creating a complex, mouth-watering base that traditional plain dough simply cannot compete with. It’s a shortcut that actually elevates the final dish.
The Four Essential Ingredients
One of the greatest appeals of this recipe is its incredibly short ingredient list. You only need four widely available items to bring this masterpiece to life.
- – 1 Box (approx. 9 slices) of Frozen Thick-Cut Garlic Toast: Brands like New York Bakery or store brands work perfectly. Look for the thick-cut varieties to ensure a sturdy crust.
- – 1 Cup of High-Quality Pizza Sauce: A jarred sauce like Mezzetta or your favorite brand adds the necessary tang and moisture. Alternatively, marinara sauce works in a pinch!
- – 2 Cups of Shredded Mozzarella Cheese: For the best melt, look for low-moisture, part-skim mozzarella. If you have the time, shredding it fresh from a block yields a much better, creamier melt than pre-bagged varieties.
- – 1 Package of Sliced Pepperoni: Classic pepperoni adds the perfect salty, slightly spicy, crispy bite to finish off the pizzas.
Step-by-Step Instructions
Making these pizzas is a breeze. It’s a fantastic recipe to get kids involved in the kitchen, as the assembly requires no sharp knives or complicated techniques.
- Prepare your workspace and oven: Preheat your oven to 425°F (220°C). This high heat is necessary to crisp up the frozen toast quickly before the center gets mushy. Line a large baking sheet with parchment paper for incredibly easy cleanup.
- Arrange the base: Take the frozen garlic toast slices directly from the freezer (do not thaw them!) and arrange them in a single layer on your prepared baking sheet. Leave a little space between each slice so the hot air can circulate and crisp up the edges.
- Sauce it up: Using a spoon, spread about 1 to 1.5 tablespoons of pizza sauce onto each slice of garlic toast. Use the back of the spoon to spread it evenly, leaving a tiny border around the edge so the garlic butter crust can shine through.
- Add the cheese: Sprinkle a generous handful (about 2 to 3 tablespoons) of shredded mozzarella cheese evenly over the sauce on each slice. Don’t be shy; the gooey melted cheese is the star of the show.
- Top it off: Place 3 to 4 slices of pepperoni on top of the cheese on each toast. As they bake, the edges of the pepperoni will curl up slightly and get wonderfully crispy.
- Bake to perfection: Place the baking sheet on the middle rack of your preheated oven. Bake for 8 to 11 minutes. You are looking for the edges of the toast to be golden brown and crispy, and the cheese to be fully melted and just starting to bubble with slight brown spots.
- Cool and serve: Remove from the oven and let them rest for 2 minutes before serving. This brief resting period allows the molten cheese to set slightly, so you don’t burn your mouth on the first bite!
Creative Variations to Elevate Your Pizza Night
While the classic pepperoni and cheese combination is timeless, the beauty of Garlic Toast Pizzas is that they act as a blank canvas for your culinary imagination. Treat them exactly like you would a full-sized pizza.
The Meat Lover’s Dream: Swap out or add to the pepperoni with cooked, crumbled Italian sausage, crispy bacon bits, or diced ham. The sturdy garlic toast can easily support the extra weight of the meats.
The Veggie Supreme: For a lighter, fresher take, top your pizzas with finely diced bell peppers, red onions, sliced black olives, and fresh mushrooms. Pro tip: Sauté the mushrooms slightly before adding them to prevent them from making the pizza soggy during the quick baking time.
The BBQ Chicken: Ditch the traditional red pizza sauce and spread a layer of your favorite sweet and smoky BBQ sauce. Top with shredded cooked chicken, red onions, and a mix of mozzarella and cheddar cheese. Finish with a sprinkle of fresh cilantro after baking.
The White Garlic Slice: Skip the tomato sauce entirely. The garlic butter on the toast is already a great base. Add a dollop of ricotta cheese, top with mozzarella, and finish with a sprinkle of dried oregano and crushed red pepper flakes.
Serving Suggestions: Completing the Meal
Because Garlic Toast Pizzas are quite rich and indulgent, pairing them with the right side dishes can balance out the meal perfectly. The most classic pairing is a crisp, fresh side salad. A simple Caesar salad or a mixed greens salad with a sharp, acidic vinaigrette cuts through the heavy, savory notes of the cheese and garlic butter.
If you are serving these as appetizers or party snacks, consider setting up a dipping station. While they are flavorful enough on their own, dipping these mini pizzas into a side of warm marinara sauce, creamy ranch dressing, or even a spicy garlic butter sauce takes them to an entirely new level of deliciousness.
Storage and Reheating Tips
It is incredibly rare to have leftover Garlic Toast Pizzas, but if you do, storing and reheating them properly ensures they remain almost as good as they were fresh out of the oven.
Storage: Allow the leftover pizzas to cool completely to room temperature. Store them in an airtight container in the refrigerator for up to 3 days. Do not stack them directly on top of each other while warm, or the cheese will stick to the bottom of the toast above it. Use parchment paper between layers if you must stack them.
Reheating: For the love of pizza, avoid the microwave if possible! Microwaving will turn your crispy garlic toast into a soggy, chewy mess. The absolute best way to reheat these is in an air fryer at 350°F (175°C) for 3-4 minutes until the cheese is bubbly again. Alternatively, place them back in a conventional oven or toaster oven at 375°F (190°C) for 5-7 minutes. This restores the crispy bottom crust while perfectly melting the cheese all over again.
Fun Facts and Cultural Context
Did you know that the concept of “French bread pizza”—the close cousin to our garlic toast pizza—was popularized in the United States in the 1960s? Bob Petrillose, a food truck operator near Cornell University, created the “Hot Truck” which served French bread pizzas to hungry college students late at night. Eventually, Stouffer’s bought the rights to mass-produce frozen French bread pizzas, cementing them in American frozen food history.
Using Texas Toast (which originated in, you guessed it, Texas in the 1940s when a restaurant manager asked a bakery for thicker slices of bread) is simply the modern, hyper-flavorful evolution of this classic concept. The pre-buttered garlic slices bypass the need to doctor up plain French bread, resulting in a more intense flavor profile and a softer, less palate-scraping bite.
Conclusion
The Garlic Toast Pizza is a testament to the fact that delicious, satisfying meals do not require hours of prep or a pantry full of exotic ingredients. By utilizing smart shortcuts like frozen garlic toast, you can deliver a crowd-pleasing dinner or snack in under 15 minutes. It is budget-friendly, highly customizable, and practically impossible to mess up. The next time you are staring blankly into your fridge wondering what to make, reach for the freezer, grab that box of garlic toast, and enjoy the easiest, cheesiest pizza night you’ve ever had.
Garlic Toast Pizzas
Ingredients
Equipment
Method
- Preheat your oven to 425°F (220°C). Line a large baking sheet with parchment paper for easy cleanup.
- Arrange the frozen garlic toast slices in a single layer on the prepared baking sheet, leaving a little space between each slice.
- Spread about 1 to 1.5 tablespoons of pizza sauce evenly over each slice of frozen toast.
- Top each slice generously with shredded mozzarella cheese, followed by 3 to 4 slices of pepperoni.
- Bake in the preheated oven for 8 to 11 minutes, or until the edges of the toast are golden brown and the cheese is melted and bubbly.
- Remove from the oven and let cool for 2 minutes before serving.