Giant Strawberry Pop Tart
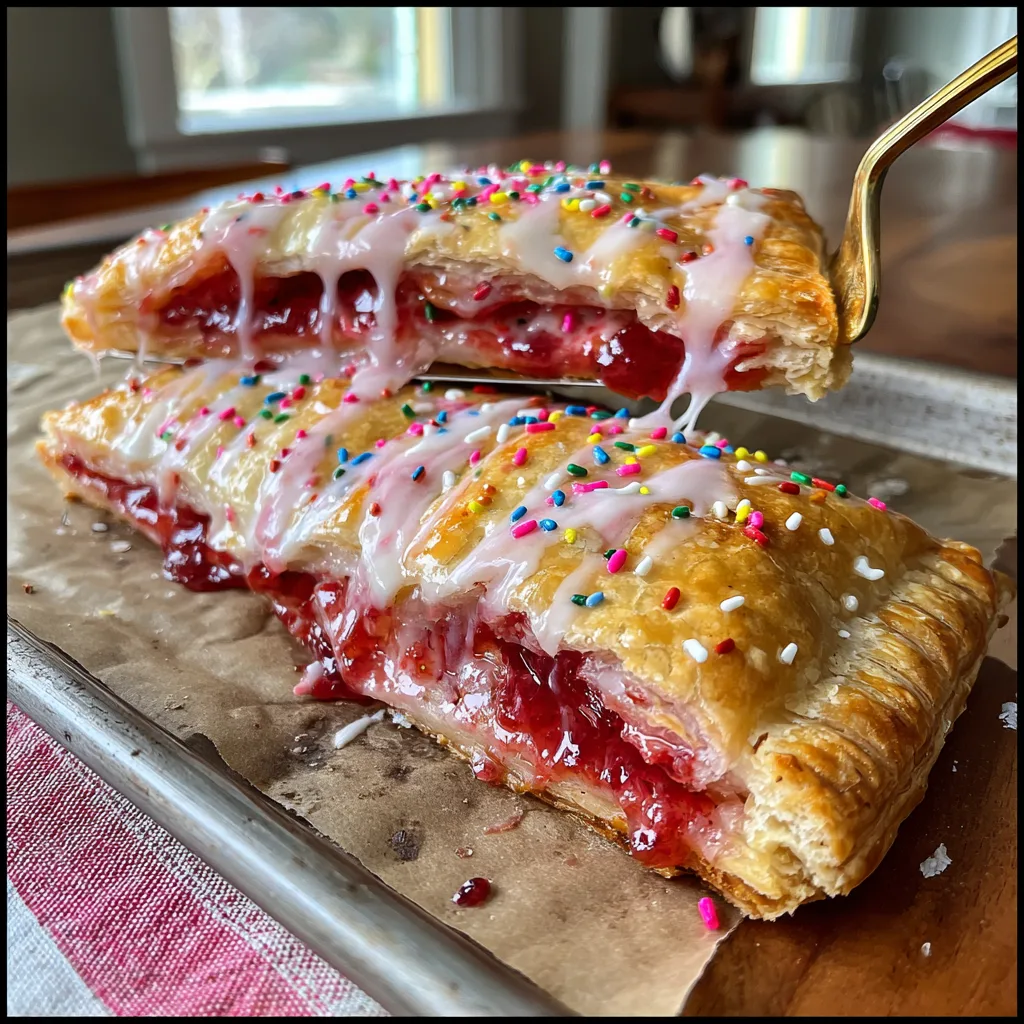
The Ultimate Giant Homemade Strawberry Pop Tart: A Nostalgic Breakfast Pizza
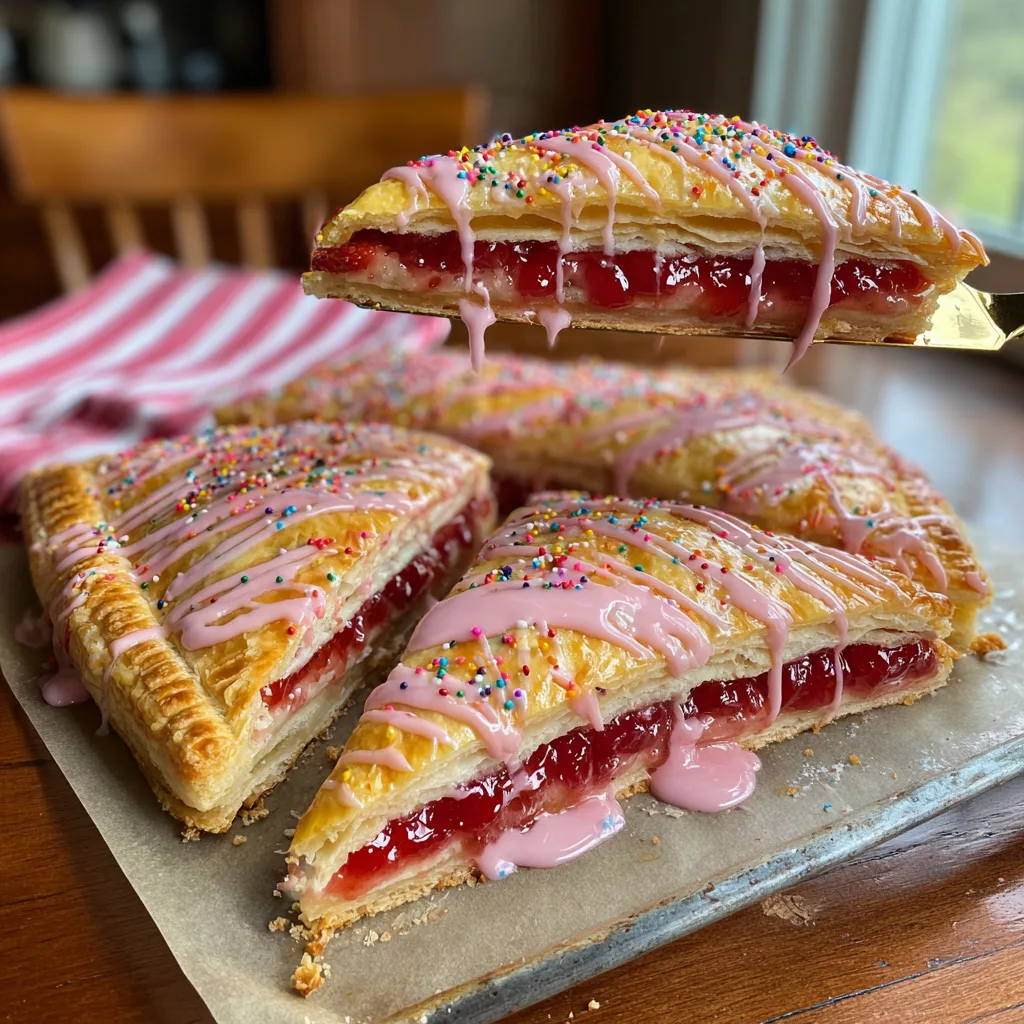
There is a unique kind of magic embedded in the memories of childhood breakfasts. For many of us, nothing sparks that nostalgic joy quite like the crackle of a foil wrapper and the sweet, artificial aroma of a toaster pastry. Pop Tarts have been a beloved staple in pantries for decades, offering a quick, sugary rush to start the day. But what if you could take that iconic flavor profile—the flaky crust, the gooey fruit filling, the hard sugary glaze, and the cheerful sprinkles—and elevate it into a show-stopping, shareable masterpiece? Enter the Giant Homemade Strawberry Pop Tart, playfully sliced and served just like a pizza.
This oversized breakfast pastry is more than just a novelty; it is a genuinely delicious, crowd-pleasing dessert or weekend brunch centerpiece that requires astonishingly little effort to put together. By utilizing the convenient magic of store-bought refrigerated pie crusts and your favorite quality fruit preserves, you can bypass hours of chilling and rolling dough. In this comprehensive guide, we will dive deep into the art of constructing the perfect giant hand pie, explore the best fillings, perfect the glossy icing, and give you all the tips you need to ensure your giant pop tart comes out flawlessly every single time.
The Brilliant Simplicity of the “Pop Tart Pizza”
Standard homemade hand pies or toaster pastries can be incredibly tedious to make. You have to roll out the dough to a precise thickness, use a ruler to cut out perfectly even rectangles, carefully spoon exact mounds of filling into the center of half the rectangles, top them, crimp them, and pray that the jam does not leak out of the corners while they bake. It is a labor of love, but it is certainly labor.
The giant pop tart method completely revolutionized this process. Instead of cutting out individual pastries, you simply unroll one entire pie crust onto a baking sheet, slather it with jam, place the second pie crust directly on top, and crimp the edges into one massive circle. Once baked and frosted, you slice it into triangular wedges with a pizza cutter. Not only does this save you an immense amount of time and frustration, but the presentation is incredibly fun and unexpected. Serving a sweet, frosted, sprinkle-covered “pizza” is guaranteed to elicit smiles from kids and adults alike.
Deep Dive: Choosing Your Ingredients
Because this recipe relies on just a handful of ingredients, selecting the right components will make a world of difference in the final taste and texture of your giant pastry.
1. The Pie Crust: Store-Bought vs. Homemade
For the sake of absolute convenience and consistent results, this recipe calls for standard refrigerated pie crusts (the kind that come rolled up in a box). These crusts are engineered to be pliable, forgiving, and reliably flaky. They unroll into perfect circles, eliminating the need to shape the dough yourself. When baked, they provide a neutral, buttery base that mimics the classic, slightly savory crust of a traditional toaster pastry perfectly.
However, if you are a baking purist and want to elevate this dish to a gourmet level, you can absolutely use a homemade double pie crust recipe. An all-butter crust will yield a richer flavor and superior flakiness. If making from scratch, divide your dough in half and roll each portion out into a 10-inch to 11-inch circle before proceeding with the recipe.
2. The Filling: Jam, Jelly, or Preserves?
The fruit filling is the heart of your giant pop tart. While strawberry is the classic, undisputed king of toaster pastry flavors, understanding the difference between fruit spreads is crucial for baking.
- – Jelly: Made from fruit juice, jelly is smooth and firm. It is not recommended for this recipe because it tends to melt down into a thin liquid when heated, which can cause severe leaking and a soggy bottom crust.
- – Jam: Made from chopped or crushed fruit, jam is thicker and holds up much better in the oven. A high-quality strawberry jam is an excellent choice for a smooth, sweet center.
- – Preserves: Made with whole or large pieces of fruit, preserves offer the best texture and the most robust fruit flavor. They contain less water than jelly, meaning they will stay put between your crust layers and provide a satisfying, gooey bite. We highly recommend using a premium strawberry preserve for this recipe.
3. The Egg Wash: The Secret to Golden Flakiness
Do not skip the egg wash! Brushing the top crust with a beaten egg (sometimes mixed with a splash of milk or water) before baking serves two vital purposes. First, it acts as a glue when brushed along the edges to seal the two crusts together, preventing the dreaded jam blowout. Second, it promotes the Maillard reaction on the surface of the dough, ensuring your pastry bakes up with a beautiful, glossy, golden-brown finish rather than looking pale and doughy.
4. The Glaze and Toppings
A pop tart without frosting is just a flat pie. The iconic glaze needs to be sweet, opaque, and capable of setting up into a firm shell that shatters slightly when you bite into it. A simple mixture of powdered sugar, a splash of milk or heavy cream, and a dash of vanilla extract is all you need. You can add a single drop of pink food coloring for that classic strawberry aesthetic, though it is optional. Finally, rainbow nonpareils or jimmies (sprinkles) are non-negotiable for the authentic, nostalgic visual appeal.
Ingredients You Will Need
Gather the following ingredients to build your giant pastry masterpiece:
- – 1 box (14.1 oz) Refrigerated pie crusts (contains 2 crusts), brought to room temperature according to package directions
- – 3/4 cup high-quality Strawberry jam or preserves
- – 1 large Egg (for the egg wash)
- – 1 Tbsp. Water or milk (for the egg wash)
- – 1 1/2 cups Powdered sugar (confectioners’ sugar)
- – 2-3 Tbsp. Milk or heavy cream
- – 1/2 tsp. Pure vanilla extract
- – 1 small drop Pink or red gel food coloring (optional)
- – 2-3 Tbsp. Rainbow sprinkles
Step-by-Step Instructions
Follow these simple steps to ensure your giant pop tart turns out perfectly baked, beautifully sealed, and gorgeously decorated.
- Prep Your Station: Preheat your oven to 400°F (200°C). Line a large baking sheet with a piece of high-quality parchment paper. This will prevent sticking and make clean-up a breeze.
- Lay the Foundation: Carefully unroll one of the room-temperature pie crusts directly onto the center of the parchment-lined baking sheet. Gently smooth out any cracks or tears with your fingers.
- Add the Filling: Spoon the strawberry jam directly into the center of the bottom crust. Using an offset spatula or the back of a spoon, spread the jam out into an even layer, leaving a bare 1-inch border all the way around the edge of the dough. This border is essential for sealing the pastry.
- Prepare the Seal: In a small bowl, whisk together the egg and 1 tablespoon of water. Using a pastry brush, lightly brush the egg wash around the exposed 1-inch border of the bottom crust. This will act as the glue.
- Top and Seal: Unroll the second pie crust and carefully place it directly over the jam-covered bottom crust. Line up the edges as best as you can. Using your fingers, press the edges of the top and bottom crusts together firmly to seal them.
- Crimp the Edges: Take a standard dinner fork and press the tines all the way around the outer edge of the pastry. This not only creates a decorative, classic pie crust look, but it reinforces the seal, ensuring no delicious fruit filling escapes during baking.
- Vent and Wash: Using a sharp knife or a toothpick, poke several small holes in the top crust. This allows steam to escape while baking, preventing the pastry from puffing up like a balloon and bursting. Finally, brush the entire top of the pastry with the remaining egg wash.
- Bake to Perfection: Place the baking sheet in the preheated oven and bake for 20 to 25 minutes. You are looking for a deep, even golden-brown color across the entire crust. If the edges begin to brown too quickly, you can cover them with strips of aluminum foil halfway through the baking time.
- Cool Completely: Remove the giant tart from the oven and let it sit on the baking sheet for 5 minutes before carefully transferring it (using the parchment paper) to a wire cooling rack. Allow the pastry to cool completely before frosting. If you frost a warm pastry, the glaze will melt and run right off.
- Make the Glaze: While the tart is cooling, prepare the icing. In a medium bowl, whisk together the powdered sugar, vanilla extract, and 2 tablespoons of milk. Whisk until completely smooth. If the icing is too thick, add more milk a few drops at a time until you reach a thick, spreadable consistency. If using, stir in a tiny amount of pink food coloring.
- Decorate and Slice: Once the pastry is entirely cool to the touch, pour the glaze into the center. Use a spatula to gently spread it outward, leaving a small border of the crimped crust visible. Immediately scatter the rainbow sprinkles over the wet glaze. Allow the icing to set for about 15-20 minutes, then use a sharp pizza cutter to slice it into 8 wedges. Serve and enjoy!
Tips for Preventing the Dreaded “Soggy Bottom”
One of the biggest challenges when baking double-crust fruit pies or pastries is avoiding a pale, undercooked, or soggy bottom crust. Here are some expert techniques to ensure your giant pop tart is crispy and flaky from top to bottom:
Do Not Overfill: It can be tempting to pile on the jam, but too much moisture will inevitably soak into the raw dough. Stick to the recommended 3/4 cup of filling. If you are using a particularly watery jam, you can stir 1 tablespoon of cornstarch into the jam before spreading it on the crust to help thicken the juices as it bakes.
Bake on the Lower Rack: Positioning your oven rack to the lower third of the oven places the baking sheet closer to the heating element. This provides an extra blast of heat directly to the bottom of the pan, helping the bottom crust bake faster and crisp up beautifully before the filling has a chance to soak in.
Preheat the Baking Sheet: For an advanced trick, place your baking sheet in the oven while it preheats. Build your pop tart on a sheet of parchment paper on the counter. When you are ready to bake, carefully slide the parchment paper with the tart directly onto the screaming hot baking sheet in the oven. The immediate blast of heat sears the bottom crust instantly.
Creative Flavor Variations to Try
The strawberry version is an undisputed classic, but the “giant pop tart pizza” template is endlessly adaptable. Once you master the basic technique, feel free to experiment with these fantastic flavor combinations:
- – Brown Sugar Cinnamon: Skip the jam entirely. Mix 1/2 cup of packed dark brown sugar, 1 tablespoon of ground cinnamon, and 1 tablespoon of all-purpose flour. Spread this dry mixture over the bottom crust, then drizzle with 2 tablespoons of melted butter before sealing with the top crust. Top with a maple-vanilla glaze.
- – S’mores: Fill the center with a thin layer of marshmallow fluff and a layer of chocolate hazelnut spread (like Nutella) or crushed chocolate bars. Glaze with a chocolate icing and top with crushed graham crackers and mini marshmallows.
- – Blueberry Lemon: Use a high-quality blueberry preserve for the filling. For the glaze, replace the milk with freshly squeezed lemon juice and add a teaspoon of lemon zest. The bright acidity pairs beautifully with the sweet berries.
- – The “Savory” Breakfast Tart: Who says it has to be sweet? Fill the crust with scrambled eggs, cooked crumbled sausage or bacon, and shredded cheddar cheese. Skip the sugar glaze entirely and brush only with egg wash. Serve with a side of salsa or sausage gravy for dipping!
Storage, Make-Ahead, and Reheating Instructions
If you find yourself with leftovers—though that is a rare occurrence when serving this treat—proper storage will keep the pastry fresh for days.
Storage: Once the icing has completely hardened, you can store the leftover slices in an airtight container at room temperature for up to 3 days. If you stack the slices, place a piece of wax paper or parchment paper between them to prevent the icing from sticking to the bottom of the crust above it. Because it is filled with fruit preserves with a high sugar content, it does not need to be refrigerated, though refrigerating it can extend its life to up to 5 days.
Freezing: You can freeze the baked and frosted slices! Wrap each individual slice tightly in plastic wrap, then place them in a heavy-duty freezer bag. They will keep for up to 2 months. Thaw overnight at room temperature.
Reheating: Pop Tarts are meant to be eaten warm! To recapture that freshly-baked magic, place a slice on a microwave-safe plate and heat for just 10 to 15 seconds. Do not overheat, or the jam will become molten hot and the icing will completely melt away. Alternatively, you can place a slice in an air fryer or toaster oven at 300°F (150°C) for 3-5 minutes until the crust crisps back up and the filling is warm.
A Fun Activity for the Whole Family
Beyond being incredibly delicious, making a giant pop tart is a phenomenal activity to do with children. It is messy in the best way possible, requires very little precision, and yields a visually spectacular result that kids will be proud of. They will love unrolling the dough, spreading the jam, using a fork to crimp the edges, and, most importantly, throwing handfuls of colorful sprinkles over the wet glaze. It transforms a standard weekend breakfast into a memorable event.
Conclusion
The Giant Homemade Strawberry Pop Tart is the perfect amalgamation of convenience, nostalgia, and pure indulgence. By using simple, accessible ingredients and an ingenious assembly method, you can bypass the tediousness of traditional baking and fast-forward straight to the best part: eating a warm, flaky, jam-packed pastry smothered in sweet icing. Whether you are hosting a whimsical brunch, looking for a unique birthday cake alternative, or just want to treat your family on a lazy Sunday morning, this recipe is guaranteed to be a massive hit. Grab your pie crusts, pick your favorite jam, and get ready to slice into the breakfast pizza of your dreams!
Giant Homemade Strawberry Pop Tart
Ingredients
Equipment
Method
- Preheat oven to 400°F (200°C). Line a large baking sheet with parchment paper.
- Unroll one pie crust onto the parchment paper. Spread strawberry jam evenly in the center, leaving a 1-inch border around the edge.
- Brush the 1-inch border with the egg wash. Unroll the second pie crust and place it over the top, pressing the edges together to seal.
- Crimp the edges tightly with a fork. Poke a few small holes in the top crust to vent steam, then brush the entire top crust with remaining egg wash.
- Bake for 20-25 minutes until deep golden brown. Let cool completely on a wire rack.
- Whisk powdered sugar, milk, and vanilla until a thick, spreadable glaze forms. Spread over the cooled pastry, top immediately with sprinkles, and let set before slicing like a pizza.