Garlic Parmesan Focaccia Bread Recipe
Garlic Parmesan Focaccia Bread: The Fluffiest, Most Flavorful Bread You Will Ever Bake
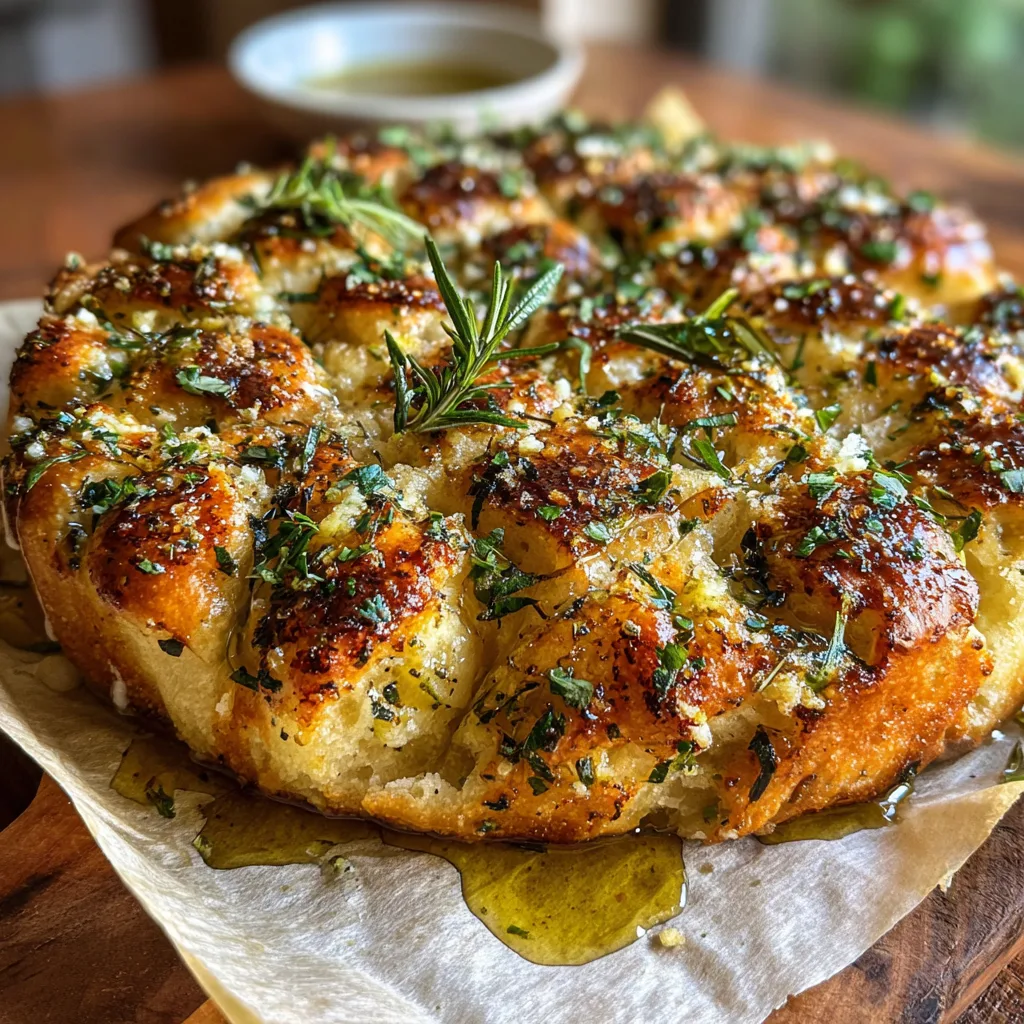
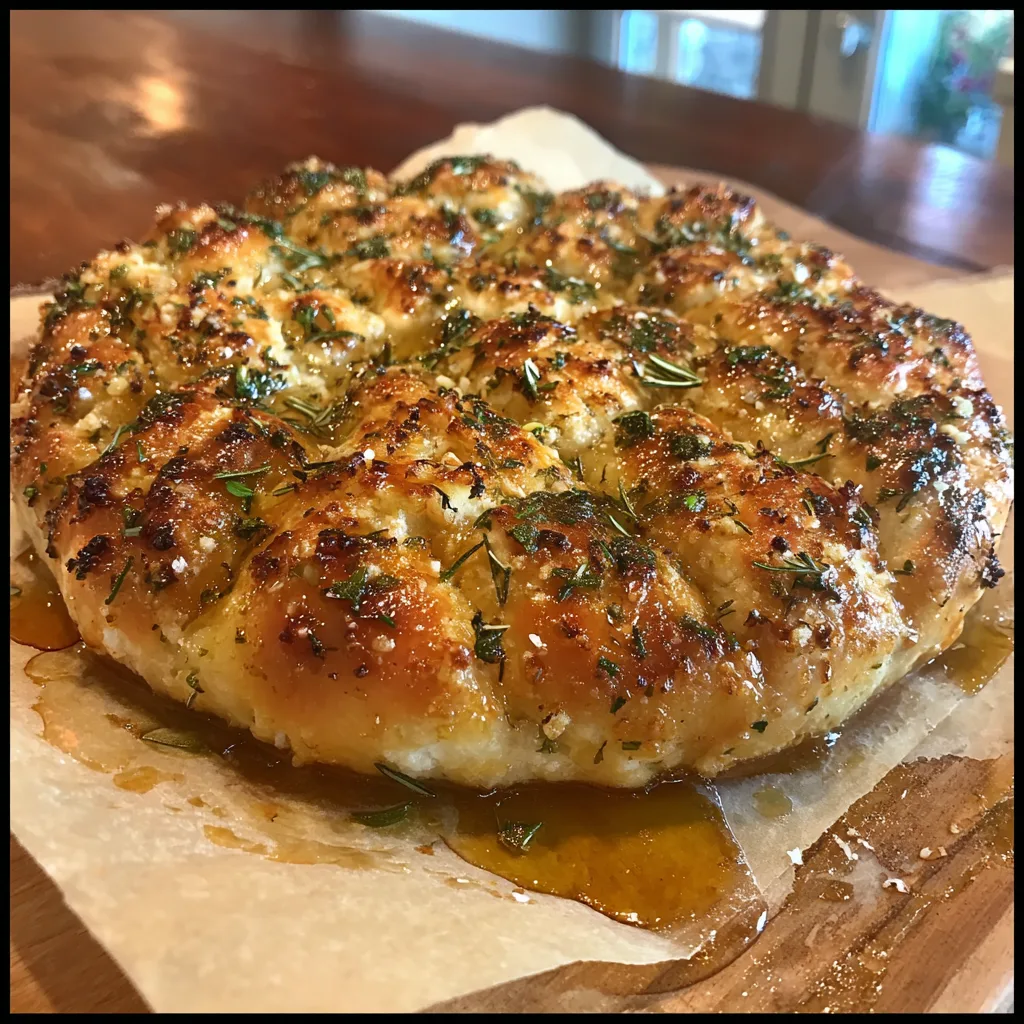
There is something undeniably magical about the smell of fresh bread baking in the oven. It transforms a house into a home, filling every corner with warmth and comfort. But when that bread is a Garlic Parmesan Focaccia, bubbling with olive oil, golden garlic, and salty cheese, the experience transcends simple baking—it becomes a culinary event. This recipe isn’t just about making bread; it’s about creating a texture so pillowy and a flavor so robust that you’ll wonder why you ever bought bread from a store.
Focaccia is often the gateway bread for novice bakers because it is incredibly forgiving. Unlike sourdough, which requires a starter to be kept alive like a pet, or baguettes that demand shaping mastery, focaccia asks very little of you. It asks only for time and good olive oil. The result is a crispy, golden exterior and a soft, airy interior that is perfect for dipping, sandwiching, or devouring straight from the pan.
In this comprehensive guide, we will walk through exactly how to achieve that professional bakery-style dimpled crust, how to infuse maximum garlic flavor without burning it, and why the combination of parmesan and fresh herbs creates the ultimate savory bite.
Why You Will Love This Garlic Parmesan Focaccia Recipe
If you have been scrolling through social media drooling over those bubbly, golden pans of focaccia, this is your sign to make one. Here is why this specific recipe stands out:
- Zero Kneading Required: This is a high-hydration dough, which means the water does the work for you. No stand mixer? No problem. You just mix it in a bowl and let it rest.
- Incredible Texture: We use a specific hydration ratio to ensure massive air bubbles and a crumb that is soft and springy, not dense or cakey.
- Flavor Bomb: Many recipes just sprinkle raw garlic on top, which can burn and turn bitter. We use a garlic-infused oil method that ensures sweet, savory garlic flavor in every bite.
- Versatile: While garlic and parmesan is a classic duo, this base recipe works for any topping you can dream up.
The Science of the Bubbles: Understanding Focaccia
Before we dive into the ingredients, let’s talk about the “dimples.” That signature look of focaccia isn’t just for aesthetics. When you press your fingers into the dough before baking, you are doing two things: you are preventing the bread from rising too quickly and becoming a giant puffball, and you are creating little reservoirs.
These reservoirs are crucial for the Garlic Parmesan Focaccia because they catch the olive oil, the melted butter, and the spices. Instead of the toppings rolling off the side, they pool in these craters, frying the dough slightly from the top down as it bakes. This is what creates that distinct contrast between the soft interior and the crunchy, oily top crust.
Ingredients
To make the best bread, you need quality ingredients. Since focaccia has so few components, the quality of your olive oil and flour really shines through.
For the Dough
- – Bread Flour: 4 cups (500g). Do not substitute with cake flour. Bread flour has a higher protein content (12-14%), which is essential for developing the strong gluten network needed to trap those large air bubbles.
- – Warm Water: 2 cups (475ml). The water should be warm to the touch (about 100°F/38°C) to activate the yeast, but not hot enough to kill it.
- – Instant Yeast: 2 teaspoons (or one standard 7g packet). If using active dry yeast, proof it in the water with a pinch of sugar for 5 minutes first.
- – Honey or Sugar: 1 teaspoon. This feeds the yeast and helps with browning.
- – Kosher Salt: 2 teaspoons. Essential for flavor and controlling the yeast activity.
- – Extra Virgin Olive Oil: 4 tablespoons (divided). You’ll need some for the dough and plenty for the pan.
For the Garlic Parmesan Topping
- – Unsalted Butter: 3 tablespoons, melted. Mixing butter with oil prevents the garlic from burning too quickly and adds richness.
- – Extra Virgin Olive Oil: 3 tablespoons. Use a high-quality oil here for the best flavor.
- – Garlic Cloves: 4-5 cloves, minced finely or grated. Fresh garlic is non-negotiable here; powder won’t give you the texture or punch.
- – Parmesan Cheese: ½ cup, freshly grated. Pre-grated cheese often has anti-caking agents that prevent it from melting properly. Grate your own for the best results.
- – Fresh Herbs: 2 tablespoons chopped (Rosemary, Parsley, or Chives). Rosemary is traditional, but parsley adds a fresh brightness that cuts through the rich cheese.
- – Flaky Sea Salt: For finishing. This adds that crucial crunch and pop of salinity.
Instructions
Step 1: Mix the Dough
- In a large mixing bowl, whisk together the flour and kosher salt.
- In a separate measuring cup or small bowl, combine the warm water, yeast, and honey. Stir gently and let it sit for a minute to ensure the yeast dissolves.
- Pour the liquid mixture into the flour mixture. Add 1 tablespoon of olive oil.
- Use a sturdy spatula or a wooden spoon to mix until no dry flour remains. The dough will be very sticky and shaggy—this is exactly what you want! Do not try to knead it with your hands unless you want to be covered in dough.
Step 2: The First Rise (Bulk Fermentation)
- Cover the bowl tightly with plastic wrap or a damp kitchen towel.
- Place the bowl in a warm, draft-free spot (inside a turned-off oven with the light on works perfectly).
- Let the dough rise for 12 to 18 hours in the fridge for maximum flavor development (cold fermentation), OR let it rise at room temperature for 3 to 4 hours until it has doubled in size and is bubbly and jiggly. Note: The fridge method yields better flavor and bubbles.
Step 3: Prepare the Pan and Second Rise
- Generously coat a 9×13 inch baking pan or a large cast-iron skillet with 2-3 tablespoons of olive oil. Be aggressive here; this ensures the bottom fries and doesn’t stick.
- Deflate the dough gently by pulling the edges into the center (folding it on itself) while it’s still in the bowl.
- Transfer the dough to the oiled pan. Turn the dough over so it is coated in oil on both sides.
- Gently stretch the dough toward the corners of the pan. If it springs back (which means the gluten is tight), cover it and let it rest for 15 minutes, then try again.
- Cover the pan and let it rise again for 1.5 to 2 hours. The dough should puff up to fill the pan and look very jiggly.
Step 4: The Dimpling and Topping
- Preheat your oven to 425°F (220°C).
- While the oven heats, make your topping. In a small bowl, mix the melted butter, remaining olive oil, and minced garlic.
- The Best Part: Uncover the dough. Drizzle the garlic-butter oil mixture all over the top.
- Oil your fingers to prevent sticking. Press your fingers straight down into the dough to create deep dimples, touching the bottom of the pan. You want to see the oil pooling in these holes.
- Sprinkle the fresh herbs and flaky sea salt over the top. Wait on the Parmesan! (See baking tip below).
Step 5: Bake and Serve
- Place the pan in the center rack of the oven. Bake for 20-25 minutes.
- Adding the Cheese: About 5 minutes before the bread is done (around the 18-minute mark), carefully pull the pan out and sprinkle the grated Parmesan cheese over the top. This prevents the cheese from burning and becoming bitter while the bread finishes baking.
- Return to the oven and bake until the cheese is melted and the crust is a deep golden brown.
- Remove from the oven and transfer the bread immediately to a wire rack. Leaving it in the pan will cause the bottom to steam and lose its crunch.
- Let it cool for at least 15 minutes before slicing. This sets the crumb structure.
Tips for the Perfect Focaccia
Even though this is an “easy” recipe, a few technical nuances make the difference between good bread and legendary bread.
1. Hydration is Key
If you are weighing your ingredients (which you should), this is roughly an 80% hydration dough. If the dough feels too wet to handle, do not add more flour! Wet dough equals steam, and steam equals big, airy bubbles.
2. Don’t Skimp on Oil
You might look at the amount of olive oil and think it’s too much. It isn’t. Focaccia is essentially shallow-fried in the oven. If you reduce the oil, you will get a dry, pale crust that sticks to the pan.
3. The Parmesan Timing
A common mistake with garlic parmesan bread is putting the cheese on at the very beginning. Parmesan has a low burning point compared to the dough. By adding it in the last 5 minutes, you get that nutty, melted flavor without the acrid taste of burnt dairy.
4. Garlic Prep
If you are very sensitive to the taste of raw garlic, you can confit the garlic first (cook it slowly in oil) and then mash it into the dough. This creates a sweeter, mellower flavor profile.
Variations to Try
Once you have mastered the Garlic Parmesan Focaccia, the possibilities are endless. The canvas of focaccia dough accepts almost any topping.
- Tomato & Basil: Press cherry tomatoes into the dough before baking. They will burst and create little pockets of jammy tomato sauce. Top with fresh basil after baking.
- Caramelized Onion & Gruyère: Replace the garlic with slow-cooked onions and switch the parmesan for a nutty Gruyère or Swiss cheese.
- Olive & Rosemary: The classic Italian route. Use pitted Kalamata or Castelvetrano olives and push them deep into the dough.
- Jalapeño Cheddar: For a spicy kick, top with sliced pickled jalapeños and sharp cheddar cheese.
Serving Suggestions
How should you eat this masterpiece? Honestly, ripping chunks off straight from the cooling rack is acceptable behavior. However, if you want to make a meal of it:
As a Sandwich Base: Slice a square in half horizontally. Fill it with Mortadella, pistachios, and burrata for a luxurious Italian sandwich. The structural integrity of focaccia holds up well to wet ingredients like fresh mozzarella.
With Soup: The salty, savory nature of garlic parmesan bread makes it the perfect dunking companion for a creamy Tomato Basil soup or a hearty Minestrone.
The Charcuterie Board: Cut the focaccia into thin strips or small squares and pile them onto a board with prosciutto, salami, honey, and olives.
Storage and Reheating
Focaccia is best eaten the day it is made. However, if you have leftovers (which is rare), store them in an airtight container at room temperature for up to 2 days.
To Reheat: Do not microwave it! Microwaving will make the bread chewy and rubbery. Instead, place the slices on a baking sheet and warm them in a 350°F (175°C) oven for 5-8 minutes. This will recrisp the bottom and revive the soft interior. You can also freeze slices wrapped in foil for up to a month.
Whether you are hosting a dinner party or just want to treat yourself to a cozy baking project, this Garlic Parmesan Focaccia is the answer. It requires minimal effort but delivers maximum satisfaction, proving that sometimes, the simplest ingredients make the most extraordinary food.
Garlic Parmesan Focaccia
Ingredients
Equipment
Method
- Whisk together bread flour and salt in a large bowl. In a separate container, mix warm water, yeast, and honey.
- Pour the yeast mixture and 1 tablespoon of olive oil into the flour. Mix with a spatula until a sticky dough forms. No kneading required.
- Cover the bowl and let rise at room temperature for 3-4 hours (or overnight in the fridge for 12-18 hours) until doubled and bubbly.
- Pour 2-3 tablespoons of olive oil into a 9×13 inch baking pan. Transfer dough to the pan and coat it in the oil.
- Gently stretch dough to the corners. If it shrinks back, rest for 15 minutes and stretch again. Cover and let rise for 1.5 – 2 hours until puffy.
- Preheat oven to 425°F (220°C). Mix melted butter, remaining oil, and minced garlic.
- Pour garlic butter over the dough. Dimple the dough deeply with your fingers. Sprinkle with herbs and sea salt.
- Bake for 18 minutes. Remove briefly, sprinkle parmesan cheese on top, and bake for another 5-7 minutes until golden brown.
- Cool on a wire rack for at least 15 minutes before serving.