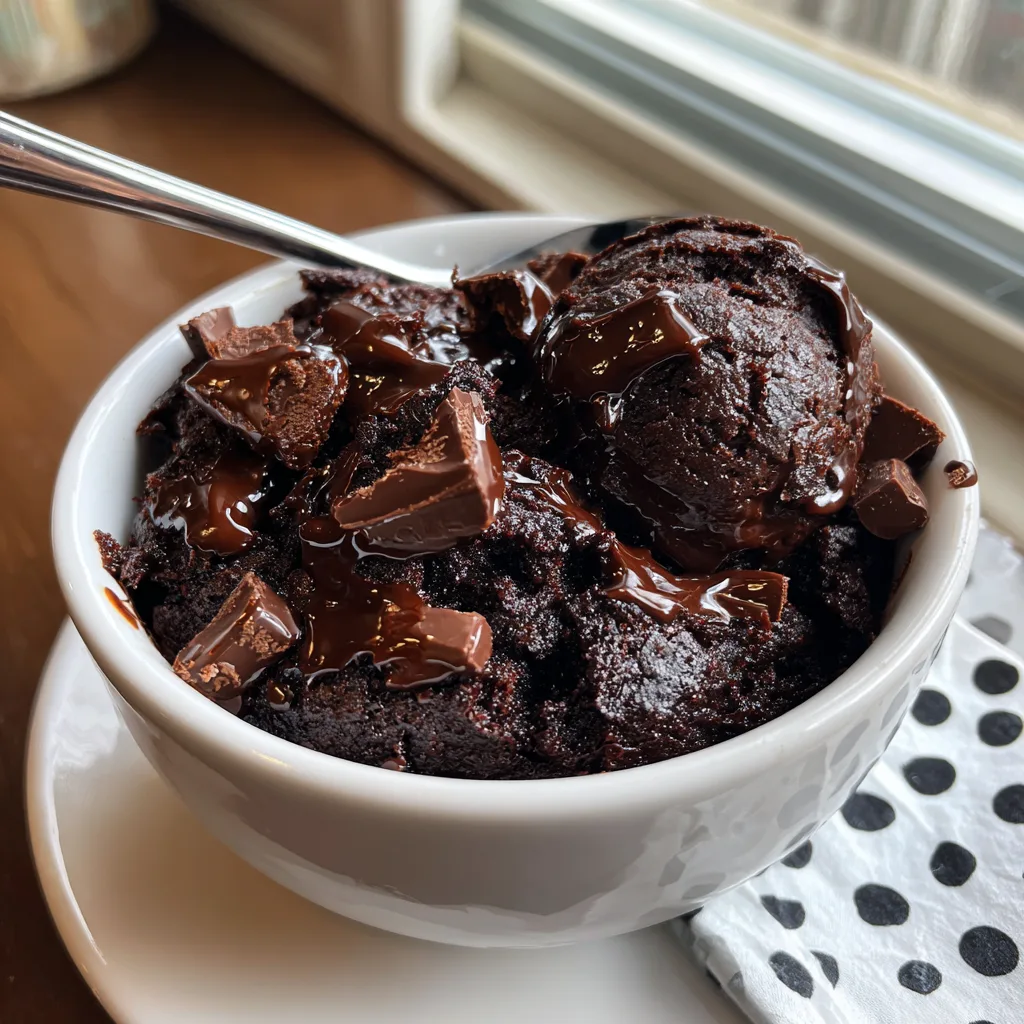
Edible Brownie Batter
Welcome to the ultimate, comprehensive guide to making the most luxurious, deeply chocolaty, and completely safe Eggless Edible Brownie Batter. If you have ever baked a batch of brownies and found yourself scraping the bowl clean, risking the dangers of raw eggs and untreated flour just for one more taste of that glorious, fudgy dough, your life is about to change. This recipe gives you permission to skip the baking process entirely and dive spoon-first into the best part of the brownie experience. Best of all, it comes together in just five minutes, providing instant gratification for your most intense chocolate cravings.
There is a universal, nostalgic joy associated with eating batter straight from the mixing bowl. For generations, home bakers have battled the temptation to eat raw dough, often being swatted away by parents warning of stomach aches. Today, the culinary world has fully embraced the edible dough trend, resulting in dedicated scoop shops and gourmet recipes designed specifically for raw consumption. This edible brownie batter captures the exact texture of pre-baked brownies—thick, glossy, rich, and studded with chocolate chunks—but it eliminates all the food safety risks, allowing you to indulge with absolute peace of mind.
Why We Love Edible Brownie Batter (And Why It Must Be Safe)
To truly appreciate this recipe, it is essential to understand why traditional brownie batter is unsafe to consume raw, and how we cleverly bypass those dangers here.
The first and most well-known culprit in raw batter is the egg. Raw or undercooked eggs carry a risk of Salmonella, a bacteria that can cause severe foodborne illness. By completely removing eggs from this recipe, we eliminate that risk entirely. But without eggs, how do we achieve that signature fudgy, cohesive texture? We substitute the moisture and binding properties of the egg with a splash of milk (or cream) and rely on the fat from the butter to hold the mixture beautifully together.
The second, lesser-known danger in raw batter is the flour. Raw all-purpose flour is an agricultural product that has not been treated to kill germs like E. coli. Bacteria can contaminate grain while it is still in the field or during the milling process. Because standard baking relies on the oven’s heat to kill these pathogens, eating raw flour straight from the bag is highly discouraged by the FDA. In this recipe, we solve this problem by heat-treating the flour before it ever touches the other ingredients, ensuring your edible batter is 100% safe to eat by the spoonful.
The Secret Technique: How to Heat Treat Flour Perfectly
Heat treating your flour is a non-negotiable step for edible batters, but thankfully, it is incredibly simple and takes only a few minutes. You have two primary methods to choose from: the microwave method or the oven method.
The Microwave Method: This is the fastest way to get your flour safe for consumption. Place your raw flour in a microwave-safe bowl. Microwave it on high in 30-second bursts, stirring well between each interval to prevent hot spots from burning the flour. Use an instant-read thermometer to check the temperature of the flour; it needs to reach 165°F (74°C) throughout to ensure all bacteria are destroyed. This usually takes about 1 minute to 1 minute and 15 seconds total.
The Oven Method: If you do not have a microwave or prefer a more even heating process, the oven is your best friend. Preheat your oven to 350°F (175°C). Spread your measured flour evenly across a rimmed baking sheet lined with parchment paper. Bake for 5 to 7 minutes. Keep a close eye on it, as flour can toast and burn quickly. Again, verify the temperature has reached 165°F (74°C).
Crucial Tip: Once your flour is heat-treated, it will be hot! If you add hot flour directly to your butter and sugar mixture, it will melt the butter and turn your thick dough into a greasy puddle. Allow the treated flour to cool completely to room temperature before proceeding. You can speed this up by placing it in the refrigerator for a few minutes.
Choosing the Best Ingredients for Maximum Fudginess
Because this recipe requires no baking and relies on just a few ingredients, the quality of those components will drastically affect the final taste of your edible brownie batter.
The Great Cocoa Powder Debate
Cocoa powder is the heart and soul of this recipe. You generally have two options in the baking aisle: natural cocoa powder and Dutch-processed cocoa powder. For the most intense, dark, and bakery-style brownie flavor, Dutch-processed cocoa powder is highly recommended. The Dutching process washes the cocoa beans in an alkaline solution, which neutralizes their natural acidity. This results in a darker color and a smoother, mellower, more intensely earthy chocolate flavor. Natural cocoa powder will still work perfectly fine, but the flavor will be slightly lighter and more fruit-forward.
Butter is Better
While some baked brownie recipes rely on vegetable oil for supreme moistness, edible brownie batter requires the structure and flavor of real butter. Use unsalted butter so you have complete control over the sodium content. The butter must be softened to room temperature—not melted. Softened butter creams together beautifully with the sugars, creating a light, fluffy base that gives the batter its luxurious mouthfeel.
The Sugar Balance
A combination of both brown sugar and white granulated sugar is the secret to perfect texture. Granulated sugar provides the necessary sweetness, but the brown sugar is the real star. Brown sugar contains molasses, which adds a deep, caramel-like complexity and, more importantly, a chewy, dense moisture that mimics the gooey center of a freshly baked brownie.
Chocolate Chunks vs. Chocolate Chips
While you can certainly use standard semi-sweet chocolate chips, stepping up to chocolate chunks (or roughly chopping a high-quality chocolate baking bar yourself) elevates this treat to gourmet status. Chunks provide varying sizes of chocolate in every bite, from tiny shards that melt on your tongue to large, satisfying pieces that give a great crunch.
Ingredients List
Gather the following ingredients. Having everything measured out (mise en place) ensures you can mix this up in just 5 minutes flat.
- – 1/2 cup all-purpose flour (heat-treated and cooled)
- – 1/3 cup high-quality cocoa powder (Dutch-processed preferred)
- – 1/2 cup (1 stick) unsalted butter, softened to room temperature
- – 1/2 cup packed light brown sugar
- – 1/4 cup granulated white sugar
- – 2 to 3 tablespoons whole milk or heavy cream
- – 1 teaspoon pure vanilla extract
- – 1/4 teaspoon fine sea salt
- – 1/2 cup semi-sweet chocolate chunks or chips
Step-by-Step Instructions for 5-Minute Brownie Batter
Follow these simple steps for immediate chocolate satisfaction.
Eggless Edible Brownie Batter
Ingredients
Equipment
Method
- Heat treat your flour by microwaving it in a bowl for 1 minute to 1 minute 15 seconds, stirring every 30 seconds until it reaches 165°F. Let it cool completely.
- In a medium mixing bowl, beat the softened butter, brown sugar, and granulated sugar together until light and somewhat fluffy, about 2 minutes.
- Add the vanilla extract, salt, and 2 tablespoons of milk. Mix until smooth and well combined.
- Add the cooled heat-treated flour and the cocoa powder. Fold with a spatula until a thick dough forms. Add 1 more tablespoon of milk if it seems too dry.
- Gently fold in the chocolate chunks until evenly distributed.
- Serve immediately straight from the bowl, or store in the refrigerator.
Notes
- Heat Treat the Flour: First, ensure your flour is safe. Use either the microwave or oven method described above to heat the flour to 165°F (74°C). Set it aside to cool completely before using. Sifting it after it cools is a good idea to remove any lumps that formed during heating.
- Cream the Butter and Sugars: In a medium-sized mixing bowl, combine the softened unsalted butter, light brown sugar, and granulated white sugar. Use a hand mixer on medium speed, or a sturdy whisk and plenty of elbow grease, to beat the mixture together for about 2 minutes. You want it to become lighter in color and slightly fluffy. This step dissolves the sugars into the fat, preventing a gritty texture.
- Add the Flavor Enhancers: Pour in the pure vanilla extract, the fine sea salt, and 2 tablespoons of the milk or cream. Mix again until the liquids are fully incorporated into the butter mixture. The salt is absolutely vital here; it enhances the chocolate flavor and cuts through the intense sweetness.
- Incorporate the Dry Ingredients: Add your cooled, heat-treated flour and the cocoa powder to the bowl. Use a rubber spatula to gently fold the dry ingredients into the wet ingredients. At first, it might look crumbly, but keep folding and pressing the mixture against the side of the bowl. It will quickly come together into a thick, glossy, dark dough. If the batter seems too thick or dry, add the remaining 1 tablespoon of milk until you reach your desired consistency.
- Fold in the Chocolate: Dump in your chocolate chunks or chips. Fold them in gently until they are evenly distributed throughout the batter.
- Enjoy Immediately: Grab a spoon and dive right in! Your safe, eggless edible brownie batter is ready to devour.
Expert Tips for the Best Edible Dough
Want to guarantee perfection every single time? Keep these baker’s secrets in mind:
Do Not Melt the Butter: It is tempting to microwave your butter if you forgot to leave it out, but melted butter will result in a greasy, sloppy batter rather than a thick, spoonable dough. If you need to soften butter quickly, cut it into small cubes and leave it on the counter for 15 minutes, or place it under a warm glass.
Sift the Cocoa Powder: Cocoa powder is notorious for clumping. Sifting it along with your heat-treated flour ensures your batter is perfectly smooth and prevents you from biting into a bitter pocket of dry cocoa.
Use Pure Vanilla: Because this recipe is not baked, the flavor of the vanilla extract shines through prominently. Avoid imitation vanilla flavoring; spring for the real, pure vanilla extract for the best bakery-quality taste.
Creative Variations and Mix-Ins
The beauty of this base recipe is that it is a blank canvas for your wildest dessert dreams. Try these incredible variations to mix things up:
Peanut Butter Cup: Swirl in 2 tablespoons of creamy peanut butter right at the end, and swap half the chocolate chunks for chopped peanut butter cups. The salty-sweet combination is irresistible.
S’mores Brownie Batter: Fold in a handful of mini marshmallows, crushed graham crackers, and a pinch of cinnamon. You get all the campfire flavors without the fire!
Mint Chocolate Chunk: Add 1/4 teaspoon of peppermint extract (be careful, it is strong!) along with the vanilla, and use dark chocolate chunks. It tastes exactly like a famous mint chocolate ice cream.
Mocha Madness: Whisk 1 teaspoon of instant espresso powder into the milk before adding it to the dough. The coffee flavor deepens the chocolate notes immensely.
Serving Suggestions: How to Enjoy Your Batter
While eating it straight out of the mixing bowl with a spoon is the most popular method, there are many elegant ways to serve your edible brownie batter:
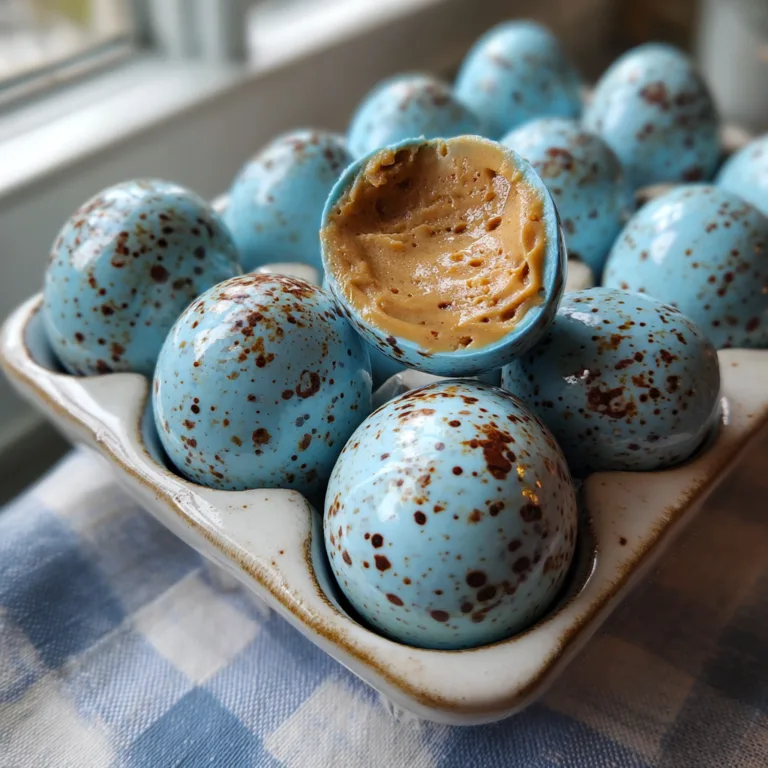
Brownie Batter Truffles: Roll the dough into bite-sized 1-inch balls. Place them on a parchment-lined tray and freeze for 20 minutes. Then, dip them into melted chocolate and let them set. You just made gourmet truffles!
Ice Cream Topping: Roll small, pea-sized pieces of the dough and scatter them over a bowl of vanilla bean or strawberry ice cream for a homemade “cookie dough” ice cream experience.
Brownie Batter Dip: Add an extra tablespoon or two of milk to thin the batter out slightly. Serve it in a bowl surrounded by fresh strawberries, pretzel crisps, and graham crackers for a fantastic party dip.
Storage and Freezing Guidelines
If you somehow possess the willpower to not eat the entire batch in one sitting, this batter stores beautifully.
Refrigerator: Transfer the batter to an airtight container and store it in the fridge for up to 5 days. Because the butter will solidify in the cold, the batter will become quite firm. Let it sit at room temperature for 10-15 minutes before eating to allow it to soften back to its original fudgy glory.
Freezer: You can freeze edible brownie batter for up to 2 months. For easy snacking, roll the batter into individual balls before freezing them in a zip-top bag. You can eat them frozen (they are incredibly chewy and delicious this way) or let them thaw in the fridge.
Fun Facts: The History of Brownies and Edible Dough
Did you know that the brownie is an entirely American invention? The very first brownie was created in 1893 at the Palmer House Hotel in Chicago. Bertha Palmer asked the hotel’s pastry chef for a dessert suitable for ladies attending the Chicago World’s Columbian Exposition—something smaller than a piece of cake but retaining cake-like characteristics. The result was a super-rich, fudgy, chocolate confection topped with walnuts and an apricot glaze. The Palmer House still serves this original recipe today!
As for the edible dough craze, it really took off in the 2010s with the opening of “cookie dough parlors” in cities like New York, treating raw dough exactly like ice cream. Now, you can recreate that trendy, boutique dessert experience right in your own kitchen.
We hope this guide provides you with everything you need to confidently whip up a batch of rich, safe, and utterly addictive eggless edible brownie batter. Grab your mixing bowl and prepare to satisfy your ultimate chocolate cravings!