Mint Oreo Bark
4-Ingredient Mint Oreo Bark: The Ultimate Easy No-Bake Dessert
Introduction to the Easiest Dessert You Will Ever Make
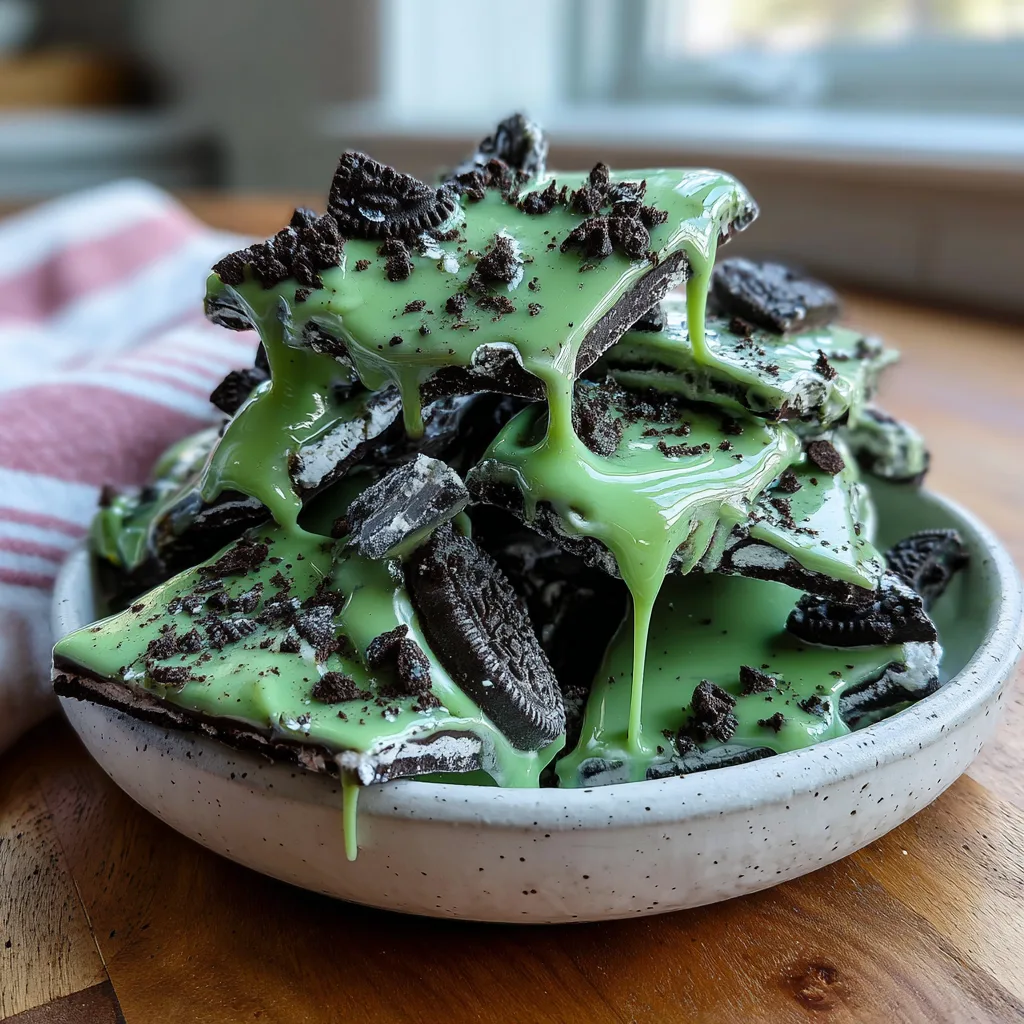
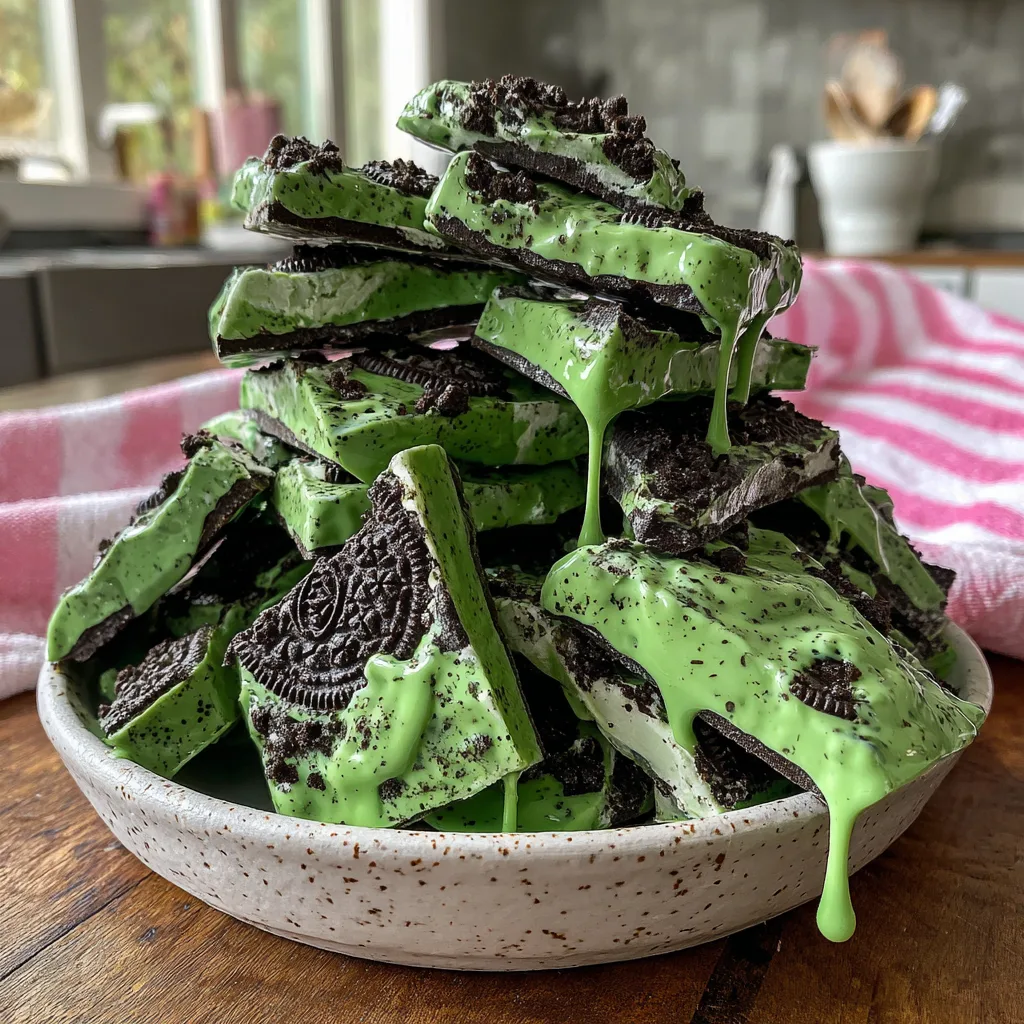
When it comes to whipping up a quick, crowd-pleasing dessert, nothing quite compares to the simplicity and visual appeal of homemade chocolate bark. This 4-Ingredient Mint Oreo Bark is a testament to the fact that you do not need a culinary degree or a kitchen full of complex equipment to create something truly spectacular. With its vibrant, eye-catching pastel green hue and the irresistible crunch of classic chocolate sandwich cookies hidden within every single bite, this sweet treat is guaranteed to become a fast favorite in your household.
Whether you are looking for a festive St. Patrick’s Day treat, a refreshing addition to your winter holiday cookie tray, or just a quick weeknight indulgence to satisfy a sudden sweet tooth, this recipe delivers on all fronts. The beauty of chocolate bark lies in its rustic, unstructured nature. There is no baking, no fussy decorating, and absolutely no need for perfection. You simply melt, mix, spread, and chill. The result is a stunning, shard-like confection that looks like it came from a gourmet candy shop but was actually made in your own kitchen in a matter of minutes.
Furthermore, the combination of mint and chocolate is a timeless classic. The cool, refreshing snap of peppermint cuts through the rich, creamy sweetness of the melted chocolate, while the dark, slightly bitter cocoa notes of the Oreo cookies provide the perfect textural and flavor contrast. It is a symphony of flavors that appeals to both kids and adults alike, making it the perfect dessert for parties, potlucks, and edible gifting.
Why You Will Absolutely Love This Mint Oreo Bark
There are countless reasons why this 4-Ingredient Mint Oreo Bark will quickly climb to the top of your favorite recipes list. First and foremost is the incredibly short ingredient list. With only four readily available pantry and baking aisle staples, you can bypass the stress of long grocery lists. It is the ultimate “emergency dessert” when you need something impressive at the very last minute.
Secondly, this recipe is entirely no-bake. During the hot summer months, the last thing you want to do is turn on your oven and heat up the entire house. This bark requires only a microwave or a simple double boiler to melt the chocolate. This also makes it a fantastic recipe to make with young helpers in the kitchen. Children love the process of crushing the cookies, stirring in the vibrant green coloring, and, of course, the incredibly satisfying step of breaking the massive sheet of chocolate into rustic, irregular shards once it has completely set.
Another major advantage is how customizable it is. While this specific recipe celebrates the beloved mint and Oreo combination, the foundational technique can be adapted in dozens of ways. Once you master this basic method, you have unlocked the door to a whole world of homemade candy making. Plus, the visual impact of the bright green bark studded with dark chocolate cookie pieces makes it a show-stopping centerpiece on any dessert table.
The Magic Combination: Mint and Chocolate
The culinary pairing of mint and chocolate is one of the most celebrated flavor combinations in the world of sweets. But why does it work so well? The answer lies in the contrast of sensory experiences. Chocolate, especially white or milk chocolate, is naturally rich, heavy, and coats the palate with cocoa butter. It provides a feeling of warmth and indulgence.
Mint, on the other hand, contains menthol. Menthol actually triggers the cold-sensitive receptors in our mouths, creating a literal cooling sensation without actually changing the temperature of the food. When you combine the rich, warm, melting sensation of chocolate with the bright, sharp, cooling sensation of peppermint, it creates a dynamic, multi-dimensional tasting experience. It prevents the sweet white chocolate from becoming overly cloying, ensuring that every bite is refreshing and deeply satisfying.
Adding the Oreo cookies into this mix introduces a third crucial element: texture. Human palates crave variety. The smooth, velvety melt of the chocolate bark is perfectly interrupted by the crisp, satisfying crunch of the baked chocolate wafers, while the vanilla cream filling of the cookies seamlessly blends into the overall sweetness of the confection.
Detailed Ingredients You Need
To create this masterpiece, you only need four simple items. However, understanding the role of each ingredient will help you achieve the best possible results.
- – High-Quality White Chocolate Chips or Vanilla Almond Bark (12 ounces): This forms the base and structure of your dessert. You can use standard white chocolate chips, white chocolate baking bars, or vanilla-flavored melting wafers (often called almond bark or candy melts). Melting wafers are formulated specifically for easy melting and setting, making them a foolproof choice for beginners. If using standard white chocolate chips, ensure they are fresh, as older chocolate can be difficult to melt smoothly.
- – Oreo Cookies (12 to 15 cookies): The star mix-in. Standard Oreos work beautifully, but you can also use Double Stuf, Mint Oreos for a double-mint punch, or even gluten-free Oreos if you are catering to dietary restrictions. You want to chop them coarsely so you have a mix of large, recognizable chunks and fine, sandy crumbs that will speckle the green chocolate.
- – Peppermint Extract (1/2 to 1 teaspoon): This is where the magic flavor comes from. Peppermint extract is very strong, so start with half a teaspoon, taste the melted mixture, and add more only if desired. Make sure you are using extract and not essential oil, which is far too concentrated for culinary use. Also, note that some extracts are alcohol-based; if your chocolate seizes easily, look for an oil-based flavoring.
- – Green Food Coloring (a few drops): To give the bark that signature, festive minty look. Gel food coloring or oil-based candy coloring is highly recommended over standard liquid drops found in the baking aisle. Liquid water-based food coloring can sometimes cause melted chocolate to seize (turn grainy and stiff). If you only have liquid coloring, add it very slowly and carefully.
Essential Equipment
You do not need anything fancy to make this recipe, but having the right basic tools will make the process completely stress-free.
- – A microwave-safe bowl or a double boiler setup for melting the chocolate.
- – A silicone spatula for smooth, even stirring and scraping every last bit of chocolate from the bowl.
- – A large baking sheet (half sheet pan size is perfect).
- – Parchment paper or a silicone baking mat to prevent the chocolate from sticking to the pan. Wax paper also works for this specific unbaked application.
- – A sharp knife and cutting board for chopping the Oreo cookies.
Step-by-Step Instructions
- Prepare your workspace: Line a large, rimmed baking sheet with a piece of parchment paper, wax paper, or a silicone baking mat. Set this aside. This is a crucial first step because once the chocolate is melted, you need to work quickly before it begins to set up.
- Chop the cookies: Take your Oreo cookies and chop them into coarse, irregular pieces. You want a good variety of sizes—some large chunks for visual appeal and satisfying crunch, and some fine dust that will incorporate directly into the bark. Set aside about 1/4 cup of the chopped cookies to sprinkle on the very top later.
- Melt the white chocolate: Place your white chocolate chips, chopped white chocolate bars, or melting wafers into a microwave-safe bowl. Heat in the microwave on 50% power in 30-second increments. After every 30 seconds, remove the bowl and stir vigorously with a silicone spatula. The chocolate will retain its shape until stirred, so do not rely on looks alone to tell if it is melted. Continue this process until the chocolate is completely smooth, glossy, and lump-free. Be very careful not to overheat it, or it will burn and seize.
- Flavor and color the chocolate: Once the chocolate is melted and smooth, stir in the peppermint extract. Start with a half teaspoon, mix well, and adjust if you prefer a stronger mint flavor. Next, add your green food coloring a little bit at a time, stirring thoroughly after each addition, until you reach your desired shade of bright, pastel mint green.
- Fold in the cookies: Gently pour the larger portion of your chopped Oreo cookies into the bowl of warm, green mint chocolate. Use your spatula to fold them in gently until they are evenly distributed, being careful not to overmix, which can cause the dark cookie crumbs to turn the green chocolate muddy.
- Spread the bark: Pour the entire mixture out onto your prepared, parchment-lined baking sheet. Use your spatula or an offset spatula to spread the chocolate out into an even layer, roughly 1/4 inch thick. It does not need to reach the edges of the pan, and the edges do not need to be perfectly straight; the rustic look is part of the charm!
- Garnish and set: Immediately sprinkle the reserved 1/4 cup of chopped Oreos over the top of the wet chocolate. Gently press them down just slightly so they adhere to the bark as it dries.
- Chill to harden: Place the entire baking sheet into the refrigerator for about 30 to 45 minutes, or until the chocolate is completely firm and set to the touch. If you are in a rush, you can place it in the freezer for about 15 minutes.
- Break and serve: Once fully hardened, remove the tray from the fridge. Lift the bark off the pan using the edges of the parchment paper. Using your clean hands or the heavy handle of a butter knife, break the giant sheet of chocolate into rustic, irregular pieces. Serve immediately or store for later.
Pro Tips for the Perfect Bark
While this recipe is incredibly straightforward, working with melted chocolate can sometimes be finicky. Here are some professional tips to ensure your Mint Oreo Bark turns out perfectly every single time.
Beware of Water: Water is the absolute enemy of melted chocolate. Even a single drop of water left in your mixing bowl or on your spatula can cause the entire batch of chocolate to seize, turning it into a stiff, grainy, unworkable paste. Ensure all your equipment is bone dry before you begin.
Low and Slow Melting: Patience is key when melting chocolate in the microwave. Always use 50% power. High heat will scorch the chocolate, altering its flavor and ruining its smooth texture. If you prefer, you can use a double boiler on the stove over gently simmering water, ensuring the bottom of the top bowl does not touch the water.
Use Oil-Based Candy Colors: As mentioned in the ingredients section, traditional water-based liquid food coloring can sometimes cause chocolate to seize due to the water content. If you plan on making colored chocolates frequently, investing in oil-based candy coloring is highly recommended. If using standard gel colors, mix them in vigorously and quickly.
Do Not Crush the Oreos Too Fine: You want chunks, not powder. If you pulverize the Oreos in a food processor, the dark blackish-brown powder will bleed into the green chocolate, resulting in an unappetizing, murky grey-green color. Chopping by hand with a knife yields the best results.
Fun Variations and Add-Ins
Once you have the hang of the base recipe, the possibilities for customization are nearly endless. Here are a few ways to switch up your Mint Oreo Bark:
The Double Chocolate Swirl: Melt a half cup of semi-sweet or dark chocolate chips separately. After you have spread your green mint chocolate onto the parchment paper, dollop small spoonfuls of the dark chocolate over the top. Use a toothpick or a butter knife to swirl the dark chocolate through the green, creating a beautiful marbled effect before adding your top layer of crushed Oreos.
Grasshopper Bark: Inspired by the famous pie, add a half cup of mini dark chocolate chips to the mixture at the same time you fold in the Oreos. The extra chocolate chips add an incredible secondary crunch and deep chocolate flavor.
Golden Mint Bark: Swap out the traditional chocolate Oreos for Golden Oreos. The vanilla flavor of the golden cookies pairs wonderfully with the mint, creating a lighter, visually distinct variation that is equally delicious.
Festive Sprinkles: To make this bark even more holiday-appropriate, top it with festive sprinkles immediately after spreading it on the pan. Think green and gold sprinkles for St. Patrick’s Day, or red, white, and green sprinkles for Christmas.
Serving Suggestions
Mint Oreo Bark is incredibly versatile when it comes to serving. Here are some wonderful ways to enjoy and share your homemade creation:
The Dessert Board: Charcuterie boards are not just for meats and cheeses anymore. Create a stunning dessert board featuring your broken shards of Mint Oreo Bark, accompanied by fresh strawberries, marshmallows, pretzels, and perhaps a small bowl of warm chocolate fondue for dipping.
Ice Cream Topping: Don’t just eat the bark on its own! Take a few shards, pop them into a ziplock bag, and crush them into smaller pieces. Sprinkle this minty, crunchy dust generously over a bowl of vanilla bean or chocolate ice cream for a spectacular sundae upgrade.
Edible Gifting: Chocolate bark makes an absolutely phenomenal homemade gift for teachers, neighbors, coworkers, or party hosts. Because it sets up firm, it is very easy to package. Stack the shards in clear cellophane bags tied with a festive ribbon, or arrange them neatly in a decorative tin lined with tissue paper. It looks incredibly gourmet and thoughtful, but takes very little time to prepare.
How to Store Mint Oreo Bark
Proper storage will ensure your bark remains crisp, snappy, and delicious for weeks.
Room Temperature: In most homes, Mint Oreo Bark can be stored in an airtight container at room temperature for up to two weeks. Keep it in a cool, dry place away from direct sunlight or heat sources (like the stove or a sunny window), which could cause it to soften or melt.
Refrigeration: If you live in a particularly hot or humid climate, or if you simply prefer your chocolate to have a cold, firm snap, store the bark in an airtight container in the refrigerator. It will easily last for 3 to 4 weeks this way.
Freezing: Yes, you can freeze chocolate bark! Place the shards in a heavy-duty freezer bag, squeezing out as much air as possible, or an airtight freezer-safe container. It will keep well in the freezer for up to 3 months. When you are ready to enjoy it, you can eat it straight from the freezer (it is deliciously crunchy when frozen) or let it sit at room temperature for 15 minutes to soften slightly.
Fun Facts and Cultural Context of Bark Candies
Did you know that “chocolate bark” gets its name purely from its visual resemblance to the rugged, irregular bark of a tree? Traditional chocolate barks were often made by pouring a thin layer of dark chocolate onto a cool marble slab, allowing it to set, and then breaking it into organic, jagged shapes.
The most famous iteration of chocolate bark is undoubtedly Peppermint Bark, a holiday staple popularized in the late 1990s by the luxury home goods retailer Williams Sonoma. They revolutionized the concept by layering dark chocolate, white chocolate, and crushed candy canes. Their massive success proved that there is a huge market for rustic, shard-style confections.
Today, bark has evolved into a canvas for culinary creativity. From Halloween barks loaded with leftover candy to elegant spring barks studded with freeze-dried fruit and edible flowers, the “bark” technique is celebrated worldwide for its approachability and endless adaptability.
Frequently Asked Questions
Why did my white chocolate become clumpy and hard to stir?
This is called “seizing.” It happens for two main reasons: either water got into the chocolate, or the chocolate was overheated. Always use dry bowls and utensils, and microwave at 50% power. If using food coloring, ensure it is not water-based.
Can I use dark or milk chocolate instead of white?
Absolutely! You can easily swap the white chocolate for milk or dark chocolate. You will just need to omit the green food coloring, as it will not show up in the dark chocolate base. Dark chocolate mint bark with Oreos is incredibly rich and delicious.
Do I have to use peppermint extract?
If you are not a fan of mint, you can simply omit the extract entirely. You will be left with a delicious Vanilla Oreo Bark. You could also experiment with other flavors, like a dash of orange extract or almond extract, though mint is the traditional pairing for this specific look.
Is almond bark actually made of almonds?
No, despite the name, vanilla almond bark does not usually contain almonds. It got its name decades ago because it was a popular vanilla coating used to cover almonds for candy making. Today, it is simply a term used for vanilla-flavored melting candy.
Conclusion
This 4-Ingredient Mint Oreo Bark is proof that you do not need hours in the kitchen to produce a dessert that looks spectacular and tastes divine. With its striking bright green color, the cooling pop of peppermint, and the comforting crunch of classic Oreo cookies, it is a sensory delight that is incredibly fun to make and even more fun to eat. Whether you are whipping up a quick batch for a holiday celebration, packaging it up as a thoughtful homemade gift, or just treating yourself to a well-deserved sweet snack, this foolproof recipe will never let you down. Grab your ingredients, melt that chocolate, and get ready to break into your new favorite no-bake treat!
4-Ingredient Mint Oreo Bark
Ingredients
Equipment
Method
- Line a large rimmed baking sheet with parchment paper or a silicone baking mat. Set aside.
- Coarsely chop the Oreo cookies. Reserve about 1/4 cup of the chopped cookies for the topping.
- In a microwave-safe bowl, melt the white chocolate in 30-second increments at 50% power, stirring vigorously after each interval until completely smooth and melted.
- Stir the peppermint extract and green food coloring into the melted white chocolate until you reach your desired shade of green.
- Gently fold the larger portion of the chopped Oreo cookies into the colored chocolate mixture until evenly combined.
- Pour the mixture onto the prepared baking sheet and spread it out evenly with a spatula to about 1/4 inch thickness.
- Immediately sprinkle the reserved 1/4 cup of chopped Oreos over the top, pressing them down lightly to adhere.
- Place the baking sheet in the refrigerator for 30-45 minutes (or freezer for 15 minutes) until the bark is completely firm and set.
- Remove from the fridge and break the large sheet into irregular pieces using your hands or a blunt knife. Serve immediately or store in an airtight container.