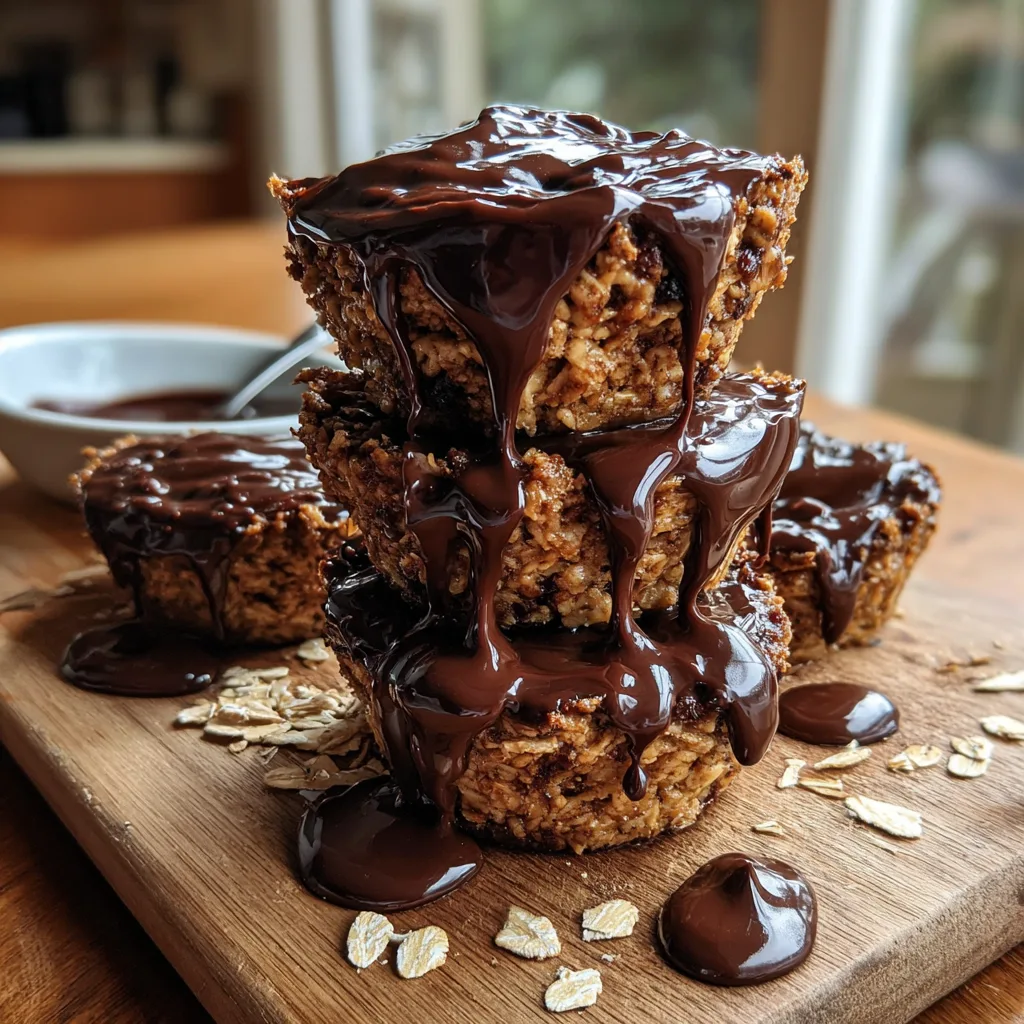
Peanut Butter Oat Cups
The Ultimate No Bake Peanut Butter Oat Cups
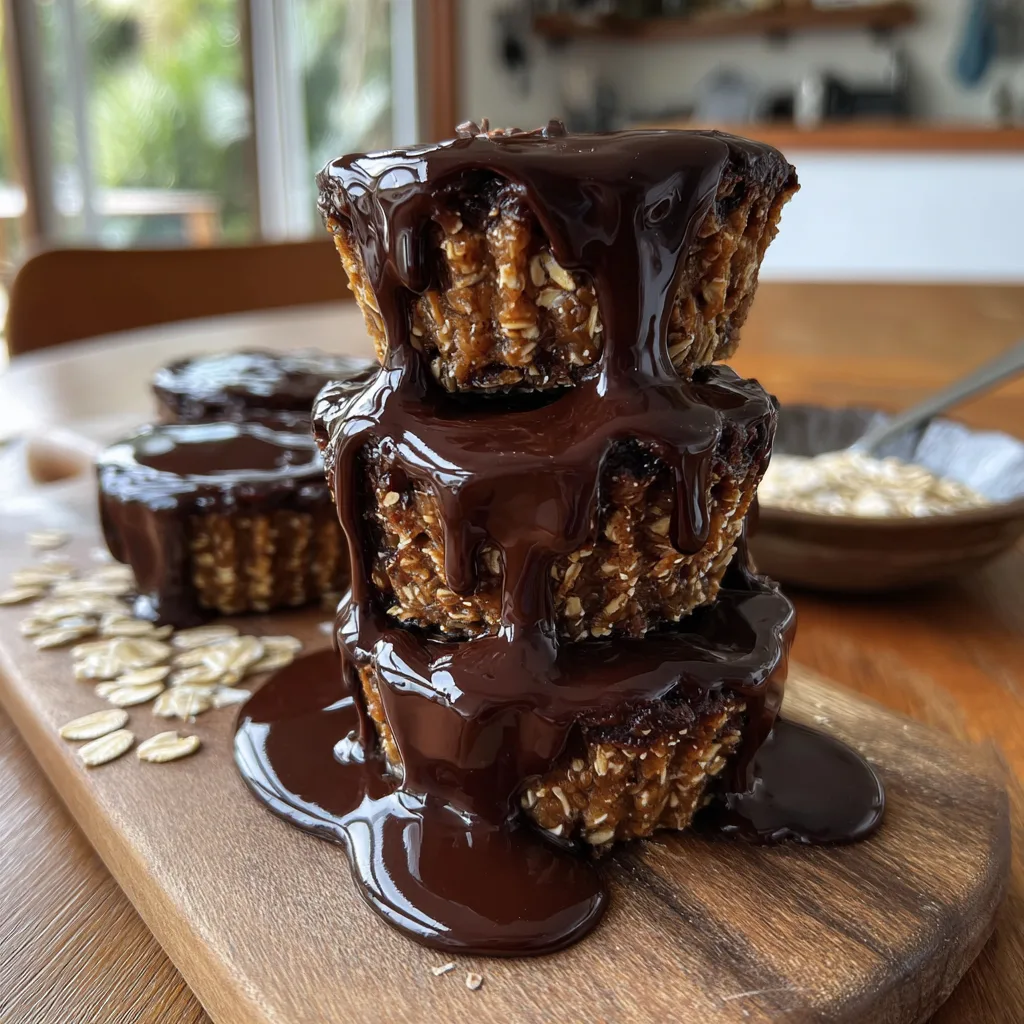
When the craving for something sweet, salty, chewy, and chocolaty hits, turning on the oven is usually the last thing anyone wants to do. Enter the perfect solution: The Ultimate No Bake Peanut Butter Oat Cups. This recipe brilliantly marries the wholesome, satisfying texture of rolled oats with the rich, indulgent pairing of creamy peanut butter and smooth dark chocolate. These little cups are essentially a reimagined, heartier version of a classic peanut butter cup, but with a chewy, cookie-dough-like base that makes them entirely acceptable to eat for breakfast, a midday snack, or a late-night dessert.
In today’s fast-paced world, finding recipes that are both incredibly delicious and astonishingly easy to put together is like striking gold. These no-bake treats require zero baking skills, minimal equipment, and only a handful of pantry staples that you likely already have in your kitchen. Whether you are meal-prepping snacks for the week, looking for a quick lunchbox addition for the kids, or simply treating yourself to a wholesome indulgence, these oat cups will quickly become a staple in your household.
Why You Will Obsess Over These Oat Cups
There is a reason why the combination of peanut butter and chocolate has stood the test of time. It is a flavor profile that perfectly balances sweet, salty, bitter, and rich. But adding oats to the mix elevates this classic duo to an entirely new level. Here is why you are going to fall completely in love with this recipe:
- Incredible Texture Contrast: The base of these cups is chewy, dense, and satisfying thanks to the rolled oats and thick peanut butter. This provides the perfect contrast to the solid, smooth, and snappy chocolate shell on top.
- No Oven Required: As the name suggests, this is a completely no-bake recipe. You will not heat up your kitchen, and you will not have to worry about overbaking or underbaking. The refrigerator does all the heavy lifting.
- Wholesome Ingredients: Unlike store-bought peanut butter cups that are loaded with refined sugars, preservatives, and artificial flavors, these cups are made with simple, recognizable ingredients. They offer a good source of fiber from the oats and healthy fats from the peanut butter.
- Endlessly Customizable: This recipe is incredibly forgiving. You can easily adapt it to be vegan, gluten-free, or lower in sugar depending on your dietary needs and preferences.
- Perfect for Meal Prep: These oat cups store beautifully in the freezer or refrigerator, making them the ultimate make-ahead snack for busy weeks.
The Magic of No-Bake Desserts
The beauty of no-bake desserts lies in their reliance on binding agents and temperature control rather than chemical leaveners and heat. In traditional baking, flour, eggs, and baking powder react under heat to create structure. In a no-bake recipe like this one, the structure is created by the natural stickiness of the liquid sweetener (like maple syrup or honey) combined with the fat and protein in the peanut butter.
When these ingredients are mixed with the dry oats, they form a cohesive “dough.” Chilling this mixture in the refrigerator or freezer causes the fats in the peanut butter and the coconut oil (in the chocolate topping) to solidify, cementing the cups into perfect, holdable treats. It is a simple, foolproof culinary science that guarantees perfect results every single time.
Essential Ingredients
To make the perfect batch of No Bake Peanut Butter Oat Cups, you will need the following simple ingredients. Quality matters here, so choose the best you can find!
For the Chewy Oat Base:
- – 1 1/2 cups old-fashioned rolled oats (Do not use quick oats or steel-cut oats; old-fashioned oats provide the best chewy texture without turning into mush.)
- – 3/4 cup creamy peanut butter (A standard creamy peanut butter like Jif or Skippy works best for binding. If using natural peanut butter, make sure it is very well stirred and not too runny.)
- – 1/3 cup pure maple syrup (You can also substitute with honey or agave nectar, but maple syrup provides a wonderful depth of flavor.)
- – 1 teaspoon pure vanilla extract
- – 1/4 teaspoon sea salt (Crucial for balancing the sweetness and enhancing the peanut butter flavor.)
For the Chocolate Shell Topping:
- – 1 cup semi-sweet or dark chocolate chips (Use a high-quality brand for the best melting texture and flavor.)
- – 1 tablespoon coconut oil (This helps thin the chocolate for pouring and ensures the chocolate sets up with a slightly softer bite, preventing it from cracking too aggressively when you take a bite.)
- – Optional: Flaky sea salt for sprinkling on top.
Step-by-Step Instructions
Making these oat cups is incredibly straightforward. You will only need one bowl for the base, a small microwave-safe bowl for the chocolate, and a standard 12-cup muffin tin.
- Prepare the Muffin Tin: Line a standard 12-cup muffin tin with paper or silicone muffin liners. Silicone liners are fantastic for this recipe because they peel away effortlessly without sticking to the oat base.
- Mix the Wet Base Ingredients: In a medium-sized mixing bowl, add the creamy peanut butter, pure maple syrup, vanilla extract, and sea salt. Stir vigorously with a spatula or wooden spoon until the mixture is completely smooth and well combined. If your peanut butter is very stiff, you can microwave it for 10-15 seconds to loosen it up before mixing.
- Incorporate the Oats: Pour the old-fashioned rolled oats into the peanut butter mixture. Fold the mixture together until every single oat is thoroughly coated and a thick, sticky dough forms. There should be no dry oat spots remaining.
- Form the Cups: Scoop about 1.5 to 2 tablespoons of the oat mixture into each lined muffin cup. Using the back of a spoon, or your slightly damp fingers, press the mixture down firmly and evenly to create a solid, flat base. Pressing firmly is key to ensuring the cups hold together once chilled.
- Melt the Chocolate Topping: In a small, microwave-safe bowl, combine the chocolate chips and coconut oil. Microwave in 30-second increments, stirring well after each interval, until the chocolate is completely melted, smooth, and glossy. Do not overheat the chocolate, or it will seize and become clumpy.
- Top the Oat Cups: Spoon about 1 tablespoon of the melted chocolate evenly over the top of each pressed oat base. Gently tap the muffin tin on the counter a few times to help the chocolate settle into a smooth, flat layer.
- Chill to Set: Place the muffin tin in the refrigerator for at least 30 to 45 minutes, or in the freezer for 15 to 20 minutes, until the chocolate top is completely hardened and the oat base is firm.
- Serve and Enjoy: Once set, remove the cups from the muffin tin, peel off the liners, and enjoy! If you are feeling extra fancy, sprinkle a tiny pinch of flaky sea salt on top of the chocolate right before it fully sets.
Pro Tips for Perfect Oat Cups
Even though this recipe is practically foolproof, a few expert tips will ensure your oat cups turn out absolutely flawless:
Press Firmly: The most common mistake with no-bake oat treats is a crumbly base. To prevent this, you must press the oat mixture into the muffin liners with serious force. A helpful trick is to use the bottom of a small shot glass or the back of a measuring spoon to pack the mixture down tightly and evenly.
The Coconut Oil Trick: Do not skip the coconut oil in the chocolate topping. Without it, the melted chocolate chips will harden into a rock-solid shell in the fridge. When you try to bite into it, the chocolate will shatter and squash the softer oat base underneath. Coconut oil slightly softens the set chocolate, allowing your teeth to glide through it perfectly.
Managing Natural Peanut Butter: If you prefer to use natural, drippy peanut butter (the kind where the oil separates at the top), ensure it is stirred incredibly well. If the peanut butter is too oily, your oat base might not set properly. If the mixture seems too wet, simply add an extra tablespoon or two of oats.
Delicious Variations and Customizations
Once you master the base recipe, consider these oat cups a blank canvas for your favorite flavor combinations. Here are a few ways to switch things up:
Crunchy Monkey Cups: Substitute crunchy peanut butter for the creamy version. Mash half of a ripe banana into the wet ingredients before adding the oats. Top with milk chocolate instead of dark.
Almond Joy Cups: Swap the peanut butter for almond butter. Mix 1/4 cup of shredded coconut into the oat base. Press a whole almond into the top of each oat base before covering it with the melted dark chocolate.
Protein-Packed Cups: Boost the nutritional profile by adding 1-2 tablespoons of your favorite vanilla or chocolate protein powder, or a tablespoon of chia seeds and hemp hearts, into the oat mixture. You may need an extra splash of maple syrup if the mixture becomes too dry.
SunButter or Cookie Butter: For a nut-free environment (like school lunchboxes), sunflower seed butter is a fantastic 1:1 substitute for peanut butter. For a purely decadent dessert, try using Biscoff cookie butter.
How to Store and Freeze
Because these cups contain no preservatives and rely on cold temperatures to hold their shape, proper storage is essential.
Refrigerator Storage: Store the fully set oat cups in an airtight container in the refrigerator. They will stay fresh, chewy, and delicious for up to 10 days. They are best eaten straight out of the fridge.
Freezer Storage: For longer storage, these freeze beautifully. Place the cups in a single layer in a freezer-safe zip-top bag or container. They will keep for up to 3 months. When you are ready to enjoy one, let it sit at room temperature for about 5-10 minutes to soften slightly before taking a bite.
Frequently Asked Questions (FAQ)
Can I use quick oats instead of rolled oats?
It is highly recommended to stick with old-fashioned rolled oats. Quick oats are chopped much finer and tend to absorb the peanut butter and syrup too quickly, resulting in a dense, mushy texture rather than the desired satisfying chew. Steel-cut oats are too hard and cannot be eaten raw in this manner.
Can I make this as a bar instead of cups?
Absolutely! If you do not want to bother with muffin liners, line an 8×8 inch square baking dish with parchment paper. Press the oat mixture firmly into the bottom of the pan in an even layer. Pour all the melted chocolate over the top and spread it smooth. Chill until set, then use a sharp, warm knife to slice them into squares.
Why is my oat base crumbly?
A crumbly base usually means there was not enough “glue” (peanut butter and syrup) or the mixture was not pressed firmly enough into the tin. If your dough feels too dry in the bowl before pressing, simply mix in an extra tablespoon of peanut butter or a drizzle of maple syrup until it holds together when you squeeze it in your hand.
The Nutritional Benefits of Oats and Peanut Butter
While these are undeniably a treat, you can feel good about the ingredients going into your body. Old-fashioned oats are a fantastic source of complex carbohydrates and soluble fiber, particularly beta-glucan, which promotes a feeling of fullness and supports heart health. Peanut butter brings a solid dose of plant-based protein and healthy monounsaturated fats to the table, providing sustained energy without the rapid blood sugar spike associated with traditional candy bars.
By making these at home, you also control the quality of the chocolate. Opting for a dark chocolate with a high cocoa percentage (70% or higher) adds a wonderful punch of antioxidants to this snack.
Conclusion
The No Bake Peanut Butter Oat Cups are the ultimate testament to the fact that you do not need a complicated recipe or hours in the kitchen to create something spectacular. With their hearty, chewy oat base and luxurious chocolate topping, they satisfy every sweet tooth while providing a hit of wholesome energy. Perfect for meal prep, lunchboxes, or a late-night dessert craving, this is one recipe you will find yourself making week after week. Grab your muffin tin, mix up a batch, and enjoy the magical combination of peanut butter, oats, and chocolate!
No Bake Peanut Butter Oat Cups
Ingredients
Equipment
Method
- Line a 12-cup muffin tin with paper or silicone liners.
- In a medium mixing bowl, combine the peanut butter, maple syrup, vanilla extract, and salt. Stir until completely smooth.
- Add the rolled oats to the wet mixture and fold together until all oats are evenly coated and a sticky dough forms.
- Divide the oat mixture evenly among the 12 muffin cups (about 1.5 to 2 tablespoons each). Press down very firmly using the back of a spoon to create a solid, flat base.
- In a small microwave-safe bowl, combine the chocolate chips and coconut oil. Microwave in 30-second increments, stirring after each, until smooth and melted.
- Spoon about 1 tablespoon of the melted chocolate evenly over the top of each oat base. Tap the pan gently to level the chocolate.
- Place the muffin tin in the refrigerator for at least 30 minutes, or freezer for 15 minutes, until the chocolate is fully set and hardened.
- Remove from liners and serve cold. Store leftovers in an airtight container in the refrigerator or freezer.