Salted Brownie Cookies
Salted Dark Chocolate Brownie Cookies: The Ultimate Fudgy Indulgence
If there is one recipe that bridges the gap between a chewy cookie and a decadent fudge brownie, it is these Salted Dark Chocolate Brownie Cookies. Imagine the crackly, shiny top of a perfect brownie, the chewiness of your favorite cookie, and a hit of flaky sea salt to cut through the richness. These cookies are not just a treat; they are an experience. Whether you are a seasoned baker or a novice looking to impress, this recipe delivers bakery-quality results right in your home kitchen.
In this guide, we will dive deep into the science of the crinkle top, the importance of high-quality chocolate, and the step-by-step process to achieve that glossy, wet-look finish that makes these cookies so photogenic and mouth-watering.

Why You Will Love This Recipe
There are thousands of cookie recipes on the internet, but few offer the textural complexity of this one. Here is why this recipe stands out:
- Texture Heaven: Crisp edges, a gooey fudgy center, and a delicate crackle top.
- Intense Chocolate Flavor: We use both melted chocolate and cocoa powder for a depth of flavor that satisfies the deepest cravings.
- The Salty-Sweet Balance: The addition of flaky sea salt elevates the chocolate, preventing the cookie from becoming cloyingly sweet.
- Visual Appeal: With their dark color and glossy drizzle, these look professionally made.
The Secret to the Perfect Crinkle Top
Many home bakers struggle to get that signature shiny, crackled “brownie skin” on their cookies. The secret lies in the eggs and sugar. You must whip the eggs and sugar together until they are pale and thick (the ribbon stage). This creates a meringue-like structure that rises and then collapses slightly in the oven, forming that beautiful, delicate crust. Do not rush this step; give it the full time required!
Ingredients
To make these Salted Dark Chocolate Brownie Cookies, you will need the following ingredients. Ensure your ingredients are at room temperature unless specified otherwise.
For the Cookie Dough:
- Dark Chocolate (60-70% cocoa): 8 oz (225g) – Chopped roughly. Do not use chocolate chips as they contain stabilizers that prevent proper melting.
- Unsalted Butter: ½ cup (115g) – Cut into cubes for even melting.
- All-Purpose Flour: ¾ cup (95g) – Spoon and leveled to avoid dense cookies.
- Unsweetened Cocoa Powder: ¼ cup (20g) – Dutch-processed is preferred for a darker color and smoother flavor.
- Baking Powder: 1 tsp – Freshness is key for the lift.
- Salt: ¼ tsp – Fine sea salt for the dough.
- Eggs: 2 large – Room temperature.
- Granulated Sugar: ¾ cup (150g) – Essential for the crackly top.
- Light Brown Sugar: ¼ cup (50g) – Adds moisture and chewiness.
- Vanilla Extract: 1 tsp – Pure vanilla extract enhances the chocolate.
For the Garnish:
- Dark Chocolate Chips or Chunks: ¼ cup – For melting and drizzling.
- Flaky Sea Salt: e.g., Maldon salt – The finishing touch that makes the flavors pop.
Instructions
Follow these steps carefully to ensure your cookies come out fudgy and glossy.
- Prep the Oven and Pans: Preheat your oven to 350°F (175°C). Line two large baking sheets with parchment paper. Do not grease the paper.
- Melt Chocolate and Butter: In a heatproof bowl set over a pot of simmering water (double boiler method), melt the chopped dark chocolate and butter together. Stir frequently until completely smooth and glossy. Alternatively, microwave in 30-second bursts, stirring in between. Set aside to cool slightly (about 5-10 minutes).
- Mix Dry Ingredients: In a small bowl, whisk together the flour, cocoa powder, baking powder, and fine salt. Ensure there are no lumps of cocoa powder.
- Whip Eggs and Sugars: In a large mixing bowl (or stand mixer fitted with the whisk attachment), beat the eggs, granulated sugar, brown sugar, and vanilla extract on high speed for exactly 5 minutes. The mixture should become pale, thick, and fall off the whisk in ribbons. (This is the most critical step for the crinkle top!)
- Combine Wet Mixtures: Pour the slightly cooled melted chocolate mixture into the whipped egg mixture. Use a spatula to gently fold them together until combined. Do not deflate the eggs too much.
- Add Dry Ingredients: Sift the dry ingredients over the wet mixture. Gently fold with a spatula just until no flour streaks remain. The batter will be thin, almost like a brownie batter—this is normal.
- Scoop the Dough: Use a medium cookie scoop (about 1.5 to 2 tablespoons) to drop the batter onto the prepared baking sheets. Space them at least 2 inches apart as they will spread.
- Bake: Bake for 10–12 minutes. The edges should be set, and the tops should be puffy and crackled. The centers will still look slightly underdone/soft; they will set as they cool. Do not overbake!
- Cool: Let the cookies cool on the baking sheet for at least 10 minutes. They are very fragile when hot. Transfer to a wire rack to cool completely.
- Garnish: Melt the remaining ¼ cup of chocolate. Drizzle generously over the cooled cookies using a spoon or a piping bag. Immediately sprinkle with flaky sea salt so it sticks to the wet chocolate.
Tips for Success
Achieving the perfect brownie cookie can be tricky. Here are some expert tips to troubleshoot common issues:
- Temperature Matters: If your melted chocolate is too hot when added to the eggs, it can scramble them. If it is too cold, it may seize. Aim for warm to the touch but not hot.
- Speed is Key: Once the flour is added, the baking powder activates. Scoop and bake immediately for the best texture. Do not let the batter sit for hours.
- The Pan Bang: If you want flatter, rippled cookies, take the pan out of the oven halfway through baking and tap it firmly on the counter, then return it to the oven.
- Chocolate Quality: Since chocolate is the main flavor, use a bar you enjoy eating plain. Brands like Ghirardelli, Guittard, or Lindt work beautifully.
Variations
- Mocha Twist: Add 1 teaspoon of espresso powder to the dry ingredients for a coffee-infused chocolate flavor.
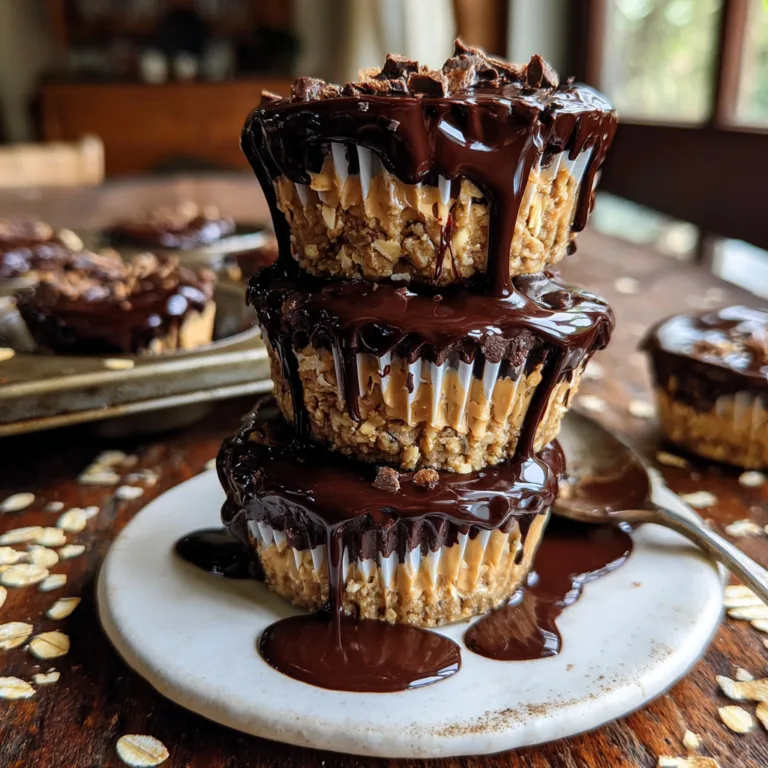
- Nutty Crunch: Fold in ½ cup of toasted chopped walnuts or pecans before baking.
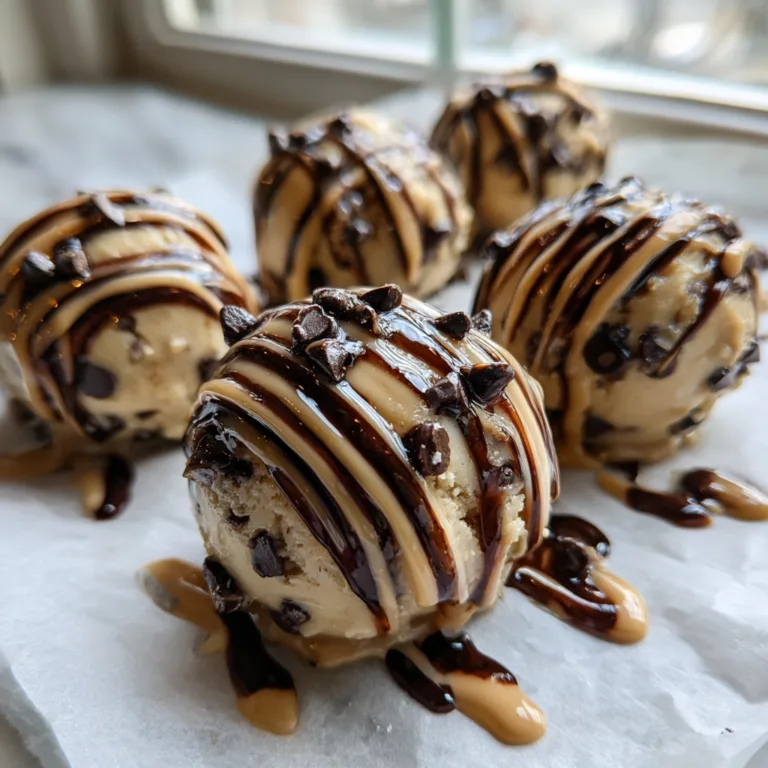
- Double Drizzle: Drizzle with melted white chocolate alongside the dark chocolate for a striking visual contrast.
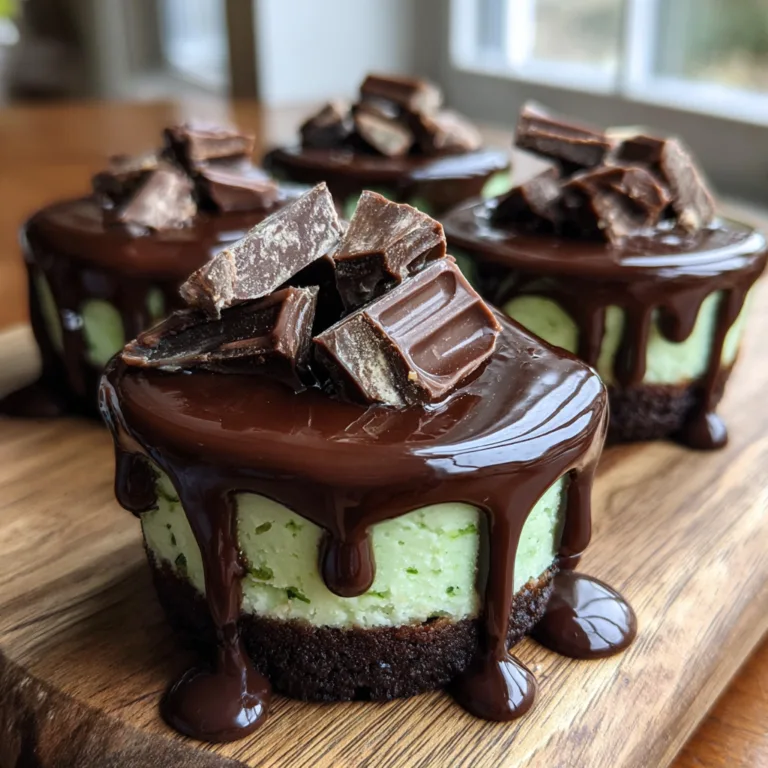
- Peppermint Holiday: Swap the vanilla extract for peppermint extract and top with crushed candy canes instead of sea salt for a festive version.
Serving Suggestions
These Salted Dark Chocolate Brownie Cookies are incredibly versatile. Here is how to serve them:
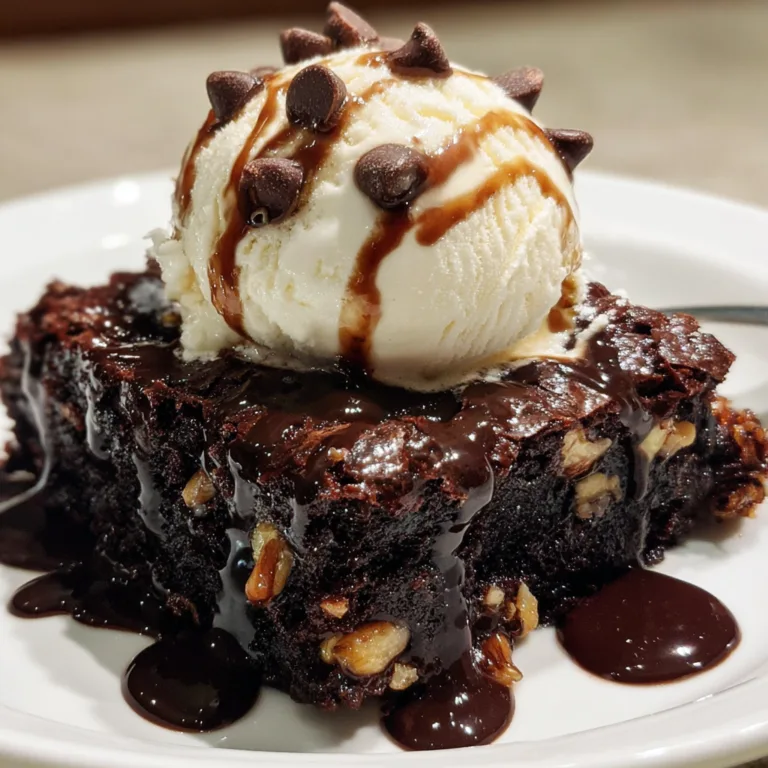
- Ice Cream Sandwiches: Sandwich a scoop of vanilla bean or salted caramel ice cream between two cookies. Freezing them creates an upscale dessert sandwich.
- With Coffee: The bitterness of a dark roast coffee pairs perfectly with the sweetness of the cookie.
- Warm Plating: Serve a cookie slightly warm with a dollop of mascarpone cream and fresh berries for a plated dessert vibe.

Cultural Context & Fun Facts
The concept of the “brookie” (brownie + cookie) has gained immense popularity in American baking culture over the last decade. It represents the modern desire for hybrid desserts that maximize texture. Historically, brownies originated in the United States in the late 19th century. Transforming that dense, bar-style dessert into a portable, circular cookie requires altering the fat-to-flour ratio, a technique perfected by modern pastry chefs to keep the center gooey while allowing the edges to crisp.
The addition of sea salt to chocolate is a relatively modern culinary trend that exploded in the early 2000s. Salt functions as a flavor enhancer; it suppresses bitterness in the cocoa and brings out the fruity, complex notes of the chocolate, making it taste more “chocolatey.”
Storage Instructions
Room Temperature: Store in an airtight container for up to 3 days. To keep them chewy, place a slice of white bread in the container (the cookies will absorb moisture from the bread).
Freezing: These cookies freeze well. Place them in a single layer to freeze, then transfer to a ziplock bag. Freeze for up to 3 months. Thaw at room temperature for an hour before serving.
Enjoy baking these glossy, fudgy masterpieces. They are sure to become a staple in your recipe rotation!
Salted Dark Chocolate Brownie Cookies
Ingredients
Equipment
Method
- Preheat oven to 350°F (175°C). Line two baking sheets with parchment paper.
- Melt chopped chocolate and butter in a heatproof bowl over simmering water or in the microwave. Stir until smooth and let cool slightly.
- In a small bowl, whisk together flour, cocoa powder, baking powder, and salt.
- In a large mixer, beat eggs, granulated sugar, brown sugar, and vanilla on high speed for 5 minutes until pale and thick.
- Fold the melted chocolate mixture into the egg mixture gently.
- Sift dry ingredients over the wet batter and fold just until combined. Do not overmix.
- Scoop batter onto baking sheets, spacing 2 inches apart.
- Bake for 10-12 minutes until edges are set and tops are crackled. Centers will be soft.
- Cool on baking sheets for 10 minutes, then transfer to a wire rack.
- Drizzle with melted chocolate and sprinkle with flaky sea salt.