Strawberry Oreo Cheesecake Bars
The Ultimate Strawberry Oreo Cheesecake Bars Recipe
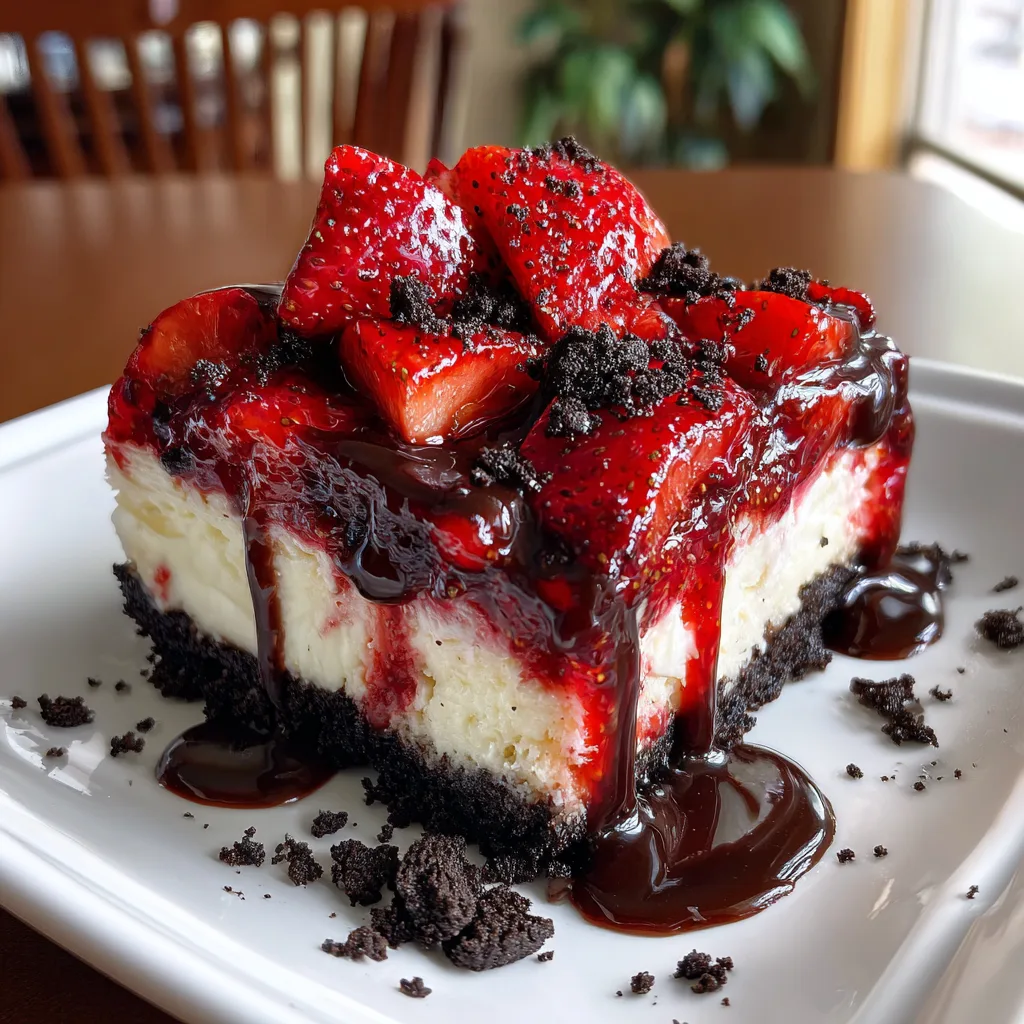
When it comes to creating a dessert that absolutely steals the show, finding the perfect balance of flavors and textures is the ultimate culinary goal. If you are searching for a treat that marries the rich, dark, slightly bitter notes of chocolate with the bright, sweet, and tangy profile of fresh summer fruit, look no further than these incredible Strawberry Oreo Cheesecake Bars. This dessert is a masterclass in contrasting elements: a dense, buttery, crunchy dark chocolate cookie crust sits beneath a layer of cloud-like, velvety cheesecake filling that is generously studded with vibrant chunks of fresh strawberries. As if that wasn’t decadent enough, the entire masterpiece is crowned with more fresh berries, a scattering of crushed cookies, and a glossy drizzle of chocolate syrup.
Cheesecake has long been considered a labor of love, often requiring water baths, springform pans, and the constant anxiety of a cracked surface. However, baking cheesecake in a bar format completely revolutionizes the process. It takes away the stress and the overly complicated techniques, leaving you with all the indulgent, creamy goodness in a fraction of the time and with significantly less effort. These bars are incredibly forgiving, effortlessly beautiful, and designed to be shared. Whether you are bringing a dessert to a bustling summer barbecue, hosting an elegant dinner party, or simply treating your family to a weekend indulgence, this recipe guarantees empty plates and requests for the recipe.
In this comprehensive guide, we will explore every single facet of creating the perfect Strawberry Oreo Cheesecake Bars. From selecting the ripest strawberries and the right type of cream cheese to the science of achieving that perfectly smooth, crack-free filling, no detail will be overlooked. Get ready to elevate your baking repertoire with a dessert that looks like it came straight from a high-end bakery but was made right in the comfort of your own kitchen.
Why You Will Fall in Love with These Cheesecake Bars
There are countless reasons why this specific dessert deserves a permanent spot in your recipe collection. Let’s break down exactly what makes these Strawberry Oreo Cheesecake Bars so utterly irresistible.
First and foremost is the phenomenal flavor pairing. The combination of chocolate and strawberry is a classic for a reason. The deep, slightly alkaline flavor of the dark chocolate Oreo crust provides a grounding, earthy base. This immediately cuts through the rich, heavy sweetness of the cream cheese filling. Then, just as your palate is experiencing the creamy decadence, you bite into a chunk of baked fresh strawberry, which releases a burst of tart, juicy acidity that cleanses the palate and leaves you craving another bite. It is a continuous loop of complementary flavors that never becomes cloying or overly sweet.
Secondly, the texture profile is incredibly satisfying. A great dessert takes your mouth on a journey. You start with the snap and crumb of the baked cookie crust, move into the dense, silky smooth, melt-in-your-mouth cheesecake layer, and finally encounter the soft, jammy pockets of baked strawberries. The topping adds another layer of textural interest with the crunch of extra cookie pieces and the slick, syrupy finish of the chocolate drizzle.
Furthermore, the convenience factor cannot be overstated. Traditional cheesecakes require hours of baking, delicate cooling procedures, and the ever-dreaded water bath to prevent the top from cracking. Cheesecake bars, baked in a standard rectangular pan, cook much faster and more evenly. Because they are ultimately cut into squares and often topped with garnishes, a minor crack on the surface is easily hidden and completely irrelevant. They are the ultimate stress-free cheesecake experience.
Finally, portion control and serving are a breeze. Slicing a traditional round cheesecake can often result in messy, uneven wedges. Bars, on the other hand, can be cut cleanly into perfectly uniform squares, making them ideal for feeding a crowd, arranging neatly on a dessert platter, or packing into lunchboxes for a midday treat.
Understanding the Essential Ingredients
The success of any baking endeavor relies heavily on the quality and specific type of ingredients used. For these Strawberry Oreo Cheesecake Bars, paying attention to the following components will ensure a flawless result.
The Cookie Crust: You will need standard chocolate sandwich cookies (like Oreos) for the base. The key here is to crush the entire cookie, filling and all. The cream filling inside the cookies actually helps bind the crust together, meaning you need slightly less melted butter than you would if using plain graham crackers. Pulse them in a food processor until they resemble fine, damp sand for the best structural integrity.
Cream Cheese: This is not the time to reach for the low-fat or whipped varieties. You must use full-fat cream cheese that comes in solid brick form. Whipped cream cheese has too much air incorporated into it, which will cause your bars to deflate and become dense, while low-fat versions contain higher water content and stabilizers that can ruin the creamy texture and prevent the cheesecake from setting properly. Crucially, your cream cheese must be at absolute room temperature before you begin mixing.
Fresh Strawberries: While frozen strawberries have their place in smoothies and sauces, they are completely unsuitable for the filling of these baked bars. Frozen berries release an excessive amount of water as they thaw and bake, which will turn your beautiful cheesecake filling into a soggy, separated mess. Opt for fresh, bright red, firm strawberries. Dice them small so they distribute evenly throughout the batter and don’t sink entirely to the bottom.
Sour Cream: A secret weapon in many professional cheesecake recipes, a dollop of full-fat sour cream adds a distinct tanginess that breaks up the heaviness of the cream cheese. It also softens the texture of the cheese, resulting in a silkier, smoother mouthfeel.
Eggs: Eggs are the primary structural binder in the cheesecake filling. They give the dessert its smooth, custard-like texture. Like the cream cheese, the eggs must be at room temperature so they incorporate seamlessly without requiring over-mixing.
Ingredients List
Gather the following ingredients to begin your baking journey:
- – 24 whole chocolate sandwich cookies (like Oreos), unpeeled
- – 1/4 cup (4 tablespoons) unsalted butter, melted
- – 16 ounces (2 bricks) full-fat cream cheese, softened to room temperature
- – 1/2 cup granulated white sugar
- – 1/4 cup full-fat sour cream, room temperature
- – 1 teaspoon pure vanilla extract
- – 2 large eggs, room temperature
- – 1 and 1/2 cups fresh strawberries, hulled and finely diced
- – Extra fresh strawberries, halved or quartered (for topping)
- – 4-5 extra chocolate sandwich cookies, roughly crushed (for topping)
- – 1/4 cup chocolate syrup or melted baking chocolate (for drizzling)
Step-by-Step Instructions
Follow these detailed instructions to create the perfect dessert bars from scratch.
- Prepare the Baking Pan: Preheat your oven to 325°F (163°C). Take an 8×8-inch square baking pan and line it entirely with parchment paper or aluminum foil. Ensure you leave an overhang on two opposite sides. This creates a “sling” that will allow you to effortlessly lift the entire chilled block of cheesecake out of the pan later for perfectly clean slicing. Lightly spray the lining with non-stick cooking spray.
- Create the Cookie Crust: Place the 24 whole chocolate sandwich cookies into a food processor and pulse until they are reduced to fine crumbs. If you do not have a food processor, place the cookies in a heavy-duty ziplock bag and crush them with a rolling pin until fine. Transfer the crumbs to a medium mixing bowl and pour in the melted butter. Stir with a fork until all the crumbs are evenly moistened and the mixture resembles wet sand.
- Bake the Crust: Pour the crumb mixture into your prepared baking pan. Using the bottom of a flat measuring cup or a glass, press the crumbs firmly and evenly into the bottom of the pan to form a tight, compact crust. Bake in the preheated oven for 10 minutes to set. Remove from the oven and allow it to cool slightly while you prepare the filling. Keep the oven turned on.
- Beat the Cream Cheese and Sugar: In a large mixing bowl, or the bowl of a stand mixer fitted with a paddle attachment, beat the softened room-temperature cream cheese on medium-high speed for about 2 minutes until it is completely smooth and creamy, with no lumps remaining. Add the granulated sugar and beat for another minute until well combined, scraping down the sides and bottom of the bowl with a rubber spatula as needed.
- Incorporate the Flavorings and Eggs: To the cream cheese mixture, add the room-temperature sour cream and pure vanilla extract. Mix on low speed just until incorporated. Next, add the room-temperature eggs one at a time. Beat on low speed after each addition just until the yellow of the yolk disappears. Crucial tip: Do not overmix once the eggs are added. Overmixing beats air into the eggs, which will cause your cheesecake to puff up in the oven and then collapse and crack as it cools.
- Fold in the Strawberries: Remove the bowl from the mixer. Take your finely diced fresh strawberries and gently fold them into the cheesecake batter using a rubber spatula. Use a light hand to avoid bruising the berries or turning the batter pink.
- Bake the Cheesecake: Carefully pour the cheesecake batter over the slightly cooled pre-baked crust. Use an offset spatula to smooth the top into an even layer. Bake at 325°F (163°C) for 35 to 40 minutes. You will know it is done when the edges are set and slightly puffed, but the center still has a slight jiggle to it when you gently shake the pan. It will continue to set as it cools.
- Cool and Chill: Remove the pan from the oven and place it on a wire cooling rack. Allow the cheesecake to cool completely to room temperature inside the pan (about 1 to 2 hours). Once it has reached room temperature, cover the pan tightly with plastic wrap and transfer it to the refrigerator. Chill for at least 4 hours, though overnight is highly recommended for the best texture and cleanest slices.
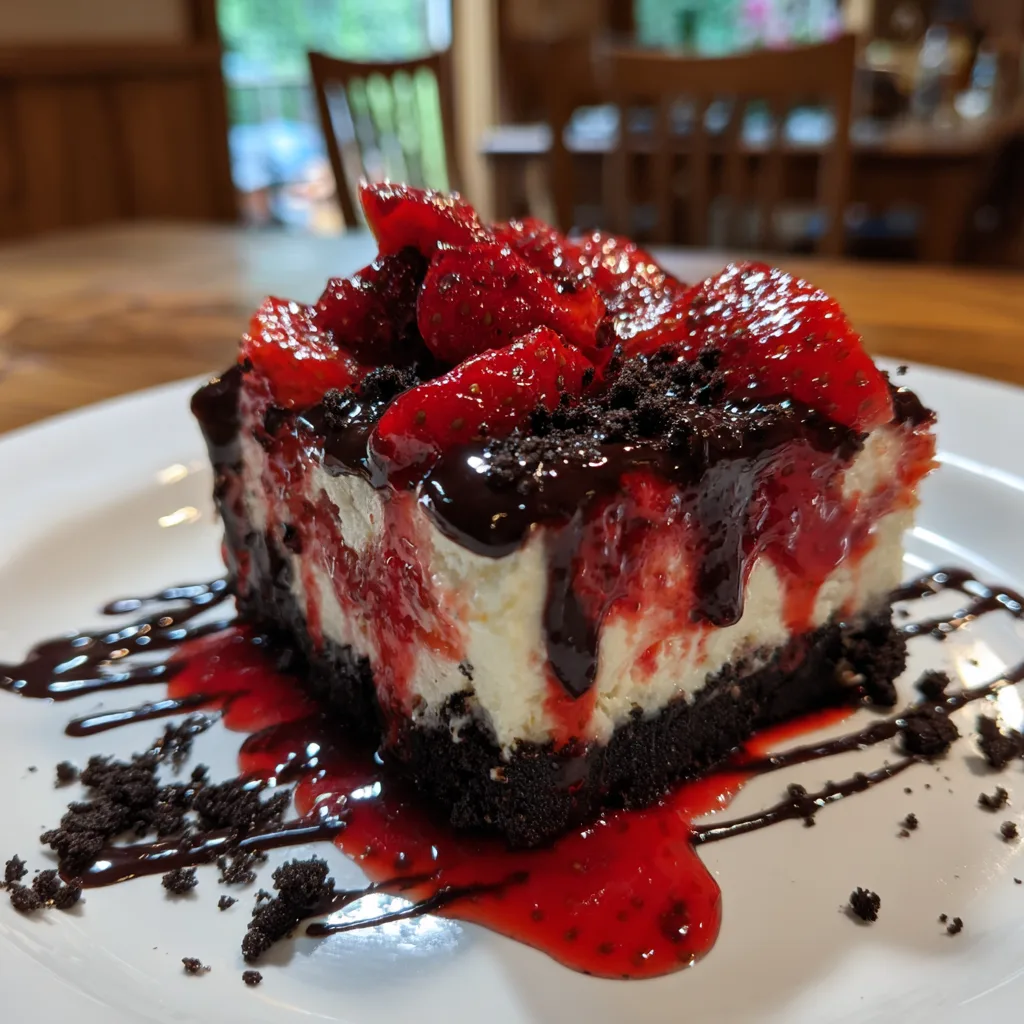
- Garnish and Slice: Once fully chilled, use the parchment paper overhang to carefully lift the entire cheesecake out of the pan and onto a cutting board. Arrange the extra halved fresh strawberries over the top. Sprinkle generously with the roughly crushed cookies, and finally, drizzle the chocolate syrup over everything in a zig-zag pattern. For the cleanest slices, use a large, sharp chef’s knife. Run the blade under hot water, wipe it dry with a towel, and make a cut. Clean and re-warm the blade between every single slice. Cut into 16 even squares and serve chilled.
Expert Tips for the Perfect Cheesecake Bars
Baking cheesecake is part science and part art. Here are a few professional secrets to ensure your bars turn out flawlessly every single time.
The Room Temperature Rule: This cannot be stressed enough. If your cream cheese or eggs are cold, they will not blend smoothly. You will end up with unappetizing lumps of cream cheese in your baked dessert, and you will likely overbeat the mixture trying to remove them, introducing too much air. Take your ingredients out of the fridge at least two hours before you plan to start baking.
The Hot Knife Method: Cheesecake is dense and sticky. If you try to cut it with a room-temperature knife, it will drag through the filling, smearing the bright red strawberries across the white cheese and ruining the beautiful presentation. Heating the blade melts the fat in the cream cheese exactly where the cut is being made, resulting in sharp, bakery-worthy edges.
Avoid the Sinkhole: If you find your strawberries always sink to the bottom of your cheesecake batter, try this trick: toss your diced strawberries in one teaspoon of all-purpose flour before folding them into the batter. The flour creates a microscopic grip on the fruit, helping them stay suspended in the thick batter as it bakes.
Creative Variations to Try
Once you have mastered the base recipe, the Strawberry Oreo Cheesecake Bars can easily be adapted to suit whatever ingredients are in season or lingering in your pantry.
Different Berries: This recipe works beautifully with fresh raspberries, blueberries, or blackberries. If using raspberries, be incredibly gentle when folding them in, as they break apart much easier than strawberries. A mixed berry bar (using a combination of all three) is a stunning visual and flavor upgrade.
Golden Crust: If dark chocolate isn’t your preference, swap the chocolate sandwich cookies for Golden Oreos or traditional graham crackers. This will give you a lighter, more traditional cheesecake flavor profile that allows the vanilla and strawberry notes to shine through even brighter.
Lemon Strawberry: To add a zesty, summery kick, add one tablespoon of freshly grated lemon zest and one tablespoon of fresh lemon juice to the cream cheese batter before adding the eggs. The citrus elevates the flavor of the strawberries and makes the dessert taste incredibly refreshing.
How to Store and Freeze Your Cheesecake Bars
Because cheesecake is a dairy-rich dessert, proper storage is paramount for food safety and maintaining quality.
Refrigerator Storage: Store any leftover bars in an airtight container in the refrigerator. They will keep well for up to 4 or 5 days. Note that the cookie crust may begin to soften slightly after the second day as it absorbs moisture from the cheese filling, but the flavor will remain spectacular.
Freezer Storage: Cheesecake bars freeze exceptionally well, making them a brilliant make-ahead dessert. It is best to freeze them before you add the fresh strawberry and chocolate syrup toppings. Once the baked bars have chilled in the fridge, slice them, wrap each square tightly in plastic wrap, and then place them all in a heavy-duty freezer bag or container. They will keep for up to 2 months. To thaw, simply place them in the refrigerator overnight, then add your fresh toppings just before serving.
Conclusion
The Strawberry Oreo Cheesecake Bars represent the absolute pinnacle of homemade dessert crafting. By bringing together the beloved crunch of a chocolate cookie crust, the luxurious, tangy depth of a perfectly baked cheesecake filling, and the bright, sweet burst of fresh summer strawberries, you create an unforgettable treat that requires a fraction of the effort of a traditional whole cake. Perfect for potlucks, family dinners, or a decadent midnight snack, these bars are as visually stunning as they are delicious. Armed with the expert tips and detailed instructions provided in this guide, you are fully equipped to bake a batch that will dazzle your friends, delight your family, and cement your status as the ultimate home baker. Pre-heat your oven, grab those fresh berries, and prepare to fall in love with your new favorite dessert.
Strawberry Oreo Cheesecake Bars
Ingredients
Equipment
Method
- Preheat oven to 325°F (163°C). Line an 8×8-inch baking pan with parchment paper, leaving an overhang on two sides for easy removal.
- In a food processor, pulse 24 chocolate cookies until fine crumbs form. Mix with melted butter. Press firmly into the bottom of the prepared pan. Bake for 10 minutes, then let cool slightly.
- In a large bowl, beat the softened cream cheese on medium speed until completely smooth. Add the sugar and beat until well combined.
- Mix in the sour cream and vanilla extract. Add the eggs one at a time, mixing on low speed just until combined. Do not overmix.
- Gently fold the finely diced fresh strawberries into the cheesecake batter using a rubber spatula.
- Pour the batter over the pre-baked crust and smooth the top. Bake for 35-40 minutes until the edges are set but the center still slightly jiggles.
- Allow the cheesecake to cool completely in the pan at room temperature. Cover tightly and refrigerate for at least 4 hours, preferably overnight.
- Use the parchment paper to lift the bars out of the pan. Top with fresh strawberry halves, crushed cookies, and a drizzle of chocolate syrup. Slice with a hot knife and serve.


