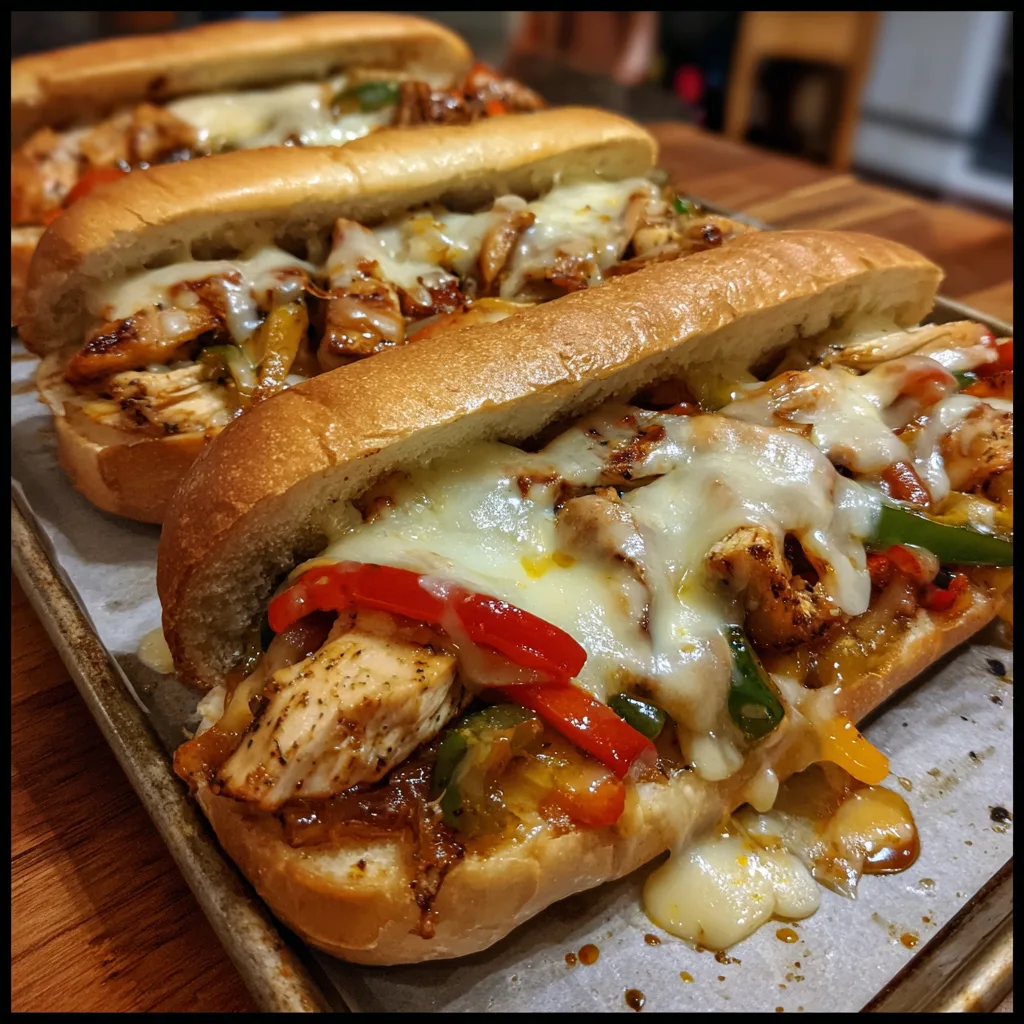
Ultimate Chicken Philly Cheese Steaks
The Ultimate Gooey Chicken Philly Cheese Steaks: A Dinner Hero
There is something undeniably magical about a sandwich that requires two hands, a stack of napkins, and a complete disregard for calorie counting. The Chicken Philly Cheese Steak is exactly that kind of meal. It is the lighter, slightly more approachable cousin of the classic beef cheesesteak, but do not let the word “lighter” fool you. When done right, this sandwich is a heavy-hitter of flavor, packed with juicy, seared chicken, caramelized aromatic vegetables, and a blanket of melted, glossy cheese that stretches with every bite.
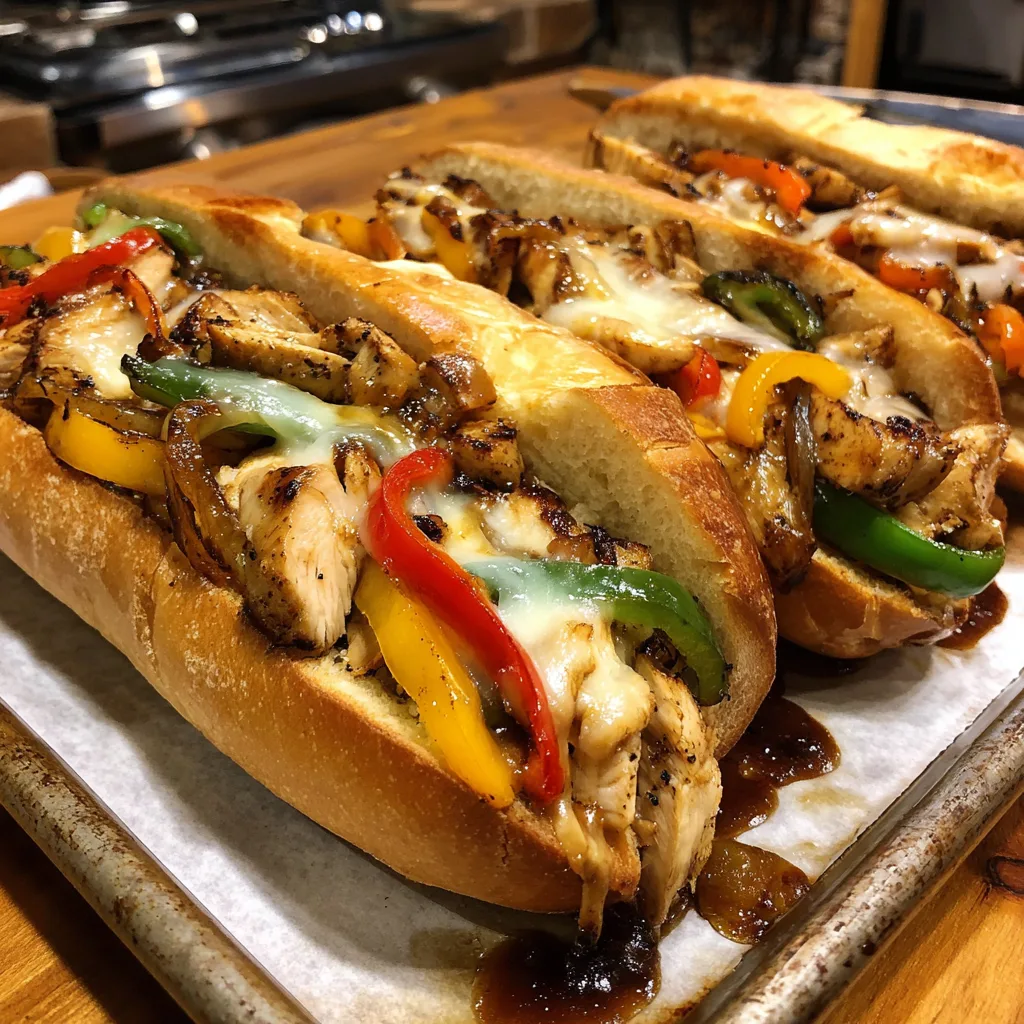
This recipe transforms humble ingredients—chicken breast, bell peppers, onions, and hoagie rolls—into a restaurant-quality feast right in your own kitchen. Whether you are looking for a game-day crowd-pleaser, a hearty Friday night dinner, or just a way to use up those peppers in the fridge, this Chicken Philly is the answer. It is messy, it is savory, and it is absolutely unforgettable.
Why You Will Fall in Love With This Recipe
Finding a dinner recipe that is both quick to make and deeply satisfying can be a challenge. Here is why this Chicken Philly Cheese Steak deserves a permanent spot in your rotation:
- Texture Heaven: We are talking about soft, toasted bread housing tender chunks of chicken and vegetables that still have a bit of bite, all bound together by gooey, molten cheese.
- One-Pan Magic: Aside from toasting the buns, the entire filling is cooked in a single large skillet or griddle, making cleanup a breeze.
- Customizable: Do you like it spicy? Add jalapeños. Love mushrooms? Throw them in. This base recipe is incredibly forgiving and adaptable.
- Budget-Friendly: Chicken breast or thighs are often more affordable than the ribeye steak required for a traditional Philly, yet you sacrifice zero flavor thanks to the seasoning blend.
The Secret to the Perfect Chicken Philly
While the concept is simple, the execution makes all the difference. The biggest mistake home cooks make with chicken cheesesteaks is drying out the meat. Because we are chopping the chicken into bite-sized pieces, it cooks very fast. The key is high heat and quick movement.
Another secret lies in the steam melt. Once your filling is cooked and formed into pile shapes (simulating the size of the bun), you lay the cheese on top and cover the pan or add a splash of water to create steam. This ensures the cheese wraps around every piece of chicken and pepper, creating that “liquid glass” effect where the ingredients become one cohesive unit rather than just meat with a slice of cold cheese sitting on top.
Ingredients
Gather these simple ingredients to create your masterpiece:
For the Filling
- 1.5 lbs (approx. 700g) – Boneless, skinless chicken breasts or thighs (sliced very thin or chopped)
- 2 tbsp – Olive oil or vegetable oil (divided)
- 2 tbsp – Unsalted butter (for richness)
- 1 large – Yellow onion (sliced into strips)
- 1 large – Green bell pepper (sliced into strips)
- 1 large – Red bell pepper (sliced into strips)
- 2 cloves – Garlic (minced)
The Seasoning Blend
- 1 tsp – Salt (plus more to taste)
- 1 tsp – Black pepper (freshly cracked is best)
- 1 tsp – Garlic powder
- 1 tsp – Onion powder
- 1/2 tsp – Paprika (smoked paprika adds a nice depth)
- 1 tsp – Worcestershire sauce (optional, for umami)
For Assembly
- 4 to 6 – Hoagie rolls or sub buns (look for soft interiors with a slightly crusty exterior)
- 8 to 12 slices – Provolone cheese (mild) or White American cheese (for ultimate melt)
- 2 tbsp – Butter (softened, for toasting the buns)
- Optional: Mayo or garlic aioli for the buns
Step-by-Step Instructions
Follow these steps to ensure juicy chicken and perfectly melted cheese every time.
1. Prep the Ingredients
Slice your chicken as thinly as possible. If you are having trouble, pop the chicken in the freezer for 15-20 minutes before slicing; this firms it up and makes thin slicing much easier. Slice your onions and bell peppers into long, even strips. Mix your seasoning spices in a small bowl.
2. Sauté the Vegetables
Heat a large skillet or griddle over medium-high heat. Add 1 tablespoon of oil. Toss in the sliced onions and peppers. Sauté them for about 5-7 minutes until they are softened and the onions begin to brown and caramelize slightly. Add the minced garlic during the last minute of cooking so it doesn’t burn. Remove the veggies from the pan and set them aside on a plate.
3. Sear the Chicken
In the same pan (no need to wash it), add the remaining oil and the butter. Increase the heat to high. Add the chicken in a single layer (do this in batches if your pan is small to avoid steaming the meat). Sprinkle your seasoning blend liberally over the chicken. Cook undisturbed for 2-3 minutes to get a nice golden sear, then flip and cook for another 2-3 minutes until fully cooked through. Splash with Worcestershire sauce if using.
4. Combine and Conquer
Add the cooked vegetables back into the pan with the chicken. Toss everything together so the flavors meld. Taste a piece of chicken and add more salt or pepper if needed. Turn the heat down to low.
5. The “Melt” Step
Divide the chicken and veggie mixture in the pan into 4 to 6 distinct piles (shaped roughly like your buns). Lay 2 slices of Provolone cheese over each pile. Cover the pan with a lid for 1-2 minutes until the cheese is completely melted and cascading down the sides of the piles.
6. Toast the Buns
While the cheese melts, butter the split insides of your hoagie rolls. Toast them in a separate skillet or under the broiler until golden brown. This step is crucial—it prevents the bread from getting soggy from the juicy filling.
7. Assemble and Serve
To serve, take a toasted bun and place it face down over a pile of cheesy chicken. Use a spatula to scoop underneath the mixture and flip the whole thing over into the bun. Alternatively, use tongs to carefully transfer the cheesy piles into the rolls. Serve immediately while hot and steamy.
Tips for Success
- Cheese Choice Matters: Provolone is the traditional choice for a sharp, stringy melt. However, White American cheese creates a creamier, sauce-like texture. Many enthusiasts use a mix of both!
- Bread Selection: Avoid hard baguettes. You want a roll that is soft enough to bite through easily but sturdy enough to hold the weight of the meat and cheese. Amoroso rolls are the gold standard if you can find them.
- Don’t Overcook the Peppers: You want the peppers to be tender but still retain a slight crunch to contrast with the soft chicken and cheese.
- Mayo Magic: Spreading a thin layer of mayonnaise mixed with garlic powder on the toasted bun adds a creamy element that elevates the sandwich significantly.
Variations to Try
Once you have mastered the classic, try these fun twists:
The “Pizza” Steak: Stir in some marinara sauce with the chicken and swap Provolone for Mozzarella cheese. Sprinkle with oregano.
The Spicy Southwest: Replace bell peppers with Poblanos and Jalapeños. Use Pepper Jack cheese instead of Provolone and finish with chipotle mayo.
The Mushroom Swiss: Omit the peppers, double the onions, add sliced cremini mushrooms, and use Swiss cheese for an earthy, savory flavor profile.
Serving Suggestions
This sandwich is a meal on its own, but if you want to round out the table, here are some perfect pairings:
- Fries: Classic shoestring fries, waffle fries, or sweet potato fries are a natural companion.
- Coleslaw: A tangy, vinegar-based coleslaw cuts through the richness of the cheese and meat.
- Pickles: A side of dill pickle spears provides a crunchy, acidic palate cleanser.
- Onion Rings: For the ultimate “diner style” experience at home.
Frequently Asked Questions
Can I use rotisserie chicken?
Yes! To save time, you can shred a rotisserie chicken. Since the meat is already cooked, just sauté your veggies first, then toss in the chicken to warm it up and season it before adding the cheese.
How do I store leftovers?
Store the filling separately from the buns in an airtight container in the refrigerator for up to 3 days. Reheat the filling in a skillet or microwave before loading it into fresh buns.
Can I freeze this recipe?
The filling freezes exceptionally well. Cook the chicken and veggies, let them cool, and freeze in portion-sized bags. Thaw in the fridge overnight and reheat in a skillet, adding fresh cheese just before serving.
Final Thoughts
The Chicken Philly Cheese Steak is more than just a sandwich; it is comfort food at its finest. It captures the essence of a street-food classic and brings it into the home kitchen with ease. whether you are cooking for a hungry family or treating yourself to a solo feast, the combination of savory chicken, sweet peppers, and that irresistible blanket of melted cheese never fails to deliver. So, grab your skillet, slice those veggies, and get ready for a bite of heaven!
Chicken Philly Cheese Steak
Ingredients
Equipment
Method
- Prep ingredients: Slice chicken very thin (freezing for 20 mins helps). Slice onions and peppers into strips.
- Heat 1 tbsp oil in a large skillet over medium-high heat. Sauté onions and peppers until soft and slightly browned (5-7 mins). Add minced garlic in the last minute. Remove from pan.
- In the same pan, add remaining oil and butter. Increase heat to high. Add chicken and seasonings. Sear for 2-3 mins, flip, and cook until done.
- Return vegetables to the pan with the chicken. Toss to combine. Reduce heat to low.
- Divide mixture into 4-6 piles in the pan. Top each pile with 2 slices of Provolone cheese. Cover pan for 1-2 mins to melt cheese.
- Meanwhile, butter the hoagie rolls and toast them until golden brown.
- Scoop the cheesy chicken piles into the toasted buns. Serve immediately.