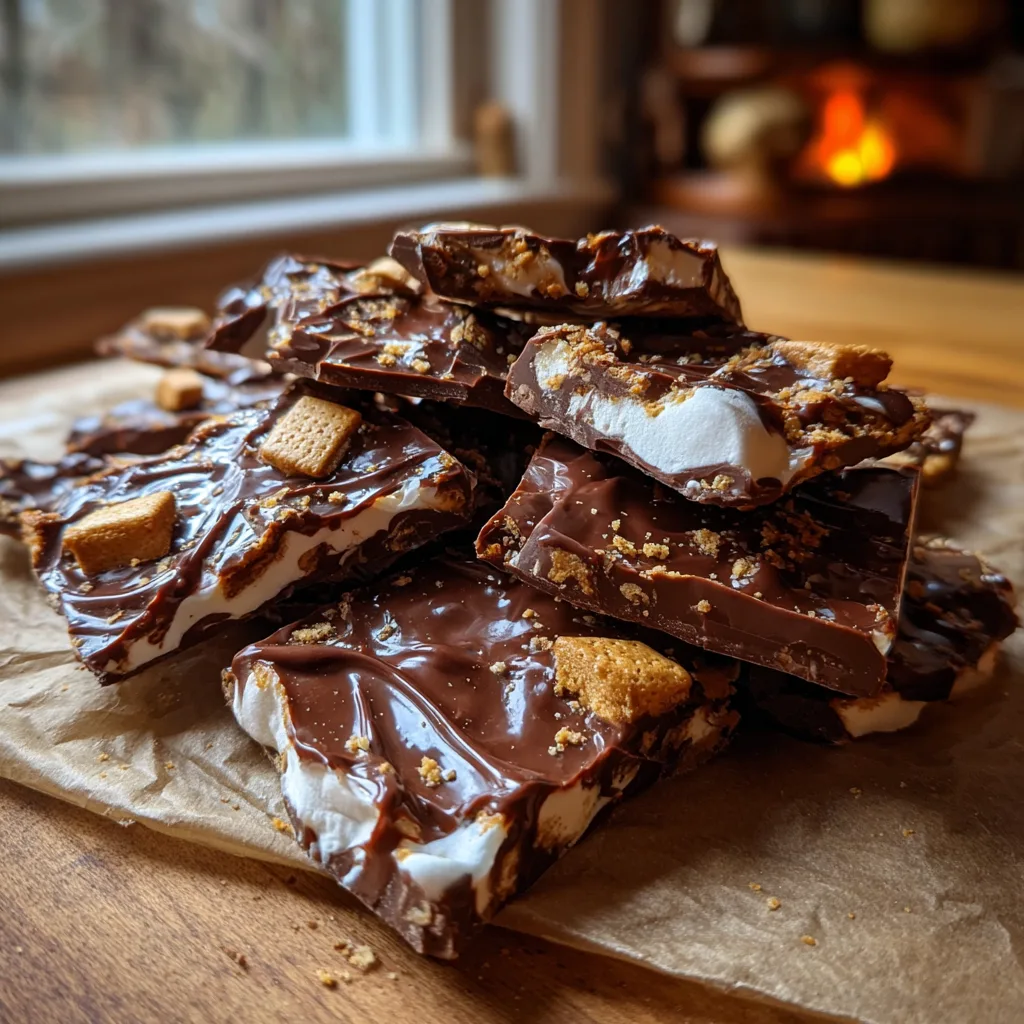
Campfire S’mores Bark
Quick & Easy Campfire S’mores Bark: The Ultimate No-Bake Treat
There is something universally nostalgic about the combination of toasted marshmallows, melting chocolate, and crunchy graham crackers. It evokes memories of crackling campfires, sticky fingers, and summer nights under the stars. However, you don’t always have the time (or the fire pit) to roast marshmallows. Enter the Campfire S’mores Bark. This recipe deconstructs the classic treat and reassembles it into a snap-able, shareable, and utterly addictive chocolate bark that can be made right in your kitchen in less than 20 minutes.
In this comprehensive guide, we are going to walk you through how to create this stunning dessert. It is the perfect solution for indoor parties, holiday gift exchanges, or just a Tuesday night craving. The best part? No open flame is required, and cleanup is an absolute breeze. With glossy milk chocolate, swirls of gooey marshmallow, and the satisfying crunch of honey graham crackers, this bark delivers all the flavor of the real thing with a fraction of the effort.
Why You Will Love This Recipe
If you are looking for a dessert that looks impressive but requires zero baking skills, this is it. Here is why this S’mores Bark is about to become your new go-to recipe:
- No-Bake Magic: Keep your oven off! This recipe only requires a microwave or a stovetop to melt the chocolate, making it perfect for hot summer days when you don’t want to heat up the house.
- Texture Heaven: It hits every texture note you crave—creamy chocolate, sticky and soft marshmallow, and crisp, dry crackers.
- Gift-Worthy: Broken into rustic shards and placed in a cellophane bag with a ribbon, this makes for an adorable and thoughtful homemade gift.
- Kid-Friendly: This is a fantastic recipe to make with little ones. They can help break the crackers, sprinkle the toppings, and (of course) lick the spoon.
Ingredients You Will Need
You only need three main components to make this magic happen. However, quality matters here since the ingredient list is so short.
- Milk Chocolate Chips or Melting Wafers: This forms the base of your bark. Milk chocolate offers that classic, sweet s’mores flavor. If you prefer a less sweet treat, you can substitute with semi-sweet or dark chocolate, but milk chocolate is the traditional choice.
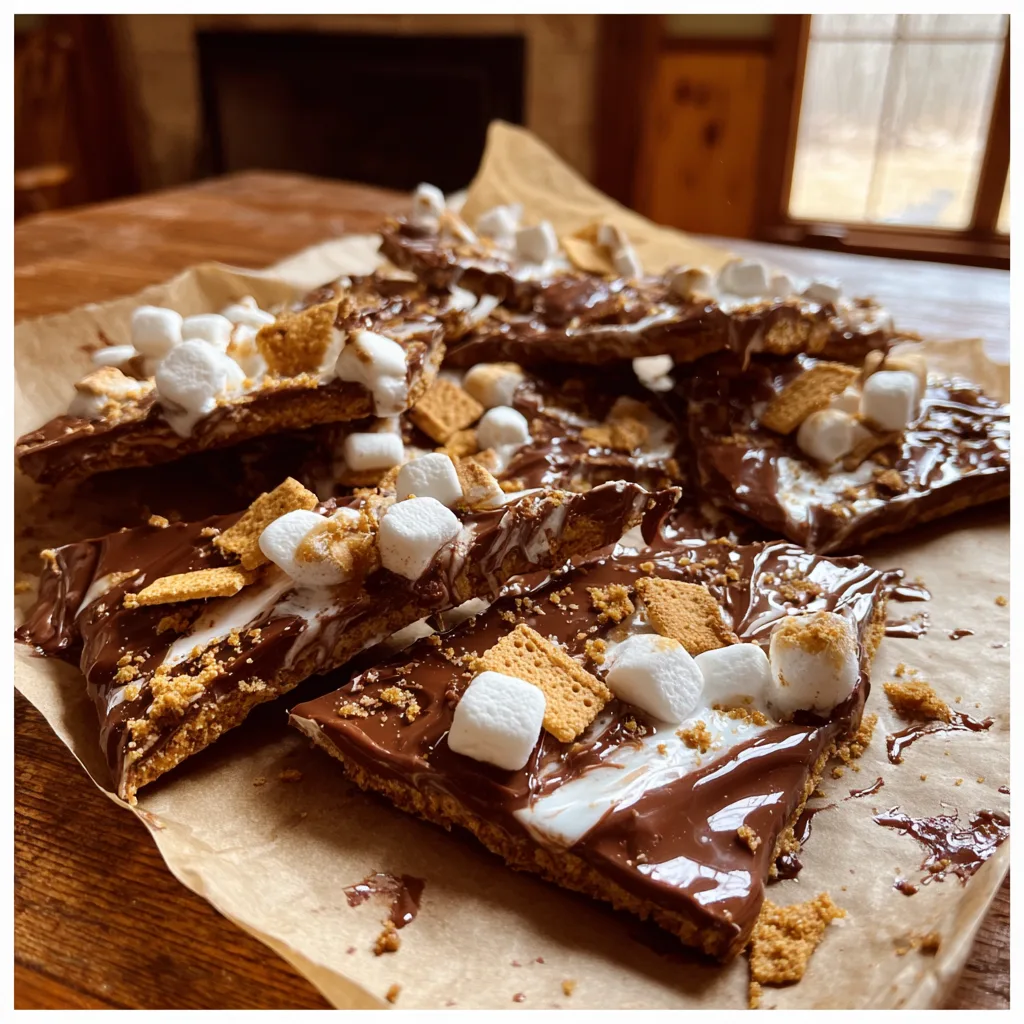
- Marshmallow Fluff (Crème): While you can use mini marshmallows, marshmallow fluff creates those beautiful, sticky white swirls seen in the photos. It integrates better into the bark and stays soft even after the chocolate hardens.
- Honey Graham Crackers: You will need standard graham crackers. You’ll be using some broken into larger distinct rectangles and some crushed into coarse crumbs for variety.
- Optional – Mini Marshmallows: For extra texture, you can sprinkle a few actual mini marshmallows on top for a 3D effect.
Step-by-Step Instructions
1. Prepare Your Pan
Line a large baking sheet with parchment paper or a silicone baking mat. Do not skip this step! Chocolate bonds strongly to metal, and without the parchment paper, you will never get the bark off the tray in one piece.
2. Melt the Chocolate
Place your chocolate chips in a microwave-safe bowl. Microwave in 30-second intervals, stirring vigorously in between each interval. It usually takes about 90 seconds total. Stop when there are still a few tiny lumps left; the residual heat will melt them as you stir. This prevents the chocolate from scorching.
3. Spread the Base
Pour the melted chocolate onto your prepared baking sheet. Using a rubber spatula or an offset spatula, spread the chocolate out into an even layer. It should be about 1/4 inch thick. Don’t worry about making it a perfect rectangle; rustic edges look better for bark.
4. The Marshmallow Swirl
This is the artistic part. Drop dollops of marshmallow fluff randomly over the wet chocolate. Take a knife or a toothpick and gently swirl the white fluff into the brown chocolate to create a marbled effect. Don’t over-mix, or it will just turn light brown; you want distinct ribbons of white.
5. Add the Crunch
While the chocolate and marshmallow are still wet, immediately press your graham cracker pieces into the surface. Use a mix of larger rectangular chunks and smaller crumbs to fill in the gaps. If you are using extra mini marshmallows, add them now.
6. Chill to Set
Place the baking sheet in the refrigerator for at least 45 minutes to an hour. You want the chocolate to be completely firm and snappy. If you are in a rush, the freezer works in about 20 minutes.
7. Break and Serve
Once fully set, lift the bark off the parchment paper. Use your hands to snap it into irregular shards. Pile them onto a serving platter and watch them disappear.
Tips for the Perfect Bark
Avoid Water:
When melting chocolate, ensure your bowl and utensils are completely dry. Even a single drop of water can cause the chocolate to “seize,” turning it into a grainy, clumpy mess that cannot be saved.
The Marshmallow Trick:
Marshmallow fluff is incredibly sticky. If you are having trouble getting it off the spoon, lightly grease the spoon with a tiny bit of butter or neutral oil before scooping.
Storage:
Because of the marshmallow content, this bark can get sticky if left out in a warm room. It is best stored in an airtight container in the refrigerator, separating layers with wax paper. It will stay fresh for up to a week.
Variations to Try
Once you master the basic recipe, feel free to experiment!
- Peanut Butter Lover’s: Swirl in melted peanut butter alongside the marshmallow fluff.
- Nutty S’mores: Sprinkle chopped roasted almonds or pecans on top for a savory crunch.
- Salted Caramel: Drizzle caramel sauce over the top and finish with a pinch of flaky sea salt.
- Holiday Edition: Use peppermint bark chocolate and crush candy canes on top instead of graham crackers for a winter version.
Serving Suggestions
This bark is versatile. It looks stunning on a dessert charcuterie board mixed with fresh strawberries and pretzels. It is also an excellent topper for ice cream—simply crumble the bark into smaller pieces and sprinkle over vanilla bean ice cream for a gourmet sundae.
The Science of S’mores
The s’more is a contraction of the phrase “some more,” which appeared in a recipe book published by the Girl Scouts in 1927. The combination works because of the flavor profile: the bitterness of the cocoa balances the extreme sweetness of the marshmallow, while the graham cracker provides a necessary textural contrast and a hint of saltiness. This bark replicates that perfect ratio in every bite, ensuring you don’t get a mouthful of just one ingredient.
Conclusion
Campfire S’mores Bark is the proof that you don’t need complicated techniques or hours in the kitchen to create a show-stopping dessert. It captures the spirit of summer fun and wraps it in a glossy, chocolatey package. Whether you are hosting a party or just need a sweet fix, this recipe delivers big flavor with minimal effort. So grab your ingredients, clear a spot in the fridge, and get ready to enjoy the easiest s’mores you will ever make!
Happy snacking!
Campfire S’mores Bark
Ingredients
Equipment
Method
- Line a large baking sheet with parchment paper.
- Place milk chocolate chips in a microwave-safe bowl. Microwave in 30-second intervals, stirring in between, until smooth and fully melted.
- Pour the melted chocolate onto the prepared baking sheet and spread evenly with a spatula to about 1/4 inch thickness.
- Drop spoonfuls of marshmallow fluff onto the wet chocolate. Use a knife or toothpick to swirl the fluff into the chocolate for a marbled look.
- Immediately press broken graham cracker pieces and crumbs onto the surface of the bark.
- Place the tray in the refrigerator for 45-60 minutes until the chocolate is completely set and hard.
- Remove from fridge and use your hands to snap the bark into uneven pieces. Serve immediately or store in an airtight container.