Red Velvet Oreo Brownies
The Ultimate Fudgy Red Velvet Oreo Brownies
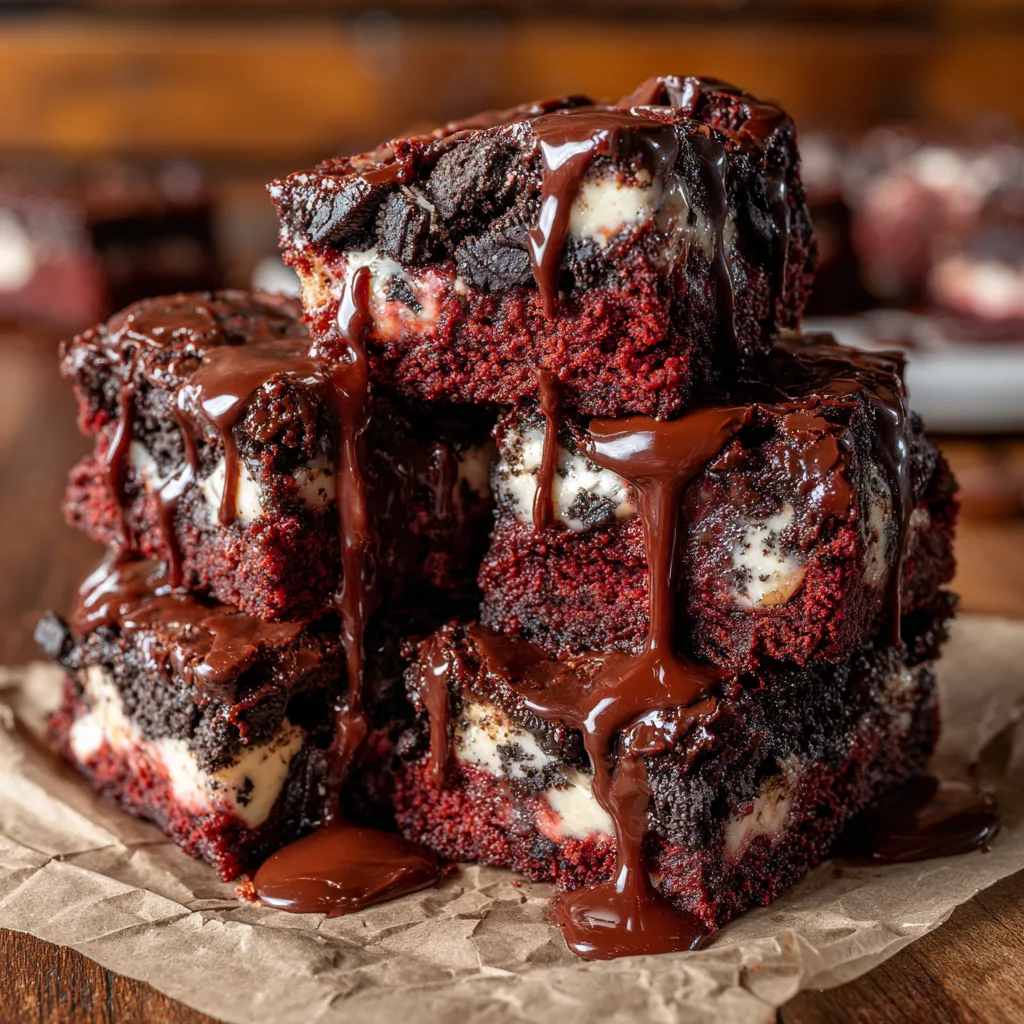
If there is one dessert that screams “indulgence,” it is the Red Velvet Oreo Brownie. Imagine the dense, chewy texture of a classic fudge brownie, combined with the distinct, slightly tangy flavor of red velvet cake, and packed with the crunch of everyone’s favorite sandwich cookie. This isn’t just a brownie; it is a textural masterpiece. The vibrant crimson color makes them a showstopper for Valentine’s Day, Christmas, or any Tuesday when you need a serious chocolate fix.
This recipe was born out of a love for contrasts. You have the soft, buttery red velvet base clashing beautifully with the crispy, dark cocoa of the Oreos. Whether you are an experienced baker or a kitchen novice, this recipe is designed to be foolproof, yielding perfectly glossy, crinkle-top brownies every single time. Let’s dive into why this dessert is about to become your new family favorite.

Why You Will Love This Recipe
There are a million brownie recipes out there, but this one stands apart for several key reasons. First, the texture is unapologetically fudgy. We are not making cakey brownies here; we want that “stick-to-the-roof-of-your-mouth” decadence. Second, the visual appeal is undeniable. The deep red batter studded with black and white cookie chunks looks professionally made, yet requires zero fancy equipment.
Furthermore, this is a “one-bowl” style recipe. You won’t need to drag out the heavy stand mixer. With just a whisk and a spatula, you can have these in the oven in under 20 minutes. The addition of white chocolate chips (optional but recommended) adds little pockets of creamy sweetness that cut through the richness of the cocoa.
Ingredients
To achieve that perfect balance of chewiness and moisture, we use a specific blend of ingredients. Here is what you will need:
- Unsalted Butter – 1/2 cup (115g), melted and slightly cooled. This provides the fat base for a chewy texture.
- Granulated Sugar – 1 cup (200g). Essential for the classic crackly top.
- Eggs – 2 large, room temperature. They bind the batter and add structure.
- Vanilla Extract – 1 1/2 teaspoons. Enhances the chocolate flavor.
- Red Food Coloring – 1 to 2 tablespoons. Gel coloring works best for a vibrant hue without adding too much liquid, but liquid dye works too.
- All-Purpose Flour – 3/4 cup (95g). Be careful not to pack it down; spoon and level it.
- Cocoa Powder – 3 tablespoons. Use unsweetened natural cocoa powder for the traditional red velvet taste.
- Salt – 1/4 teaspoon. Balances the sweetness.
- White Vinegar – 1/2 teaspoon. A secret ingredient in red velvet that activates the color and adds a subtle tang.
- Oreo Cookies – 12 to 14 cookies, roughly chopped. Divide them into mix-ins and toppings.
- White Chocolate Chips – 1/2 cup (optional). For extra creaminess and visual contrast.
Instructions
Follow these steps closely to ensure your brownies come out moist and fudgy, not dry and cakey.
- Prep the Oven and Pan: Preheat your oven to 350°F (175°C). Line an 8×8 inch square baking pan with parchment paper, leaving an overhang on the sides. This “sling” will make it easy to lift the brownies out later. Grease the parchment lightly with butter or cooking spray.
- Mix Butter and Sugar: In a large microwave-safe bowl, melt the butter. Add the granulated sugar and whisk vigorously by hand for about 1-2 minutes. You want the mixture to look slightly glossy. This step is crucial for getting that shiny crust.
- Add Wet Ingredients: Whisk in the eggs, one at a time, followed by the vanilla extract, red food coloring, and vinegar. Whisk until the batter is smooth and the color is fully incorporated. It should look like bright red lava.
- Combine Dry Ingredients: Sift the flour, cocoa powder, and salt directly into the wet bowl. Sifting removes lumps of cocoa, which can be bitter.
- Fold Gently: Switch to a rubber spatula. Gently fold the dry ingredients into the wet mixture. Stop mixing as soon as the streaks of flour disappear. Over-mixing introduces air, which leads to cakey brownies.
- Add Mix-ins: Fold in about 3/4 of your chopped Oreo cookies (and white chocolate chips if using). Save the rest for the top.
- Assemble: Pour the batter into your prepared baking pan and smooth the top with your spatula. Press the remaining Oreo chunks gently onto the surface of the batter.
- Bake: Bake for 25 to 30 minutes. The edges should look set, but the center should still be slightly soft (it will set as it cools). A toothpick inserted into the center should come out with a few moist crumbs, but not raw liquid batter.
- Cool and Slice: This is the hardest part—waiting! Let the brownies cool completely in the pan on a wire rack. If you cut them while hot, they will fall apart. Once cool, lift them out using the parchment paper and slice into 9 large or 16 small squares.
Tips for the Perfect Fudgy Texture
Don’t Overbake: The difference between a fudgy brownie and a dry brick is often just 3 minutes in the oven. Pull them out when the center still looks slightly underdone. The residual heat from the pan will finish the cooking process.
Room Temperature Eggs: Cold eggs can shock the warm melted butter, causing it to solidify and making the batter grainy. If you forgot to take your eggs out, sit them in a bowl of warm tap water for 5 minutes.
High-Quality Cocoa: Since there is only a small amount of cocoa powder, use a good quality brand. Dutch-processed cocoa will give a darker color and mellower flavor, while natural cocoa gives that classic reddish tint and sharp flavor.
Variations to Try
- Cheesecake Swirl: Beat 4oz of cream cheese with 2 tbsp sugar and an egg yolk. Dollop this onto the red batter before baking and swirl with a knife for a tangy cheesecake hybrid.
- Mint Chocolate: Swap regular Oreos for Mint Oreos for a fresh holiday twist.
- Stuffed Brownies: Pour half the batter in the pan, place a layer of whole Oreos or a cookies-and-cream chocolate bar in the middle, and cover with the remaining batter.
Serving Suggestions
These Red Velvet Oreo Brownies are rich enough to stand on their own, but if you want to elevate the experience, serve them warm with a scoop of vanilla bean ice cream. The contrast between the warm, gooey brownie and the cold ice cream is heavenly. A drizzle of hot fudge or salted caramel sauce wouldn’t hurt either!
Storage and Freezing
Room Temperature: Store leftovers in an airtight container at room temperature for up to 3 days. If you add a slice of white bread to the container, it keeps the brownies soft.
Freezing: These freeze beautifully. Wrap individual squares in plastic wrap and then place them in a zip-top bag. They can be frozen for up to 3 months. Thaw on the counter for an hour before eating.
Cultural Context: The Rise of Red Velvet
Red velvet cake has origins in the Victorian era, where “velvet” cakes were known for their soft texture. The red color originally came from a chemical reaction between raw cocoa and vinegar. During the Great Depression, Adams Extract company popularized the use of red dye to boost sales. Today, merging this Southern classic with the iconic American Oreo cookie represents the ultimate fusion of comfort food traditions.
Enjoy making these beautiful, vibrant bars. They are sure to vanish from the kitchen counter in record time!
Ultimate Fudgy Red Velvet Oreo Brownies Recipe
The Ultimate Fudgy Red Velvet Oreo Brownies
If there is one dessert that screams “indulgence,” it is the Red Velvet Oreo Brownie. Imagine the dense, chewy texture of a classic fudge brownie, combined with the distinct, slightly tangy flavor of red velvet cake, and packed with the crunch of everyone’s favorite sandwich cookie. This isn’t just a brownie; it is a textural masterpiece. The vibrant crimson color makes them a showstopper for Valentine’s Day, Christmas, or any Tuesday when you need a serious chocolate fix.
This recipe was born out of a love for contrasts. You have the soft, buttery red velvet base clashing beautifully with the crispy, dark cocoa of the Oreos. Whether you are an experienced baker or a kitchen novice, this recipe is designed to be foolproof, yielding perfectly glossy, crinkle-top brownies every single time. Let’s dive into why this dessert is about to become your new family favorite.
Why You Will Love This Recipe
There are a million brownie recipes out there, but this one stands apart for several key reasons. First, the texture is unapologetically fudgy. We are not making cakey brownies here; we want that “stick-to-the-roof-of-your-mouth” decadence. Second, the visual appeal is undeniable. The deep red batter studded with black and white cookie chunks looks professionally made, yet requires zero fancy equipment.
Furthermore, this is a “one-bowl” style recipe. You won’t need to drag out the heavy stand mixer. With just a whisk and a spatula, you can have these in the oven in under 20 minutes. The addition of white chocolate chips (optional but recommended) adds little pockets of creamy sweetness that cut through the richness of the cocoa.
Ingredients
To achieve that perfect balance of chewiness and moisture, we use a specific blend of ingredients. Here is what you will need:
- Unsalted Butter – 1/2 cup (115g), melted and slightly cooled. This provides the fat base for a chewy texture.
- Granulated Sugar – 1 cup (200g). Essential for the classic crackly top.
- Eggs – 2 large, room temperature. They bind the batter and add structure.
- Vanilla Extract – 1 1/2 teaspoons. Enhances the chocolate flavor.
- Red Food Coloring – 1 to 2 tablespoons. Gel coloring works best for a vibrant hue without adding too much liquid, but liquid dye works too.
- All-Purpose Flour – 3/4 cup (95g). Be careful not to pack it down; spoon and level it.
- Cocoa Powder – 3 tablespoons. Use unsweetened natural cocoa powder for the traditional red velvet taste.
- Salt – 1/4 teaspoon. Balances the sweetness.
- White Vinegar – 1/2 teaspoon. A secret ingredient in red velvet that activates the color and adds a subtle tang.
- Oreo Cookies – 12 to 14 cookies, roughly chopped. Divide them into mix-ins and toppings.
- White Chocolate Chips – 1/2 cup (optional). For extra creaminess and visual contrast.
Instructions
Follow these steps closely to ensure your brownies come out moist and fudgy, not dry and cakey.
- Prep the Oven and Pan: Preheat your oven to 350°F (175°C). Line an 8×8 inch square baking pan with parchment paper, leaving an overhang on the sides. This “sling” will make it easy to lift the brownies out later. Grease the parchment lightly with butter or cooking spray.
- Mix Butter and Sugar: In a large microwave-safe bowl, melt the butter. Add the granulated sugar and whisk vigorously by hand for about 1-2 minutes. You want the mixture to look slightly glossy. This step is crucial for getting that shiny crust.
- Add Wet Ingredients: Whisk in the eggs, one at a time, followed by the vanilla extract, red food coloring, and vinegar. Whisk until the batter is smooth and the color is fully incorporated. It should look like bright red lava.
- Combine Dry Ingredients: Sift the flour, cocoa powder, and salt directly into the wet bowl. Sifting removes lumps of cocoa, which can be bitter.
- Fold Gently: Switch to a rubber spatula. Gently fold the dry ingredients into the wet mixture. Stop mixing as soon as the streaks of flour disappear. Over-mixing introduces air, which leads to cakey brownies.
- Add Mix-ins: Fold in about 3/4 of your chopped Oreo cookies (and white chocolate chips if using). Save the rest for the top.
- Assemble: Pour the batter into your prepared baking pan and smooth the top with your spatula. Press the remaining Oreo chunks gently onto the surface of the batter.
- Bake: Bake for 25 to 30 minutes. The edges should look set, but the center should still be slightly soft (it will set as it cools). A toothpick inserted into the center should come out with a few moist crumbs, but not raw liquid batter.
- Cool and Slice: This is the hardest part—waiting! Let the brownies cool completely in the pan on a wire rack. If you cut them while hot, they will fall apart. Once cool, lift them out using the parchment paper and slice into 9 large or 16 small squares.
Tips for the Perfect Fudgy Texture
Don’t Overbake: The difference between a fudgy brownie and a dry brick is often just 3 minutes in the oven. Pull them out when the center still looks slightly underdone. The residual heat from the pan will finish the cooking process.
Room Temperature Eggs: Cold eggs can shock the warm melted butter, causing it to solidify and making the batter grainy. If you forgot to take your eggs out, sit them in a bowl of warm tap water for 5 minutes.
High-Quality Cocoa: Since there is only a small amount of cocoa powder, use a good quality brand. Dutch-processed cocoa will give a darker color and mellower flavor, while natural cocoa gives that classic reddish tint and sharp flavor.
Variations to Try
- Cheesecake Swirl: Beat 4oz of cream cheese with 2 tbsp sugar and an egg yolk. Dollop this onto the red batter before baking and swirl with a knife for a tangy cheesecake hybrid.
- Mint Chocolate: Swap regular Oreos for Mint Oreos for a fresh holiday twist.
- Stuffed Brownies: Pour half the batter in the pan, place a layer of whole Oreos or a cookies-and-cream chocolate bar in the middle, and cover with the remaining batter.
Serving Suggestions
These Red Velvet Oreo Brownies are rich enough to stand on their own, but if you want to elevate the experience, serve them warm with a scoop of vanilla bean ice cream. The contrast between the warm, gooey brownie and the cold ice cream is heavenly. A drizzle of hot fudge or salted caramel sauce wouldn’t hurt either!
Storage and Freezing
Room Temperature: Store leftovers in an airtight container at room temperature for up to 3 days. If you add a slice of white bread to the container, it keeps the brownies soft.
Freezing: These freeze beautifully. Wrap individual squares in plastic wrap and then place them in a zip-top bag. They can be frozen for up to 3 months. Thaw on the counter for an hour before eating.
Cultural Context: The Rise of Red Velvet
Red velvet cake has origins in the Victorian era, where “velvet” cakes were known for their soft texture. The red color originally came from a chemical reaction between raw cocoa and vinegar. During the Great Depression, Adams Extract company popularized the use of red dye to boost sales. Today, merging this Southern classic with the iconic American Oreo cookie represents the ultimate fusion of comfort food traditions.
Enjoy making these beautiful, vibrant bars. They are sure to vanish from the kitchen counter in record time!
Fudgy Red Velvet Oreo Brownies
Ingredients
Equipment
Method
- Preheat oven to 350°F (175°C). Line an 8×8 inch baking pan with parchment paper.
- In a large microwave-safe bowl, melt the butter. Whisk in sugar vigorously for 1-2 minutes.
- Add eggs, vanilla, red food coloring, and vinegar. Whisk until smooth and glossy.
- Sift in flour, cocoa powder, and salt. Switch to a spatula and fold until just combined—do not overmix.
- Fold in 3/4 of the chopped Oreos and white chocolate chips.
- Pour batter into the prepared pan. Press remaining Oreos onto the top.
- Bake for 25–30 minutes until edges are set but the center is slightly soft.
- Cool completely in the pan before slicing to ensure clean cuts.