Oreo Cookie Frappe
The Ultimate Homemade Cookies and Cream Frappuccino: Better Than the Coffee Shop
There is a specific kind of joy found in the first sip of a Cookies and Cream Frappuccino. It is that perfect intersection where childhood nostalgia meets adult indulgence. It is the crunch of chocolate cookies, the smooth embrace of vanilla cream, and the icy, refreshing texture that cools you down instantly on a hot afternoon. For many, this drink is a staple treat, something to be bought as a reward for a long week. But what if I told you that the best version of this drink isn’t found at a drive-thru, but right in your own kitchen?
Welcome to the definitive guide on making a Cookies and Cream Frappuccino at home. This isn’t just a milkshake; it is a texturally complex, visually stunning, and flavor-packed beverage that rivals—and honestly, exceeds—anything you can buy for seven dollars at a chain cafe. By making it at home, you control the quality of the ingredients, the consistency of the blend, and most importantly, the ratio of cookie to cream. No more watery drinks, no more skimping on the toppings. We are going for maximum flavor and that ultra-satisfying, thick, icy consistency.
In this article, we will break down the science of the perfect blend, how to achieve that signature “syrup swirl” look on the cup, and how to balance sweetness without it becoming cloying. Whether you are hosting a summer pool party or just need a sweet pick-me-up, this recipe is your new secret weapon.
Why This Recipe Works: The Science of the Frappe
A great frappuccino is all about suspension. You want the ice crystals to be small enough to be pleasant but substantial enough to hold the drink together. You want the cookie bits to be distributed evenly, not just sunk to the bottom.
The Cookie Factor
The hero of this dish is, of course, the Oreo. But it serves two purposes. First, the cream filling adds a vanilla fat content that smooths out the icy texture. Second, the chocolate wafer provides a bitter counterpoint to the sugar, ensuring the drink isn’t one-note. In this recipe, we blend the cookies into the drink, turning the liquid a beautiful speckled beige and infusing every sip with chocolatey goodness.
The Liquid Ratio
Many home blenders struggle with ice. The ratio of 2 cups of ice to 1 cup of milk in this recipe is calculated to create a thick, spoonable drink that can still be sipped through a straw. It prevents the “separation” that happens when there is too much liquid, where the foam floats to the top and the juice sinks to the bottom.
Ingredients
Simple ingredients yield spectacular results when used correctly. Here is what you need to assemble your masterpiece.
The Base
- Ice Cubes – You will need about 2 cups. If you have a high-powered blender, large cubes are fine. If you are working with a standard blender, consider using crushed ice or smaller cubes to ensure a smoother blend.
- Milk – 1 cup is the standard. Whole milk provides the creamist texture. For a lighter version, 2% works well. You can also use almond or oat milk, though the texture will be slightly icier.
- Granulated Sugar – 2 tablespoons adds just enough sweetness to amplify the vanilla notes without overpowering the cookie flavor.
- Vanilla Extract – 1/2 teaspoon acts as a flavor enhancer. It bridges the gap between the milk and the cookies, making the drink taste like “cookies and cream” rather than just “wet cookies.”
The Stars
- Oreo Cookies – You will need 8 cookies for the blend itself. This might sound like a lot, but it ensures a deep flavor profile.
- Chocolate Syrup – 2 tablespoons (plus extra for decoration). This boosts the chocolate intensity and gives the drink that classic marbleized look.
The Garnish
- Whipped Cream – Freshly whipped heavy cream with a touch of sugar is best, but a canister of whipped topping is perfectly acceptable for convenience.
- Extra Oreos – Save a few cookies to crush over the top or stick whole into the whipped cream.
Step-by-Step Instructions
Follow these steps closely to achieve that barista-quality presentation and texture.
1. Prepare Your Cups
Before you even touch the blender, prep your glassware. Take your chocolate syrup and drizzle it along the inside walls of two tall glasses or plastic cups. Squeeze the bottle while rotating the cup to create swirls or “tiger stripes.” Place these cups in the freezer while you blend the drink. This helps the syrup stay in place and keeps the drink colder for longer.
2. Layer the Blender
Order matters when blending. Pour the 1 cup of milk in first, followed by the 1/2 teaspoon of vanilla extract and 2 tablespoons of chocolate syrup. Adding liquids first helps the blades spin freely and creates a vortex that pulls solid ingredients down.
3. Add Solids
Add the 2 tablespoons of sugar and the 8 Oreo cookies. You can break the cookies in half as you toss them in to help the blender out. Finally, top with the 2 cups of ice cubes.
4. Blend to Perfection
Start the blender on a low speed to break up the big chunks of ice and cookies. Once the mixture is moving, ramp up to high speed. Blend for about 30-45 seconds. You are looking for a uniform texture where the ice is pulverized into a slush and the cookies are tiny speckles. Listen to your blender; if you hear big chunks hitting the sides, keep going. If it sounds like it is spinning freely without resistance, stop immediately to avoid melting the ice with motor heat.
5. Pour and Assemble
Retrieve your chilled, syrup-decorated cups. Pour the thick frappe mixture into the cups, filling them to about half an inch from the rim.
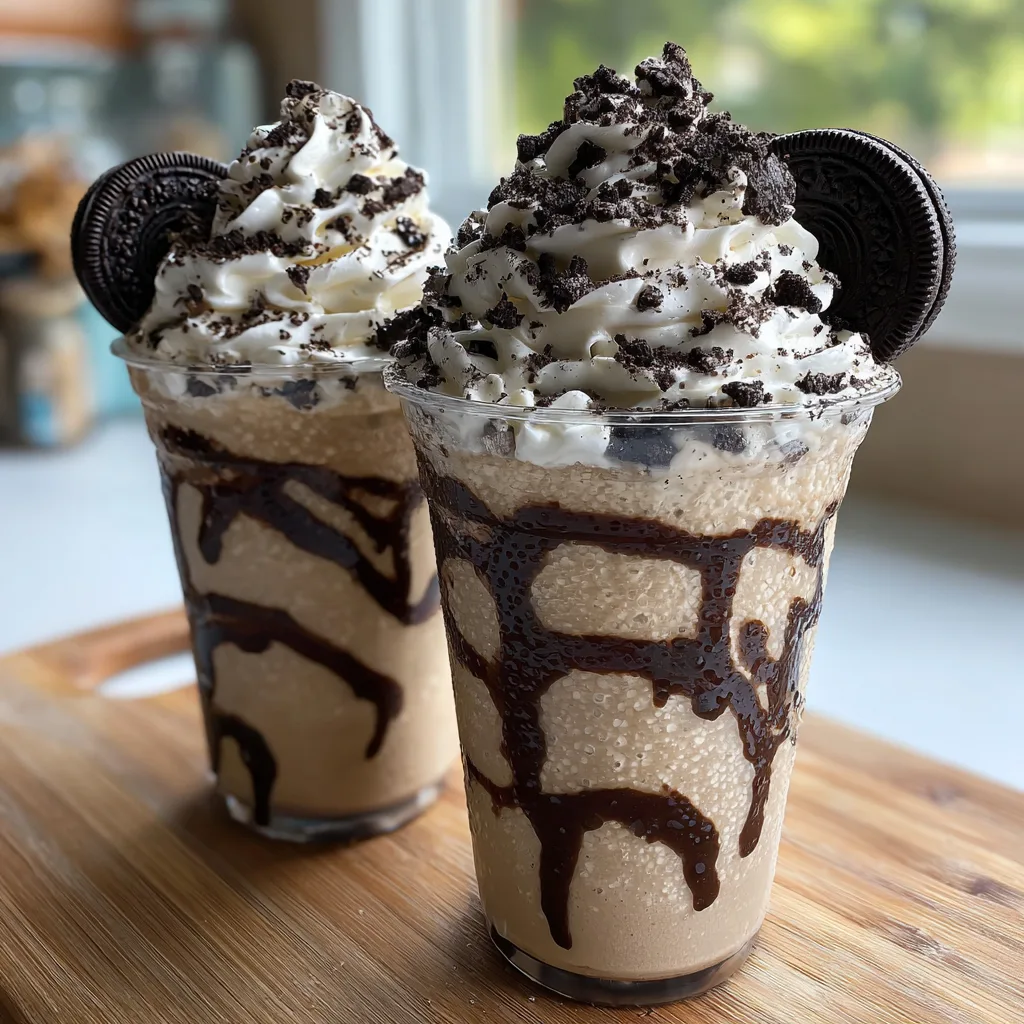
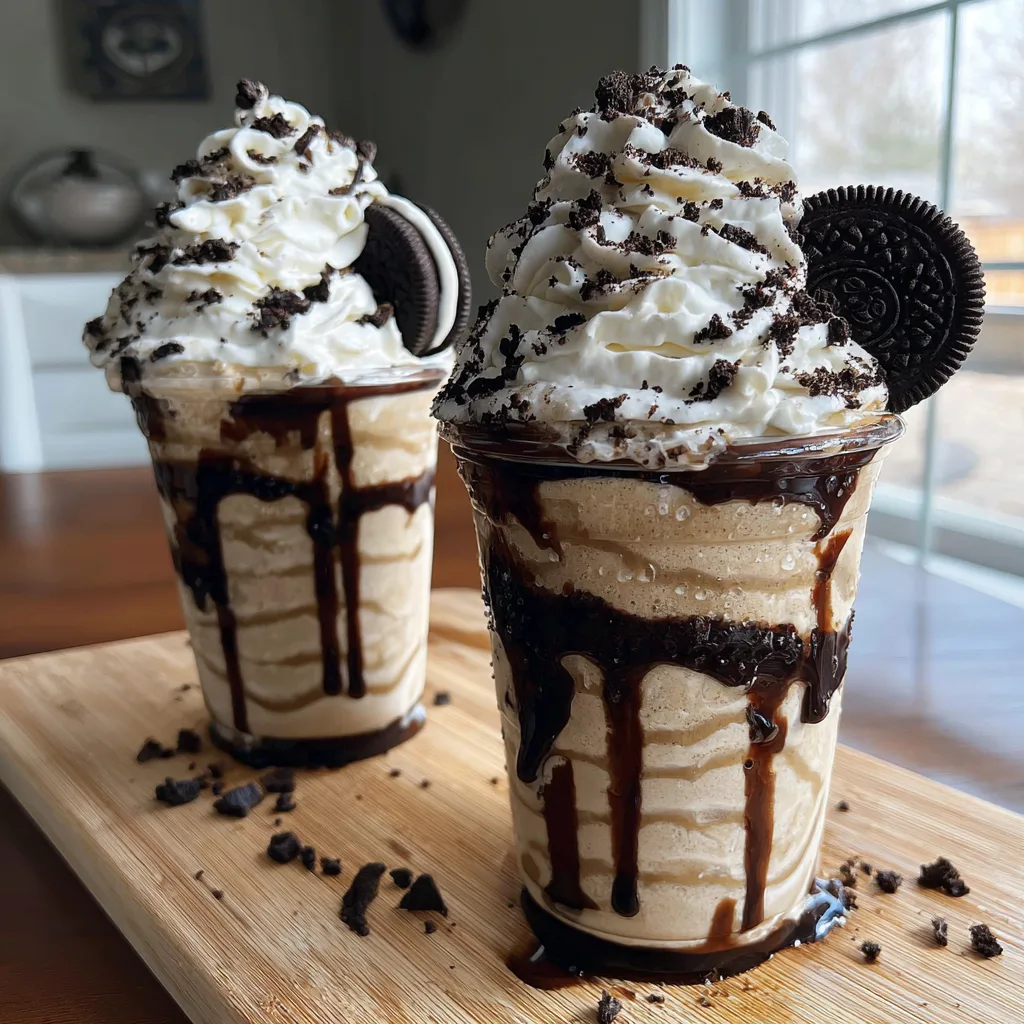
6. The Grand Finale
Top generously with whipped cream. Start from the outside edge and spiral inward and upward to create a tall peak. Drizzle more chocolate syrup over the white foam. Crush an extra Oreo cookie in your hand and sprinkle the crumbs over the top. Finally, tuck a whole cookie into the side of the whipped cream mound as a delicious edible garnish.
Tips for the Perfect Texture
The “Watery” Trap
If your drink comes out too thin, it usually means the ice has melted too much during blending. To fix this, use cold milk straight from the fridge. You can even freeze half of the milk into cubes beforehand for an ultra-creamy consistency that won’t dilute as it melts.
Chunky vs. Smooth
Some people love big chunks of cookie in their sip; others prefer a smooth, uniform color. For chunks, pulse the blender a few times at the very end instead of running it continuously. For smooth, blend on high until the color is a solid beige.
Sweetness Control
Oreos are naturally sweet. If you are sensitive to sugar, you can omit the 2 tablespoons of granulated sugar entirely. The cookies and the chocolate syrup often provide enough sweetness for adult palates.
Variations to Try
Once you have mastered the base recipe, the sky is the limit for customization.
The Mocha Twist (Caffeinated Version)
The base recipe provided is technically a “creme” frappuccino (no coffee). To get that caffeine kick, replace 1/4 cup of the milk with a shot of cooled espresso or strong brewed coffee. This adds a roasted depth that pairs beautifully with the chocolate.
Mint Chocolate Chip
Use Mint Oreos instead of the original flavor and add a drop of peppermint extract. This creates a refreshing, bright flavor profile perfect for December or July.
The Protein Powerhouse
Believe it or not, this can be a post-workout treat. Add a scoop of vanilla or chocolate whey protein powder during the blending step. The texture of the frappe hides the chalkiness of protein powder exceptionally well.
Peanut Butter Lover
Add a tablespoon of creamy peanut butter to the blender. The combination of peanut butter, chocolate, and vanilla is reminiscent of a famous candy cup.
Serving Suggestions and Storage
This drink is best enjoyed immediately. Because it relies on crushed ice structure, it cannot be stored in the fridge or freezer for later; it will either melt into a soup or freeze into a solid block of ice.
Serve with a wide-gauge straw (often sold as “smoothie straws” or “boba straws”). Standard thin straws will get clogged by the delicious cookie crumbs, frustrating the drinker. If you are serving this at a party, consider setting up a “topping bar” where guests can add their own sprinkles, caramel sauce, or different cookie crumbles.
Fun Facts: The History of the Frappe
The term “frappé” comes from the French word for “chilled” or “iced.” While the modern frappuccino is a trademarked invention of a major coffee chain, the concept of blending milk, ice, and flavorings dates back decades. In Greece, the Nescafé Frappé is a national icon. In New England, “frappe” is actually the term used for a milkshake containing ice cream. This Cookies and Cream version sits happily in the middle—part milkshake, part icy refresher, and entirely delicious.
Conclusion
There is no need to wait in line or spend a fortune to enjoy a luxurious frozen treat. This Cookies and Cream Frappuccino recipe is robust, adaptable, and incredibly satisfying. It captures the essence of summer fun in a cup, regardless of the season. So grab your blender, raid your cookie jar, and treat yourself to a homemade delight that looks as good as it tastes.
Cookies and Cream Frappuccino
Ingredients
Equipment
Method
- Drizzle chocolate syrup on the inside walls of two tall glasses and place them in the freezer to chill.
- In a blender, combine milk, granulated sugar, vanilla extract, and chocolate syrup.
- Add the 8 Oreo cookies and the ice cubes to the blender.
- Blend on high speed until the mixture is smooth and creamy, with no large chunks of ice remaining.
- Pour the mixture into the prepared chocolate-swirled glasses.
- Top generously with whipped cream, an extra drizzle of chocolate syrup, and garnish with extra Oreo cookies.
- Serve immediately with a wide straw.