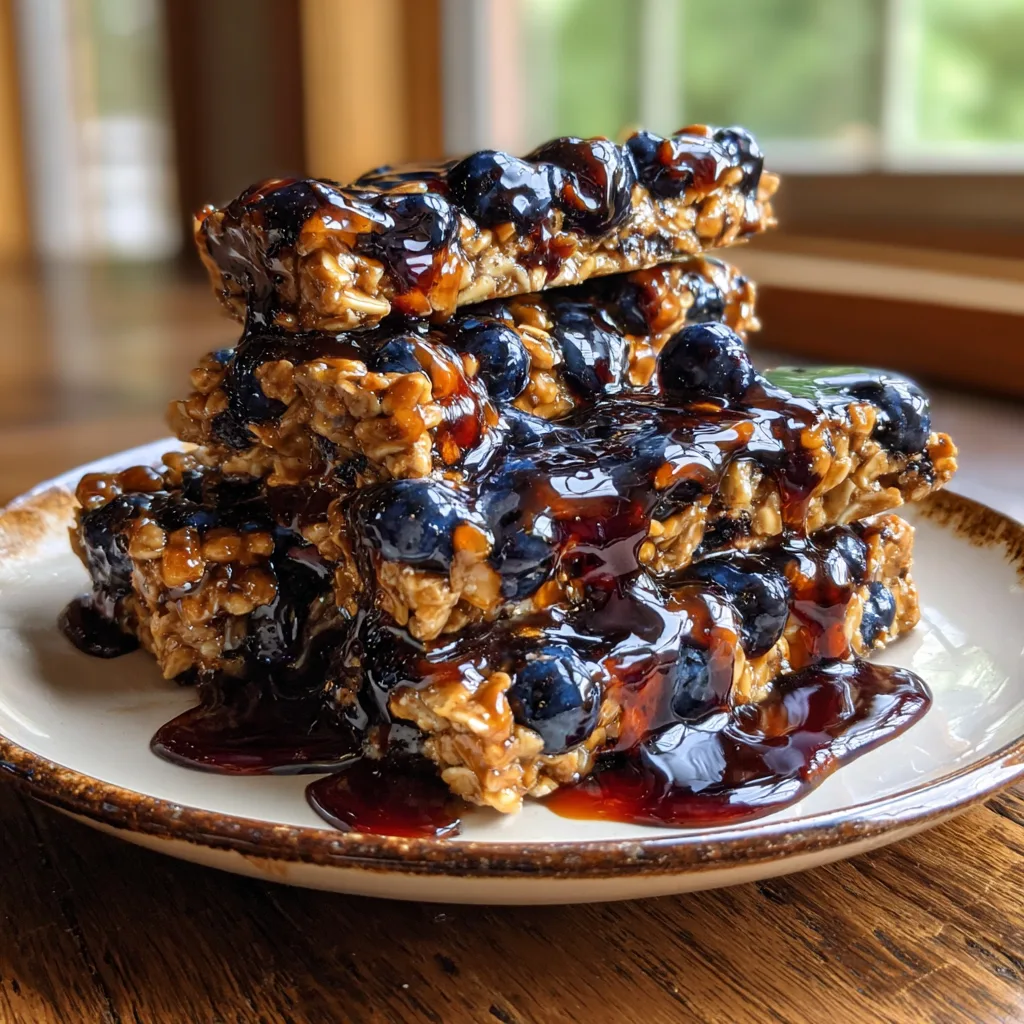
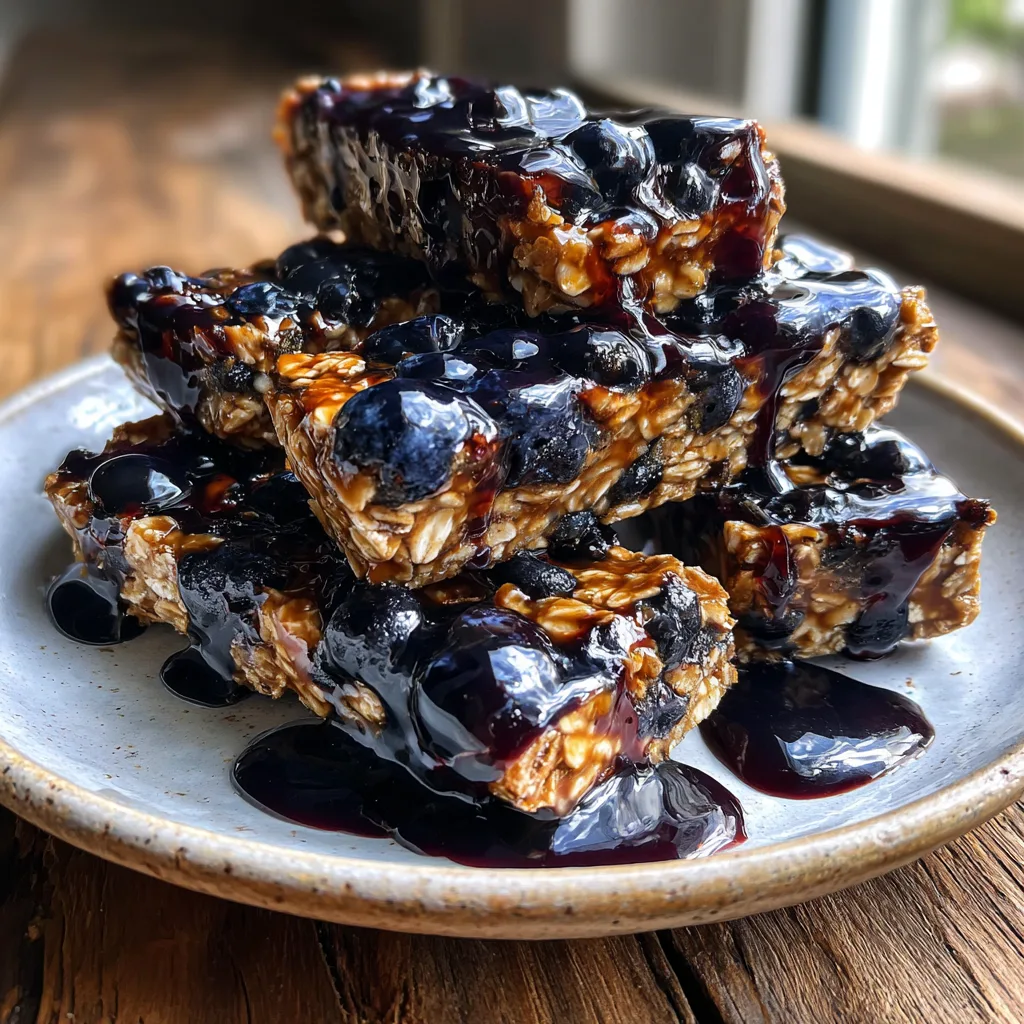
Blueberry Peanut Butter Chew Sticks for Dogs
Blueberry Peanut Butter Chew Sticks: The Ultimate Homemade Treat for Your Pup
If you are a dog parent, you know that look. The one where big, soulful eyes track your every movement in the kitchen, hoping for a crumb to fall or a special treat to appear. We love our furry companions, and we want to give them the best. That is exactly why these Blueberry Peanut Butter Chew Sticks have become a staple in my household. They are not just treats; they are a gesture of love, packed with wholesome ingredients that support your dog’s health while sending their taste buds into a tailspin of joy.
In a world filled with commercial dog treats often laden with preservatives, artificial colors, and unpronounceable fillers, making your own treats at home is a breath of fresh air. It gives you complete control over what goes into your dog’s body. Plus, let’s be honest, baking for your dog is incredibly rewarding. The smell of peanut butter wafting through the house won’t just attract your human family members; it will have your pup waiting patiently (or impatiently) by the oven door.
This recipe is designed to be simple, nutritious, and undeniably delicious. We combine the protein-rich goodness of peanut butter with the antioxidant powerhouse of blueberries, all bound together with wholesome oats. The result is a soft, chewy stick that is perfect for dogs of all ages, from teething puppies to seniors who might struggle with rock-hard biscuits. Let’s dive deep into why this recipe is a game-changer and how you can make it today.
Why Homemade Dog Treats Are Better
You might be wondering, “Why should I bake treats when I can just buy a bag at the store?” It is a valid question, but once you start baking for your dog, you will likely never look back. Here is why homemade wins every time:
- Ingredient Transparency: When you look at the back of a commercial treat bag, the ingredient list can be daunting. By baking at home, you know exactly what is in the food. No hidden sugars, no dangerous chemicals, and no mystery meats.
- Cost-Effective: High-quality, organic dog treats can be incredibly expensive. This recipe uses pantry staples like flour, oats, and peanut butter, making it a budget-friendly alternative that yields a large batch.
- Customizable: Does your dog have a grain allergy? You can swap the flour. Do they love bananas? Mash one in! Homemade recipes are flexible to your dog’s specific dietary needs.
- Freshness: Nothing beats a treat fresh out of the oven. The texture and aroma are superior to anything that has been sitting on a shelf for months.
The Power of Blueberries and Peanut Butter
This recipe isn’t just about flavor; it is about nutrition. We have carefully selected the main ingredients for their health benefits.
Blueberries: The Superfood
Blueberries are a fantastic low-calorie treat for dogs. They are loaded with antioxidants, fiber, and phytochemicals. Studies have suggested that the antioxidants in blueberries can help protect cells from damage and may even support brain health in aging dogs. They add a natural sweetness and a burst of moisture to these chew sticks that dogs absolutely adore.
Peanut Butter: The Protein Packer
Most dogs go crazy for peanut butter. It is rich in protein, healthy fats, vitamins B and E, and niacin. However, a crucial warning: Always check the label of your peanut butter. You must use natural peanut butter that does not contain Xylitol (sometimes listed as birch sugar). Xylitol is extremely toxic to dogs and can be fatal. Stick to peanut butter that contains only peanuts and maybe a little salt.
Ingredients
Gather these simple ingredients to get started. You likely have most of them in your kitchen right now.
- 2 cups Whole Wheat Flour – You can also use oat flour or brown rice flour for a gluten-free option.
- 1 cup Rolled Oats – Old-fashioned oats work best for texture.
- 1/2 cup Peanut Butter – Creamy natural peanut butter (ensure NO Xylitol).
- 2 large Eggs – Acts as a binder and provides extra protein.
- 1/2 cup Blueberries – Fresh or frozen both work. If using frozen, do not thaw them beforehand to prevent the dough from getting too wet.
- 1/3 cup Water – Or beef/chicken broth (unsalted) for extra flavor.
- 1 tablespoon Coconut Oil – Optional, for a glossy coat and healthy fats.
Instructions
Follow these simple steps to create a batch of tail-wagging goodness.
- Preheat and Prep: Preheat your oven to 350°F (175°C). Line a large baking sheet with parchment paper or a silicone baking mat to prevent sticking and make cleanup easier.
- Mix Dry Ingredients: In a large mixing bowl, combine the whole wheat flour and rolled oats. Whisk them together to ensure the oats are evenly distributed throughout the flour.
- Mix Wet Ingredients: In a separate bowl (or a microwave-safe bowl if your peanut butter needs softening), whisk together the peanut butter, eggs, water, and coconut oil until the mixture is smooth and creamy.
- Combine: Pour the wet mixture into the dry ingredients. Use a sturdy spatula or a wooden spoon to stir until a dough begins to form. It will be thick and slightly sticky.
- Fold in Blueberries: Gently fold in the blueberries. Be careful not to crush them too much, although a few bursts of blue juice are perfectly fine and make the treats look appetizing.
- Form the Sticks: You have two options here. You can roll the dough out on a floured surface to about 1/2 inch thickness and cut into strips using a pizza cutter. Alternatively, for a “rustic” look, grab small handfuls of dough and roll them into log shapes with your hands.
- Bake: Place the sticks on your prepared baking sheet. They don’t spread much, so you can place them fairly close together. Bake for 20 to 25 minutes.
- Cooling Phase: This is important! Remove them from the oven. If you want a chewy treat, let them cool completely on a wire rack now. If you want a crunchier treat, turn the oven off, leave the treats inside with the door cracked open, and let them dry out for another 30 minutes.
- Serve: Once fully cooled, give one to your patient pup and watch them enjoy!
Tips for Success
Making dog treats is forgiving, but these tips will ensure the best results:
Dough Consistency: If your dough is too dry and crumbly, add water one teaspoon at a time. If it is too sticky to handle, add a sprinkle of flour. The humidity in your kitchen can affect how flour absorbs moisture.
Size Matters: Cut the sticks according to your dog’s size. For a Great Dane, large thick bars are perfect. For a Chihuahua, you might want to cut these strips into small, bite-sized squares before baking.
Frozen Blueberries: If using frozen berries, toss them in a teaspoon of flour before folding them into the batter. This helps prevent the color from bleeding into the entire dough, keeping distinct blue spots.
Variations to Try
Once you master the base recipe, feel free to experiment with different flavors!
- Pumpkin Perfection: Swap the water for 1/3 cup of plain pumpkin puree (not pie filling) for an autumn twist that is great for digestion.
- Cheesy Chews: Add 1/2 cup of shredded cheddar cheese to the dough. Dogs love the savory flavor of cheese.
- Apple Crunch: Replace blueberries with chopped apples (peeled and cored). Apples are another safe and healthy fruit for dogs.
- Minty Fresh: Add a tablespoon of chopped fresh parsley or mint to the dough to help freshen your dog’s breath.
Storage and Shelf Life
Because these treats contain fresh fruit and no preservatives, they store differently than store-bought kibble.
- Room Temperature: Keep in an airtight container for up to 3 days. Because of the moisture in the blueberries, they can mold if left out too long in humid climates.
- Refrigerator: This is the best method. Store them in the fridge for up to 2 weeks. The cold texture is also soothing for teething puppies.
- Freezer: These freeze beautifully! Place them in a freezer-safe bag and freeze for up to 3 months. You can give them to your dog straight from the freezer on a hot day for a cooling snack.
Serving Suggestions
These chew sticks are versatile. Here are a few ways to utilize them:
- Training Rewards: Break the sticks into tiny pea-sized pieces to use as high-value rewards during training sessions.
- Meal Toppers: Crumble a stick over your dog’s regular dinner to encourage a picky eater to finish their meal.
- Stuffable Toys: If the stick is the right shape, jam it inside a rubber toy to keep your dog occupied for longer.
Conclusion
Making Blueberry Peanut Butter Chew Sticks is a simple act of love that pays off in wagging tails and happy barks. It is a recipe that allows you to bond with your pet, providing them with a nutritious snack that supports their health. The combination of savory peanut butter and sweet blueberries is a winner in the canine world, and the chewy oat texture helps clean their teeth naturally.
So, preheat that oven and call your sous-chef (your dog) into the kitchen. It is time to bake something special!
Blueberry Peanut Butter Chew Sticks for Dogs
Ingredients
Equipment
Method
- Preheat oven to 350°F (175°C). Line a baking sheet with parchment paper.
- In a large bowl, whisk together the flour and oats.
- In a separate bowl, mix peanut butter, eggs, water, and coconut oil until smooth.
- Pour wet ingredients into dry and mix until a stiff dough forms.
- Gently fold in the blueberries.
- Press or roll dough to 1/2 inch thickness and cut into rectangular sticks or desired shapes.
- Place on baking sheet and bake for 20-25 minutes until firm.
- Cool completely on a wire rack before serving to your dog.