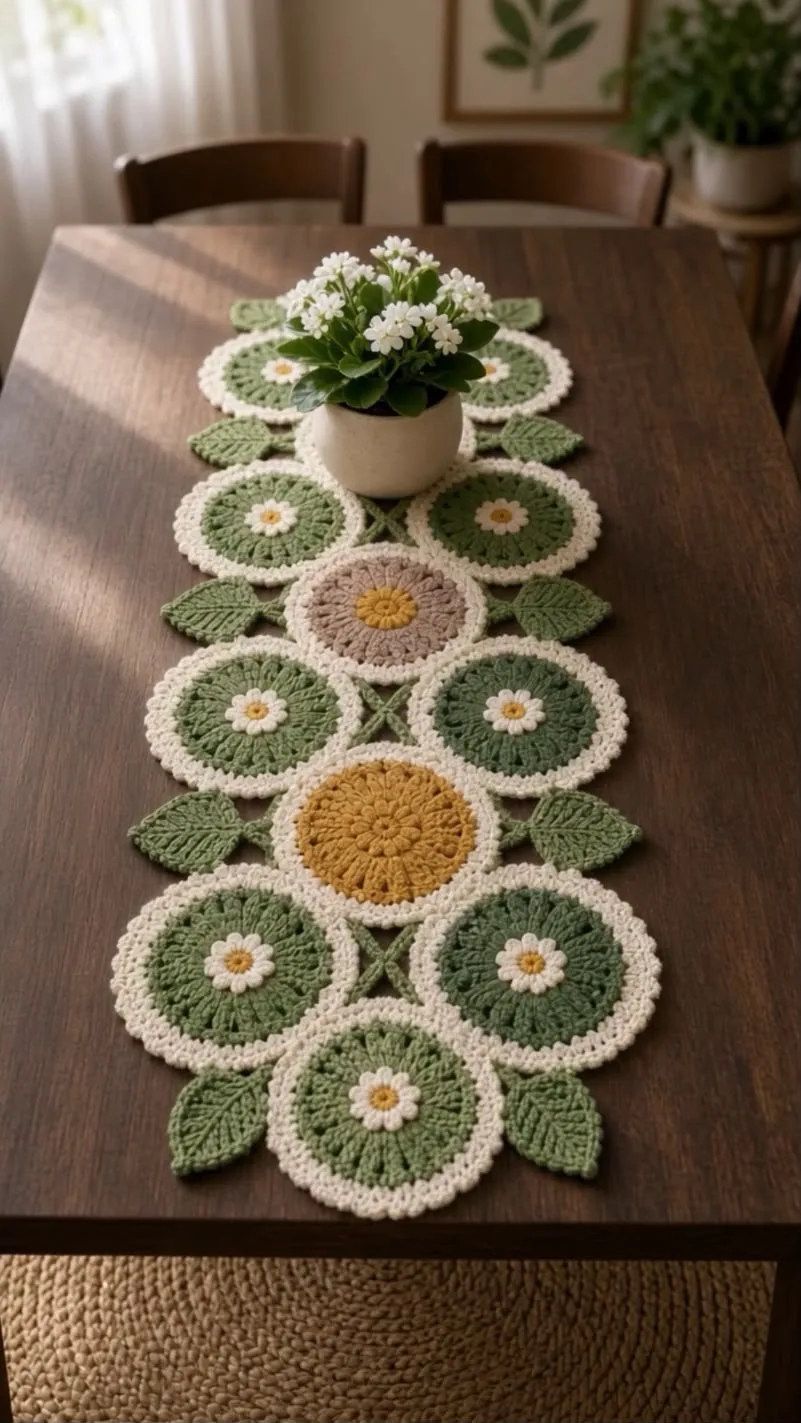
Circles & Leaves Table Runner Reveal 🌿🌼
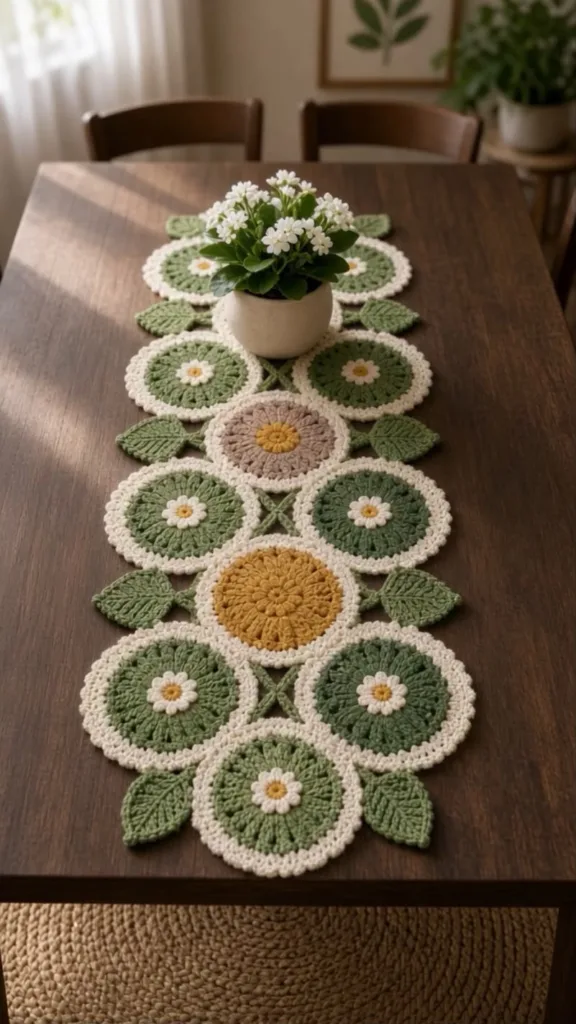
🧸 A. TITLE + category/tag line
Circles & Leaves Crochet Table Runner A modular, nature-inspired centerpiece for modern dining tables
📖 B. INTRODUCTION
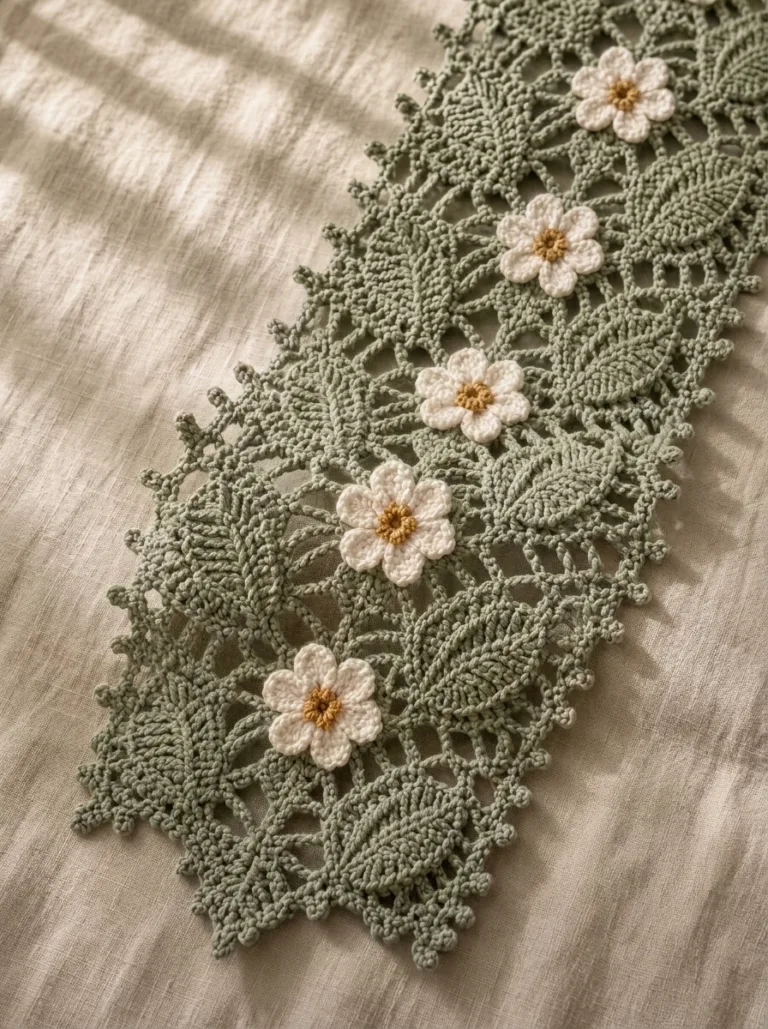
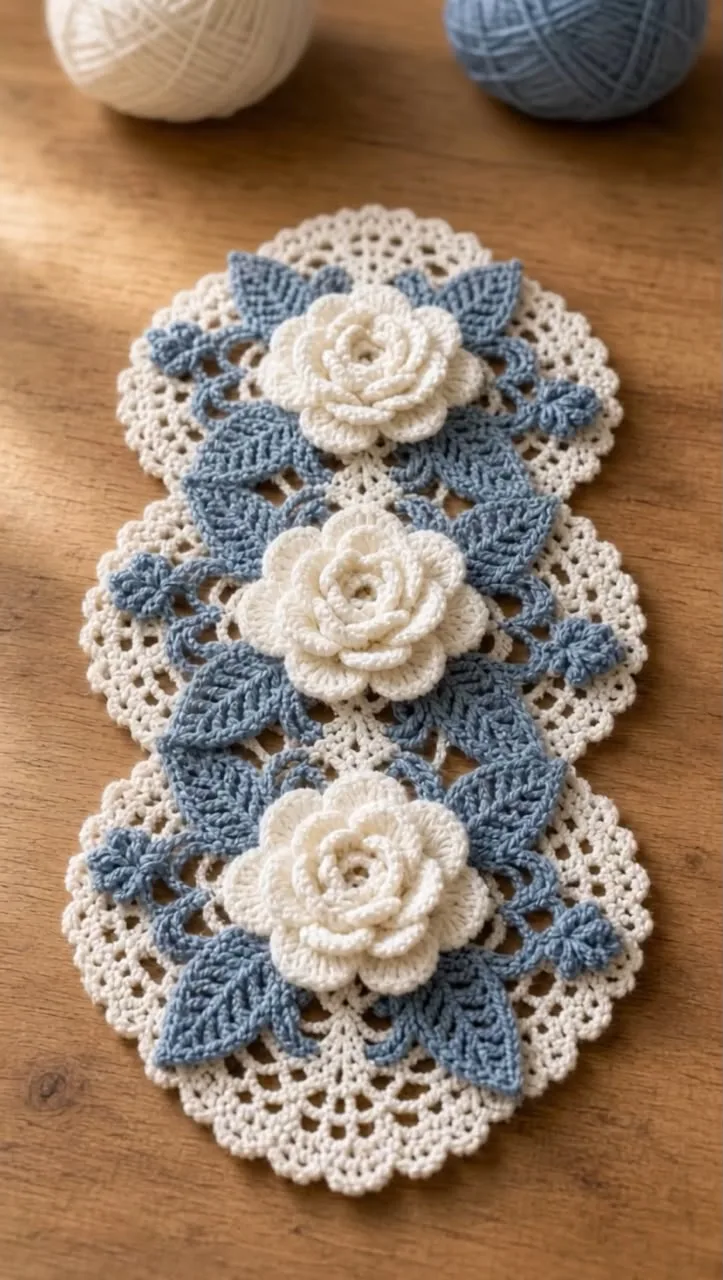
The Circles & Leaves Table Runner brings a fresh, botanical aesthetic to your dining space with its interlocking geometric and organic shapes. Featuring a central column of contrasting floral medallions flanked by rich green circles and textured leaf appliqués, this runner bridges the gap between retro motif crochet and modern cottagecore decor. It is an ideal seasonal transition piece, working beautifully for spring brunches or earthy autumn dinners.
Crafted using a modular approach, each circle and leaf is crocheted individually before being joined. This makes it an incredibly portable project and an excellent way to use up partial skeins of medium-weight yarn. The design relies on a striking palette of dark forest green, soft sage, mustard yellow, and warm taupe, all unified by a crisp cream scalloped border that gives the finished piece a polished, lace-like structure.
🔠C. MAIN PATTERN OVERVIEW
The Circle Motifs The runner is built from 11 large circular motifs. Each circle starts with a tiny, textured puff-stitch daisy in the center, expands into solid double-crochet rounds for the main body, and finishes with a cream-colored scalloped border.
The Leaf Accents Eight textured green leaves jut out from the indentations along the outer edges of the runner. These are worked flat using back-loop-only stitches to create realistic leaf veins.
Layout and Assembly The motifs are arranged in a staggered 1-2-1-2-1-2-1 formation. They are seamed together at the scalloped edges, and the leaves are securely attached in the negative spaces along the border to complete the botanical silhouette.
🎯 D. SKILL LEVEL
Skill Level: Easy to Intermediate This pattern requires comfort with working in the round, creating textured stitches, and modular assembly.
- Crocheting in a magic ring
- Working puff stitches for floral texture
- Creating ribbed textures using back-loop-only single crochet
- Whipstitching or slip-stitch joining motifs
📠E. FINISHED SIZE
- Length: 38 inches (96.5 cm)
- Width: 16 inches (40.5 cm) at the widest point (leaf tip to leaf tip)
- Note: Size can be easily customized by adding or subtracting rows of circle motifs.
🧮 F. GAUGE
- Circle Motif: Rounds 1-4 measure exactly 4.5 inches (11.5 cm) across before the cream border is added.
- Gauge is not strictly critical for this project, provided your tension remains consistent across all 11 circle motifs so they align perfectly during assembly.
🧶 G. REQUIRED YARN AMOUNTS
| Yarn Color | Estimated Yardage | Project Usage |
| Cream/Off-White | 200 yds | Scalloped borders, white daisy petals |
| Dark Green | 150 yds | 6 outer circle motifs |
| Sage / Light Green | 120 yds | 2 end circles, 8 leaf accents |
| Mustard Yellow | 50 yds | 1 center circle, tiny flower centers |
| Warm Taupe / Mauve | 40 yds | 1 center circle |
🧰 H. MATERIALS
- Hook: 4.5 mm (G+) crochet hook
- Yarn: Worsted weight (Category 4) cotton or cotton-blend yarn
- Needle: Blunt-tip tapestry needle for seaming and weaving ends
- Scissors: Sharp craft scissors
- Blocking Tools: Rust-proof T-pins and a blocking mat (highly recommended for flat table linens)
🔤 I. ABBREVIATIONS – US TERMS
- MR: Magic Ring
- ch: chain
- sc: single crochet
- dc: double crochet
- puff st: puff stitch (yarn over, insert hook, pull up a loop 3 times; yarn over and pull through all 7 loops on hook)
- BLO: back loop only
- sl st: slip stitch
- st(s): stitch(es)
- sp: space
- inc: increase (2 dc in same st)
- FO: fasten off
📠J. NOTES BEFORE YOU BEGIN
- Color Scheme: The reference image uses mustard, taupe, and sage for the central line of circles, but these can be swapped to match your decor.
- Joining: The pattern calls for whipstitching the motifs together after they are all complete. For a more advanced, seamless finish, you may use a Join-As-You-Go (JAYG) method during Round 5 of the motifs.
- Blocking: Cotton yarn holds its shape best when wet-blocked. Block all circles and leaves individually before assembly for the crispest results.
🪡 K. COMPLETE PATTERN
🌼 Center Daisy (Make 11 – for all circles) Start with Mustard Yellow. R1: MR, ch 1, 12 sc in ring. Join with sl st. FO Yellow. (12) Join Cream yarn to any st. R2: Ch 2, puff st in same st, ch 1. (puff st in next st, ch 1) 11 times. Join with sl st to top of first puff st. FO Cream. (12 puff sts, 12 ch-1 spaces)
🟢 Circle Main Body (Make 6 Dark Green, 2 Sage, 1 Mustard, 1 Taupe, 1 alternate center color of choice) Join your chosen Main Color to any ch-1 space of the daisy. R3: Ch 3 (counts as dc), 2 dc in same space. 3 dc in each ch-1 space around. Join with sl st. (36 dc) R4: Ch 3, dc in same st, dc in next 2 sts. (inc, dc in next 2 sts) 11 times. Join with sl st. FO Main Color. (48 dc)
â˜ï¸ Scalloped Border (Add to all 11 circles) Join Cream yarn to any st. R5: ch 1, sc in same st. Skip 1 st, 5 dc in next st, skip 1 st. sc in next st, skip 1 st, 5 dc in next st, skip 1 st. Repeat from * to * around. Join with sl st to first sc. FO Cream, leaving a long tail for sewing. (12 scallops per circle)
🌿 Ribbed Leaf (Make 8 in Sage Green) Row 1: Ch 12. sc in 2nd ch from hook, sc in next 9 chs, 3 sc in last ch. Working down the opposite side of the chain: sc in next 8 chs. Leave remaining chs unworked. (21) Row 2: Ch 1, turn. Working in BLO: sc in next 9 sts, 3 sc in next st (the point), sc in next 7 sts. Leave remaining sts unworked. (19) Row 3: Ch 1, turn. Working in BLO: sc in next 8 sts, 3 sc in next st, sc in next 7 sts. Leave remaining sts unworked. (18) Row 4-5: Repeat the established ribbed shaping (sc to the point, 3 sc in the point, sc down the other side leaving the last 2 sts unworked) to create the jagged leaf edges. FO Sage Green, leaving a long tail for attaching.
🎨 L. STYLING / ASSEMBLY / STABILITY / FINAL SHAPING
Layout & Seaming Sequence
- Lay out the 11 circles on a flat surface.
- Create the central column first: Place the top Sage circle, followed by the Taupe, Mustard, Sage, and alternate center circle in a vertical line.
- Place the 6 Dark Green circles in pairs flanking the connection points of the central column (creating a staggered honeycomb look).
- Using a tapestry needle and the Cream yarn tails, whipstitch the motifs together. Sew exactly one scallop (5 dc) together where the circles touch.
Attaching the Leaves
- Position the 8 leaves in the deep V-shaped indentations along the outer edge of the runner (between the Dark Green and center circles).
- Using the Sage yarn tails, securely sew the base of each leaf to the back loops of the abutting circles. Let the pointed tips of the leaves remain unattached so they curve naturally.
✅ Finishing Checklist:
- ✅ All 11 circles are securely joined without gaps.
- ✅ Runner lays perfectly flat without buckling in the center.
- ✅ Leaves are angled slightly outward for a dynamic silhouette.
- ✅ All yarn tails are woven into the matching color blocks to remain invisible.
💡 M. HELPFUL CROCHET TIPS
- 💡 Consistent Sizing: Check your circle diameter after R4. If one color of yarn is slightly thicker than the others, your circles will not align properly. Adjust hook sizes for individual colors if necessary to maintain a uniform 4.5-inch diameter.
- 💡 Flatter Joins: When whipstitching the cream scallops, sew only through the back loops. This allows the front loops to create a clean, unbroken line that looks professional.
- 💡 Perfect Puffs: When making the puff stitches in R2, pull your loops up evenly to the height of your hook to ensure the daisies look plump and symmetrical.
- 💡 Leaf Points: To make the leaf tips sharper, you can work a (sc, ch 1, sc) into the center stitch of the point instead of 3 sc.
🧼 N. CARE INSTRUCTIONS
Cotton table runners absorb spills easily but are simple to clean. Spot clean food stains immediately with cold water and mild soap. For a full wash, hand wash in cool water or machine wash on a delicate cycle inside a mesh laundry bag. Do not wring. Lay the runner completely flat on dry towels to air dry. Once dry, you may use a warm iron with steam on the reverse side to crisp up the leaf edges and scalloped borders.
â“ R. FAQ
â“ Can I make this table runner longer? Yes. To extend the runner, simply continue the 1-2-1-2 motif pattern. You will need one center circle, two flanking dark green circles, and two extra leaves for every additional section.
â“ My runner is buckling where the circles join. What happened? This usually means the motifs were sewn together too tightly, or you joined too many stitches together. Ensure you are only sewing one 5-dc scallop together at each connection point. Wet blocking can also fix minor buckling.
â“ Can I use acrylic yarn? You can, but acrylic yarn is not heat resistant. If you plan to place warm serving dishes on the table runner, 100% cotton is strongly recommended to prevent the fibers from melting.
Share the love! If you loved crocheting the Circles & Leaves Table Runner, snap a photo of it on your dining table and share it with us!