Creamy Chocolate Smoothie
The Ultimate Creamy Chocolate Smoothie: A Guilt-Free Indulgence
If you have been searching for the perfect way to satisfy your sweet tooth without derailing your health goals, look no further. This Chocolate Smoothie is not just a drink; it is an experience. Imagine the rich, velvety texture of a milkshake combined with the wholesome goodness of nutrient-dense ingredients. Whether you are looking for a quick breakfast on the go, a post-workout recovery drink, or a decadent dessert that won’t leave you feeling heavy, this recipe is your new best friend.
In this comprehensive guide, we are going to dive deep into how to make the absolute best chocolate smoothie of your life. We will cover everything from the science of blending to the specific health benefits of raw cocoa, and we will even explore a dozen ways to customize this base recipe to fit your dietary needs. Get your blenders ready, because this is going to be delicious.
Why You Will Fall in Love With This Recipe
There are a million smoothie recipes on the internet, but this one stands out for a few key reasons. First and foremost is the texture. By using a frozen banana as the base, we achieve a creamy, ice-cream-like consistency that ice cubes alone simply cannot replicate. The banana acts as a natural emulsifier, binding the milk and cocoa powder into a smooth, cohesive drink that feels luxurious on the tongue.
Secondly, this recipe is incredibly versatile. It is a chameleon of a drink. Swap the dairy milk for oat milk, and it becomes a vegan delight. Add a scoop of whey protein, and it’s a bodybuilder’s dream. Throw in a shot of espresso, and you have a morning mocha booster. It is designed to work with what you have in your pantry, making it the ultimate “no-fuss” meal.
Finally, let’s talk about the flavor profile. We aren’t using sugary chocolate syrups here. We are using real cocoa powder and natural sweeteners like honey or maple syrup. This gives the smoothie a deep, complex chocolate flavor that is more “gourmet truffle” than “cheap candy bar.” It is sophisticated enough for adults but sweet enough that kids will beg for it every morning.
The Star Ingredients
To make the magic happen, you need the right cast of characters. Here is a breakdown of what goes into your blender and why:
- Milk (or Plant-Based Milk): This is your liquid base. Using 2 cups ensures the smoothie is drinkable through a straw rather than needing a spoon. Whole milk provides the richest flavor, but almond milk adds a lovely nuttiness, and oat milk brings an extra layer of creaminess that pairs perfectly with chocolate.
- Cocoa Powder: The heart of the operation. You’ll want to use unsweetened cocoa powder. For a darker, oreo-like flavor, opt for Dutch-processed cocoa. For a lighter, fruitier chocolate note, stick to natural cocoa powder. Both are packed with antioxidants.
- Honey or Sweetener: Liquid sweeteners work best in cold drinks because they blend instantly. Honey adds a floral note, while maple syrup adds a hint of caramel. If you are watching your sugar intake, agave nectar or a few drops of stevia work wonders.
- Banana: The secret weapon. A ripe banana provides natural sweetness, but more importantly, it provides pectin and starch that thicken the smoothie. Pro Tip: Use a frozen banana for a frosty, thick texture that eliminates the need for too much ice.
- Vanilla Extract: This might seem optional, but it’s crucial. Vanilla acts as a flavor enhancer for chocolate, making the cocoa taste more “chocolatey.” It rounds out the sharp edges of the cocoa powder.
- Ice Cubes (Optional): If you used a fresh banana, you will need ice to chill the drink and thicken it up. If you used a frozen banana, you might skip this to keep the flavor undiluted.
Step-by-Step Instructions
Making a smoothie seems simple—just blend and go, right? While that is true, the order in which you add ingredients can actually affect the final texture. Follow these steps for the smoothest result:
1. Prepare Your Ingredients
Start by peeling your banana. If you are planning ahead, chop it into chunks and freeze it for at least 2 hours. Measure out your milk, cocoa powder, and sweetener so everything is ready to go.
2. Liquid First
Pour the 2 cups of milk into the blender canister first. Adding liquid first helps the blades spin freely and creates a vortex that pulls the solid ingredients down. This prevents the blender from getting stuck and ensures you don’t end up with chunks of unblended banana at the bottom.
3. Add the Powders and Sweeteners
Add the 2 tablespoons of cocoa powder, the vanilla extract, and your honey or sweetener of choice. Adding the powder before the fruit helps it mix into the liquid rather than sticking to the lid of the blender.
4. Add the Fruit and Ice
Toss in your banana (fresh or frozen) and the ice cubes if you are using them. These heavier items help weigh down the mixture, pushing the powders into the blades.
5. Blend Until Smooth
Start the blender on low speed to break up the large chunks. Once the mixture is moving, slowly increase the speed to high. Blend for 45 to 60 seconds. You are looking for a glossy, uniform color with no visible specks of banana. The sound of the blender will change from a loud crunching to a smooth hum when it is ready.
6. Taste and Adjust
Dip a spoon in and taste. Is it chocolatey enough? Add more cocoa. Not sweet enough? Add a touch more honey. Too thick? Add a splash of milk. Make it perfect for your palate.
7. Serve and Enjoy
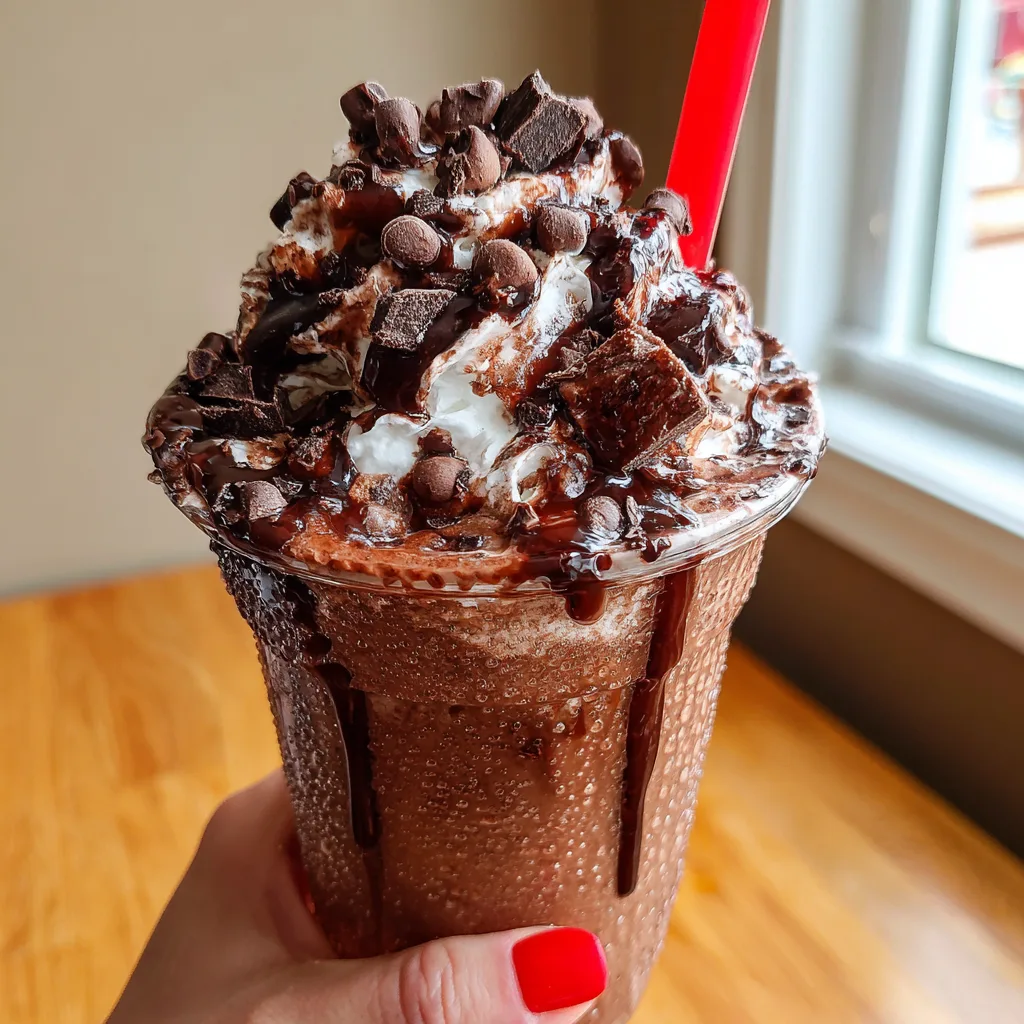
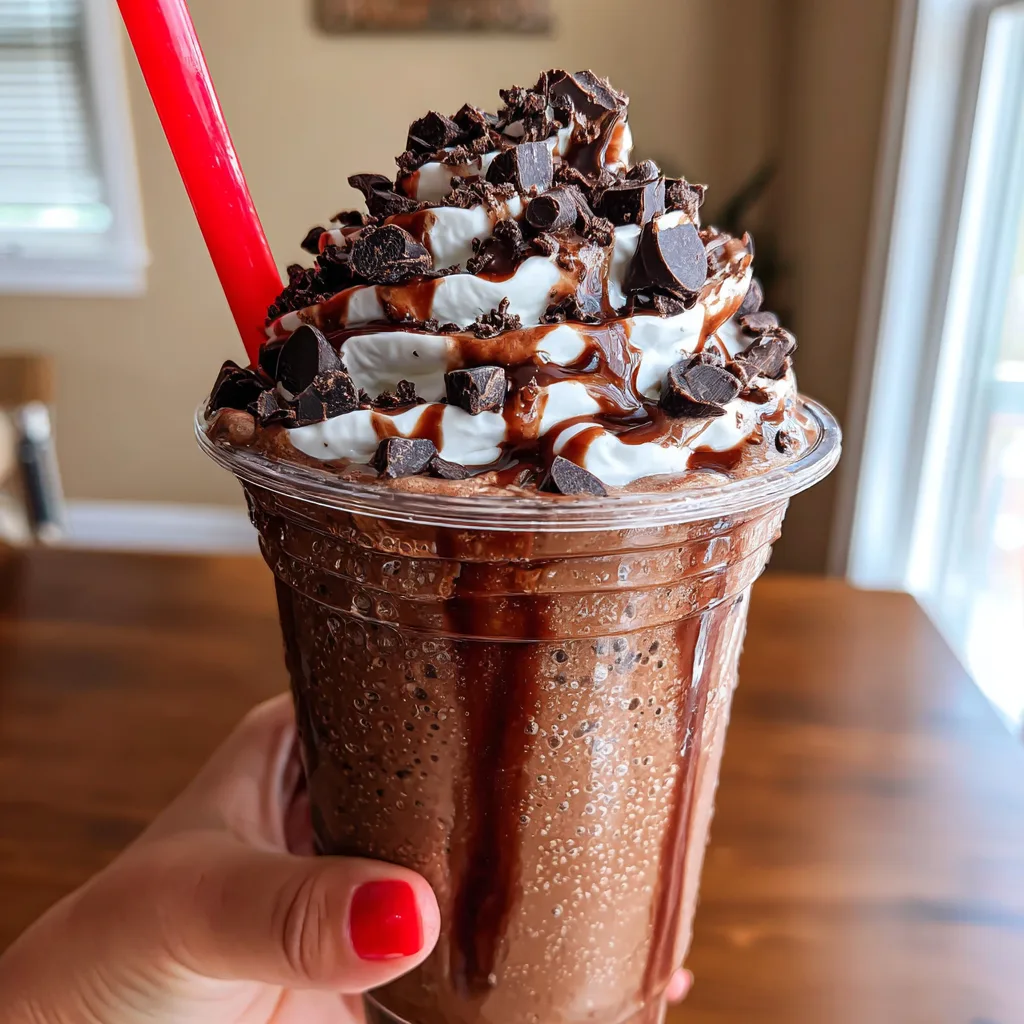
Pour immediately into a tall glass. For the full experience shown in the photo, top with chocolate whipped cream and a sprinkle of chocolate chips. Stick in a straw and enjoy immediately while it is ice-cold.
Tips for the Perfect Texture
Texture is what separates a good smoothie from a sad, watery drink. Here are expert tips to master the consistency:
- Freeze Your Fruit: We cannot stress this enough. Frozen bananas create a creamy, milkshake-like texture that ice cannot achieve. Ice melts and waters down the flavor; frozen fruit keeps it rich.
- Avocado for Creaminess: If you don’t like bananas, or if you want an even creamier drink, add a quarter of a ripe avocado. It adds healthy fats and an incredibly silky texture without imparting a strong flavor when masked by cocoa.
- The Power of Yogurt: Adding a dollop of Greek yogurt not only adds protein but also thickens the smoothie and adds a pleasant tang that cuts through the richness of the chocolate.
- Don’t Over-Blend: While you want it smooth, blending for too long generates heat from the motor, which can melt your frozen ingredients and leave you with a lukewarm soup. Stop as soon as it is smooth.
Variations to Try
Once you have mastered the base recipe, try these fun variations to keep things exciting:
1. The Peanut Butter Cup
Add 1 tablespoon of creamy peanut butter or almond butter to the blender. Chocolate and peanut butter are a match made in heaven, and the nut butter adds healthy fats and protein to keep you full longer.
2. The Black Forest
Add a handful of frozen cherries and reduce the banana by half. The combination of chocolate and cherry gives a delicious Black Forest cake vibe. Top with shaved dark chocolate.
3. The Mexican Hot Chocolate (Cold Version)
Add a pinch of cinnamon and a tiny dash of cayenne pepper. The spice warms up the back of your throat and highlights the cocoa flavor beautifully.
4. The Green Machine
Believe it or not, you can hide a handful of spinach in this smoothie. The cocoa powder is dark enough to hide the green color, and the banana masks the vegetable taste. It’s a great way to get veggies into picky eaters.
5. The Mocha Wake-Up
Replace half a cup of the milk with chilled cold brew coffee or a shot of cooled espresso. It’s breakfast and caffeine all in one cup.
Health Benefits of Cacao
Let’s take a moment to appreciate the hero ingredient: Cocoa. Raw cocoa powder is a superfood. It is one of the highest sources of plant-based iron and is packed with magnesium, which is essential for muscle function and relaxation.
Cocoa is also rich in flavonoids, which are antioxidants that have been linked to improved heart health, lower blood pressure, and better blood flow to the brain. By making this smoothie at home, you control the sugar, allowing you to reap these benefits without the spike and crash associated with store-bought chocolate drinks.
Serving Suggestions
While this smoothie is great on its own, presentation makes it taste even better. Here is how to serve it like a pro:
- The Rim Job: Dip the rim of your glass in melted chocolate or honey, then dip it in crushed nuts or sprinkles before pouring the smoothie.
- Layer It: Pour half the smoothie into the glass, add a layer of yogurt or whipped cream, and then pour the rest. It creates a beautiful parfait look.
- Crunchy Toppings: Contrast is key. Top your smooth drink with something crunchy like cacao nibs, granola, toasted coconut flakes, or chia seeds.
- The Drizzle: Drizzle the inside of the glass with chocolate syrup or almond butter before pouring. It looks artistic and adds pockets of intense flavor.
Frequently Asked Questions
Can I make this ahead of time?
Smoothies are best enjoyed fresh. However, if you must, you can blend it the night before and store it in an airtight mason jar in the fridge. Shake it well before drinking, as separation may occur.
My smoothie is too thin, how do I fix it?
Add more frozen fruit, a handful of ice, or a tablespoon of chia seeds (let it sit for 5 minutes after blending) to thicken it up.
My smoothie is too thick, how do I fix it?
Simply add more milk, a splash at a time, and pulse until it reaches your desired consistency.
Can I use water instead of milk?
Technically yes, but it will be much less creamy and flavorful. If you want to avoid dairy but keep the creaminess, try coconut milk or cashew milk.
Conclusion
This Chocolate Smoothie recipe is proof that you don’t need complicated ingredients or expensive equipment to create something truly delicious. It strikes the perfect balance between health and indulgence, making it suitable for breakfast, a snack, or even a dessert. With its rich cocoa flavor, creamy texture, and endless customization options, it is bound to become a staple in your kitchen rotation. So grab that blender, toss in your ingredients, and sip your way to chocolate bliss.
Creamy Chocolate Smoothie
Ingredients
Equipment
Method
- Peel the banana. For a thicker smoothie, chop the banana and freeze for at least 2 hours prior to blending.
- Pour the milk into the blender first to ensure the blades can move freely.
- Add the cocoa powder, honey (or sweetener), and vanilla extract.
- Add the banana and ice cubes (if using).
- Blend on high speed for 45-60 seconds until completely smooth and creamy.
- Pour into a tall glass. Top with whipped cream and chocolate chips if desired. Serve immediately with a straw.