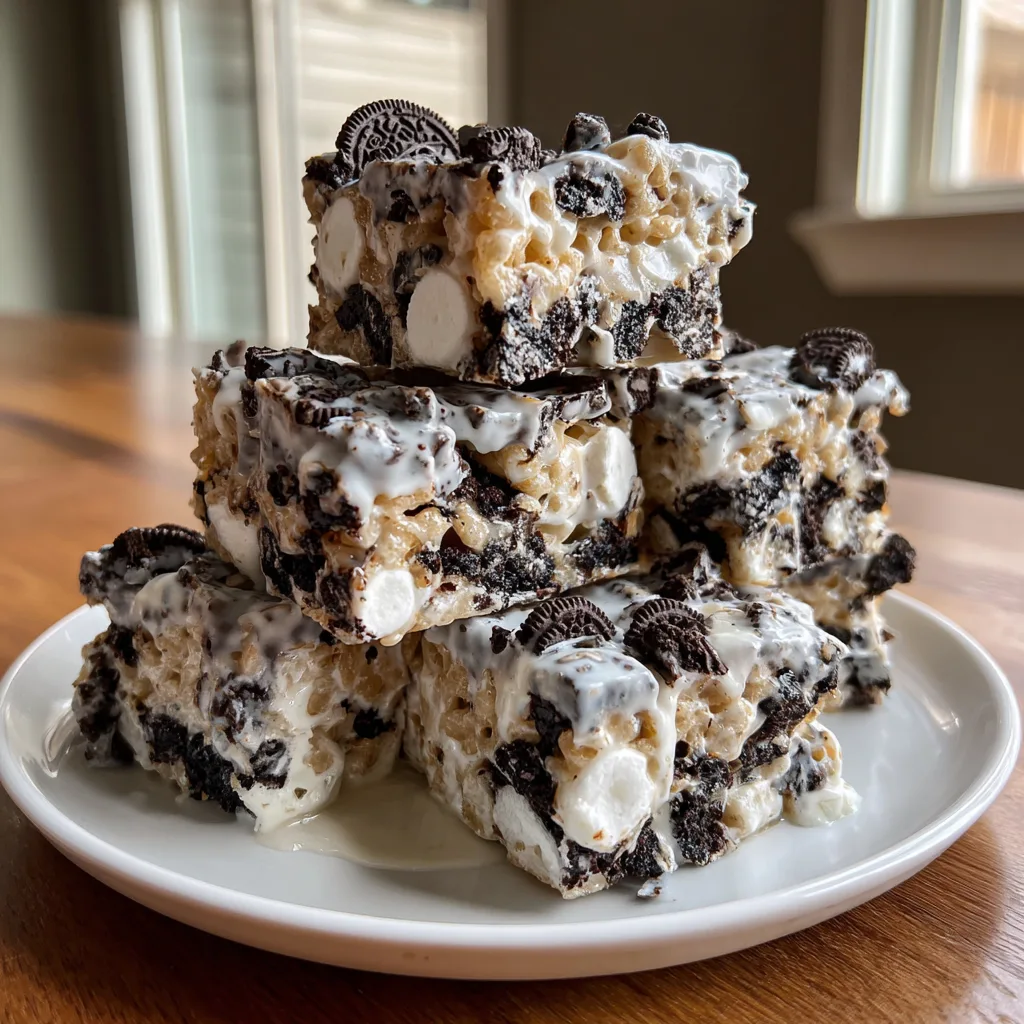
Oreo Rice Krispie Treats
The Best Chewy Oreo Rice Krispie Treats Recipe
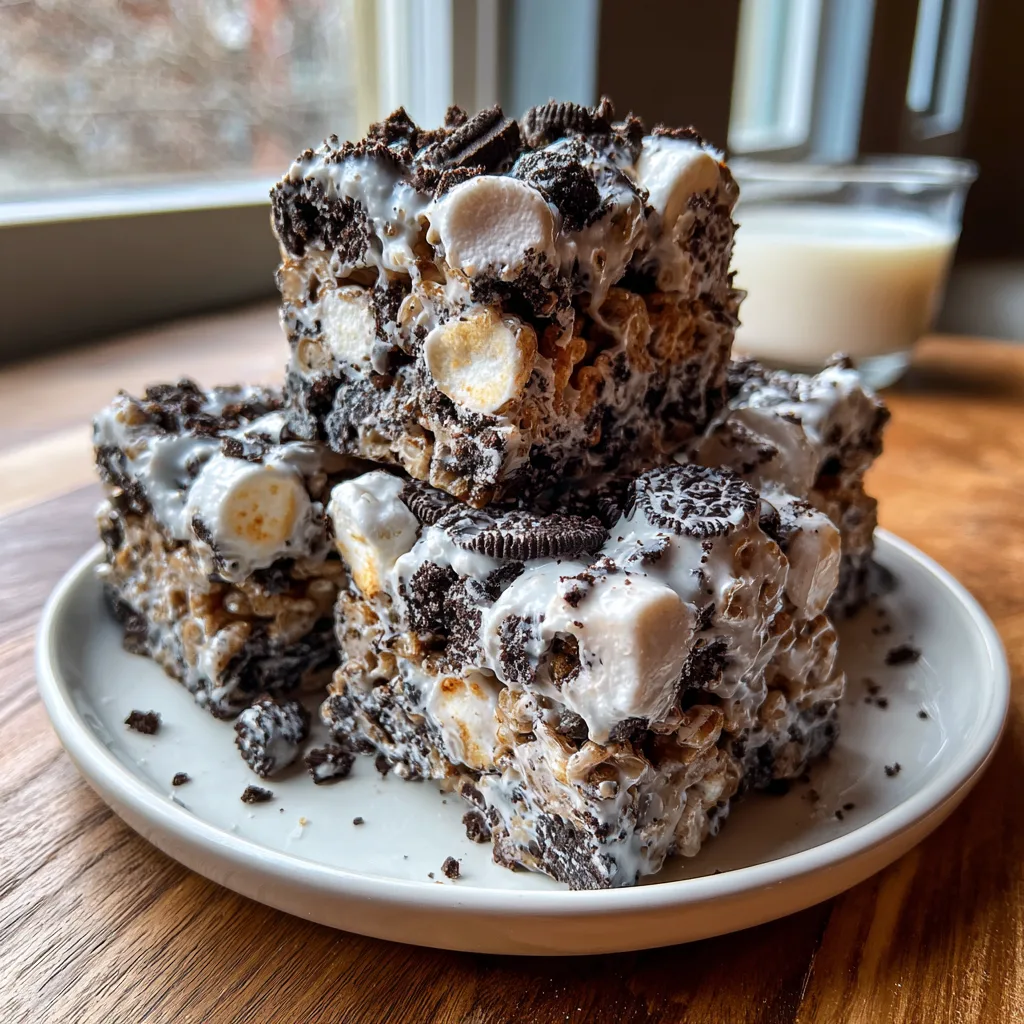
If you thought the classic Rice Krispie treat couldn’t get any better, prepare to have your mind changed. We are taking the nostalgia of the original sticky, sweet, crunch bar and colliding it with America’s favorite cookie: the Oreo. These Oreo Rice Krispie Treats (often affectionately called “Cookies and Cream Bars”) are not just your average bake sale filler. They are thick, impossibly gooey, and loaded with chunks of chocolatey cookie goodness in every single bite.
Why do we need a specific recipe for this? Can’t you just throw Oreos into the standard back-of-the-box recipe? You could, but you would be missing out on the secret to bakery-style perfection. The standard recipe often yields treats that turn rock-hard after a day. This recipe, however, increases the butter-to-marshmallow ratio and uses a special two-stage marshmallow technique. The result is a treat that stays soft and chewy for days—if they last that long.
This is the ultimate no-bake dessert. It requires zero oven time, minimal ingredients, and about 15 minutes of active effort. Whether you are making a quick snack for movie night, a contribution to a potluck, or just craving a late-night sugar fix, these bars are the answer. The contrast between the light, airy crisp rice cereal and the dense, crunchy Oreo chunks, all bound together by vanilla-scented marshmallow goo, is texture heaven.
Why This Recipe is the “Best”
- The “Double Marshmallow” Method: We melt most of the marshmallows to bind the cereal, but we reserve two cups of mini marshmallows to fold in at the end. This creates pockets of whole, unmelted marshmallow throughout the bars.
- Extra Butter: Most recipes scrimp on butter. We use a generous amount to ensure the marshmallow mixture is silky, not sticky-hard, giving the bars a luxurious mouthfeel.
- Salt Balance: A pinch of sea salt is non-negotiable. It cuts through the intense sweetness of the marshmallows and the creme filling of the Oreos.
- Ratio Perfection: We have calculated the exact ratio of cereal to mix-ins so the bars hold together perfectly without being too loose or too brick-like.
Ingredients
You only need 5 ingredients to make magic happen. Quality matters here!
The Essentials
- Butter: 1/2 cup (1 stick) unsalted butter. (If you only have salted butter, omit the extra pinch of salt later). European butter with higher fat content makes these even better.
- Mini Marshmallows: 16 oz total (You will need roughly 2 bags if buying 10oz bags, or one large family size bag). Freshness is key—do not use stale marshmallows from the back of the pantry!
- Rice Krispies Cereal: 6 cups. Any brand of crispy rice cereal works, but the name brand tends to stay crispier longer.
- Oreo Cookies: 20 cookies (roughly 1/2 a family pack). You will crush most of them and keep some for topping.
- Vanilla Extract: 1 tsp. Use pure vanilla extract for the best flavor profile.
- Sea Salt: A generous pinch (about 1/4 tsp) to balance the sugar.
Instructions
Step 1: Prep Your Station
1. Prepare the Pan: Line a 9×9 inch square baking pan with parchment paper or aluminum foil. Leave an overhang on the sides to act as “handles” for easy removal later. Lightly grease the lining with butter or non-stick spray.
2. Crush the Cookies: Take about 15 of your Oreos and place them in a zip-top bag. Crush them with a rolling pin until you have a mix of fine crumbs and large chunks. Break the remaining 5 Oreos into larger pieces by hand and set them aside for the topping.
3. Measure Cereal: Pour your 6 cups of Rice Krispies into a very large mixing bowl. It is easier to mix everything if the bowl is oversized.
Step 2: The Marshmallow Melt
4. Melt Butter: In a large pot or Dutch oven, melt the stick of butter over medium-low heat. Let it melt gently; you don’t want to brown it (unless you want brown butter treats, which is a delicious variation!).
5. Melt Marshmallows: Reserve 2 cups of mini marshmallows and set them aside. Pour the remaining marshmallows into the pot with the melted butter. Stir constantly with a rubber spatula until completely melted and smooth.
6. Flavor It: Remove the pot from the heat immediately. Stir in the vanilla extract and the pinch of salt.
Step 3: Mix and Fold
7. Combine: Pour the cereal into the pot with the marshmallow mixture (or pour the marshmallow mixture over the cereal in the large bowl). Fold gently until the cereal is mostly coated.
8. Add Mix-ins: Add the crushed Oreos and the reserved 2 cups of mini marshmallows. Fold them in quickly. The residual heat will soften the mini marshmallows slightly but they should remain intact.
Step 4: Shape and Set
9. Press into Pan: Dump the sticky mixture into your prepared pan. CRUCIAL STEP: Grease your hands or a spatula with butter. Gently press the mixture down to spread it to the corners. Do not pack it down tightly! If you compress it too much, the treats will be hard. Just press enough to level it out.
10. Top and Cool: Press the remaining large Oreo chunks onto the top of the warm treats for a bakery-style look. Let the pan sit at room temperature for at least 1 hour to set. Avoid putting them in the fridge, as this dries out the marshmallows.
11. Slice and Serve: Lift the block out of the pan using the parchment handles. Cut into large squares using a sharp knife. Enjoy!
Chef’s Tips for Soft Treats
The “Light Hand” Technique: The number one reason Rice Krispie treats turn out hard is over-compressing. When you put the mixture in the pan, imagine you are tucking it into bed, not packing a suitcase. You want air pockets to remain inside.
Fresh Marshmallows Only: Marshmallows act as the glue. If they are old and dried out, they won’t melt smoothly and will re-solidify into a chewy, tough texture. Buy a fresh bag for this recipe.
Don’t Overheat: When melting the marshmallows, keep the heat low. High heat cooks the sugar in the marshmallows to the “hard crack” stage, meaning your treats will be brittle. Low and slow is the way to go.
Greased Hands: This mixture is incredibly sticky. A little bit of butter or non-stick spray on your fingers makes pressing the mixture into the pan a breeze.
Variations and Substitutions
Golden Oreos: Swap the classic chocolate Oreos for Golden Oreos for a vanilla-forward “Birthday Cake” vibe. Add sprinkles for extra color.
Peanut Butter: Add 1/2 cup of creamy peanut butter to the melted butter and marshmallow mixture before adding the cereal. Use peanut butter Oreos for a double hit of flavor.
Brown Butter: Let the butter cook a few minutes longer in Step 4 until it smells nutty and turns amber. This adds a sophisticated toffee flavor that pairs beautifully with the chocolate cookies.
Chocolate Drizzle: Melt some white chocolate or semi-sweet chocolate chips and drizzle over the finished bars for an extra touch of elegance.
Storage and Freezing
Room Temperature: Store leftovers in an airtight container at room temperature for up to 3 days. To keep them extra soft, place a slice of white bread in the container with them (the treats absorb moisture from the bread).
Freezer: Yes, you can freeze them! Wrap individual squares in plastic wrap and then place them in a freezer bag. Freeze for up to 6 weeks. Thaw at room temperature for 15 minutes before eating.
Reviving Stale Treats: If your treats have gone a little hard, pop one in the microwave for 7-10 seconds. It will soften up the marshmallow and make it gooey again.
These Oreo Rice Krispie Treats are the definition of a crowd-pleaser. They combine the best parts of childhood snacking into one decadent bar. Whether you are a novice cook or a seasoned pro, this recipe guarantees a result that is soft, chewy, and packed with flavor every single time.
The Best Oreo Rice Krispie Treats
Ingredients
Equipment
Method
- Prepare a 9×9 inch pan by lining with parchment paper and lightly greasing.
- Crush 15 Oreos into chunks; break remaining 5 into larger pieces for topping.
- Melt butter in a large pot over low heat.
- Reserve 2 cups of marshmallows. Add the rest to the butter and melt, stirring constantly.
- Remove from heat. Stir in vanilla and salt.
- Fold in cereal until coated.
- Fold in crushed Oreos and the reserved 2 cups of marshmallows.
- Gently press mixture into the pan (do not pack tight). Top with remaining Oreo pieces.
- Cool at room temperature for 1 hour before cutting into squares.