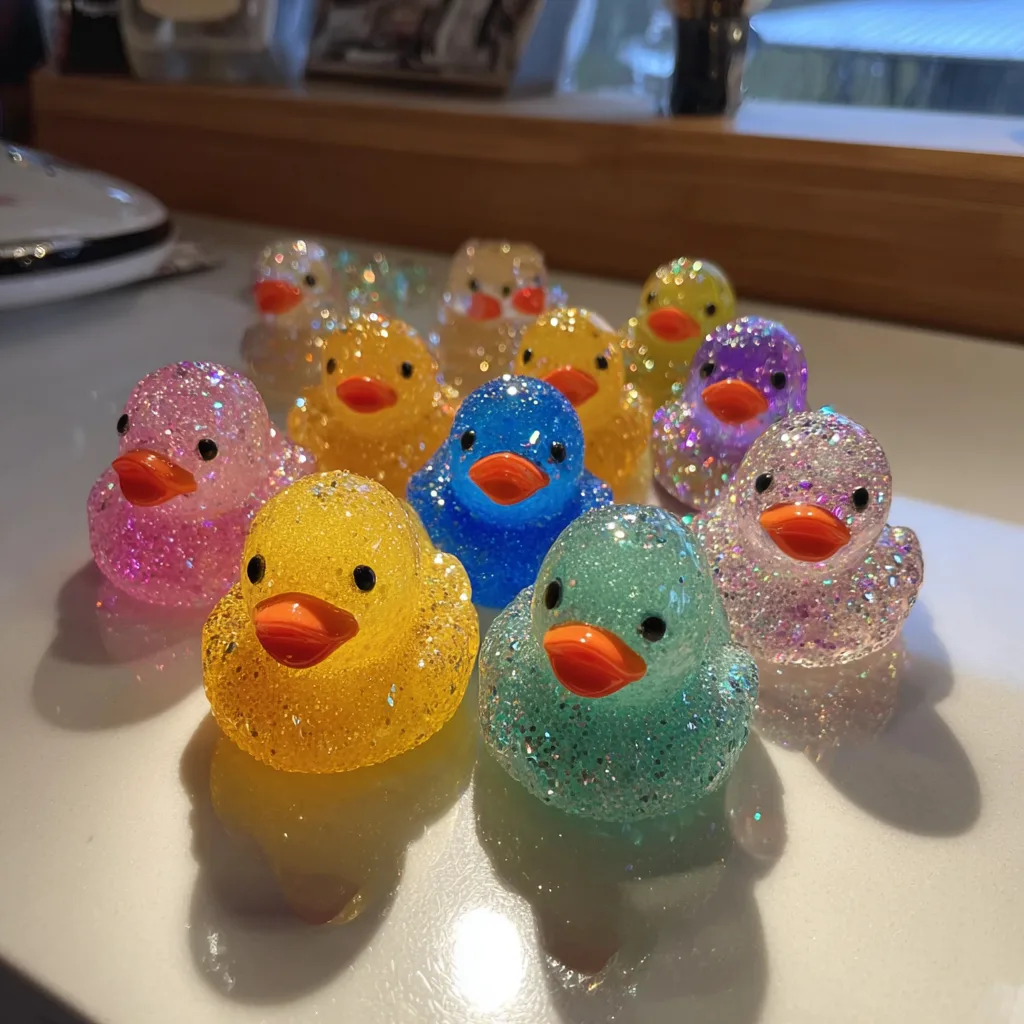
Sparkly Rock Candy Ducks
How to Make Sparkly Rock Candy Ducks: A Bedazzled Edible Treat
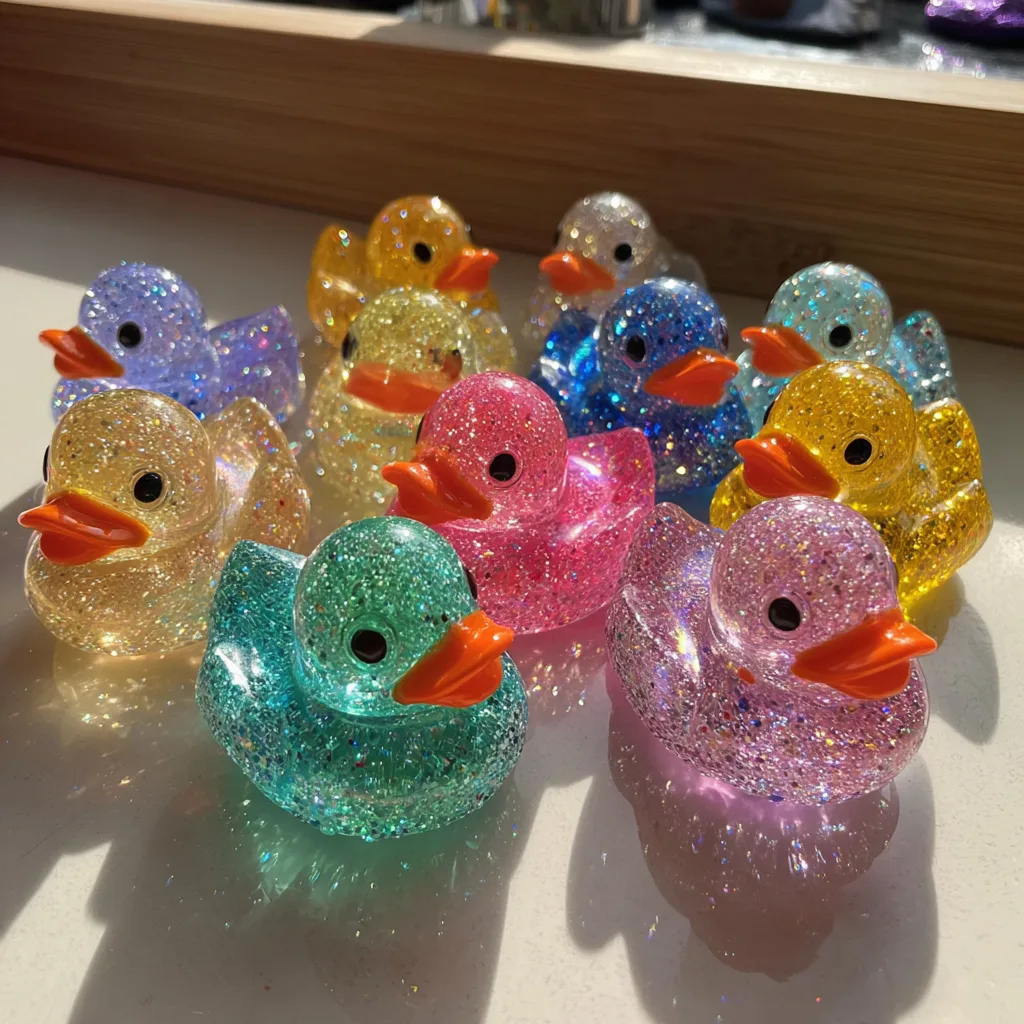
Welcome to the ultimate guide on creating one of the most visually stunning, whimsical treats you will ever make in your home kitchen: Sparkly Rock Candy Ducks. If you have ever seen those adorable, bedazzled miniature rubber ducks covered in glittering rhinestones and thought, “I wish I could eat that,” then this recipe is exactly what you have been waiting for. We are taking the playful nostalgia of classic rubber ducks and transforming them into a breathtaking, fully edible sugar glass candy that sparkles and shines just like a precious gem. Whether you are hosting a rubber ducky-themed baby shower, looking for a unique party favor for a child’s birthday, or simply wanting to experiment with the fascinating art of sugar work and hard candy making, these glistening little ducks are guaranteed to steal the show. In this comprehensive guide, we will walk you through the entire process, from understanding the science of sugar temperatures to mastering the art of applying edible glitter to achieve that perfect “bedazzled” rhinestone look.
The Inspiration: Bedazzled Toys Meet Culinary Art
The inspiration for these Sparkly Rock Candy Ducks comes directly from the vibrant world of pop culture and craft art, where everyday objects are elevated with rhinestones and crystals. By mimicking this aesthetic with food, we bridge the gap between visual art and culinary delight. Hard candy, often referred to as sugar glass, provides the perfect translucent, glass-like base. By utilizing vibrant food coloring and a generous coating of coarse sanding sugar and edible glitter, we can replicate the texture and sparkle of a bedazzled toy. The result is a treat that tricks the eye and delights the palate. Making candy at home might seem intimidating at first, but with patience, the right tools, and a bit of scientific understanding, you will be producing professional-quality sweets right from your own stove.
The Science of Sugar Work: Hitting the Hard Crack Stage
To successfully make Sparkly Rock Candy Ducks, you must understand the stages of cooked sugar. Sugar syrup changes its structural properties depending on how hot it gets. As the water evaporates, the concentration of sugar increases, leading to different textures when the mixture cools. For hard candies like our ducks, we need to reach the “Hard Crack Stage,” which occurs between 300°F and 310°F (149°C – 154°C). If you do not reach this temperature, your candy will end up chewy, sticky, or soft—more like a taffy or caramel. If you exceed this temperature by too much, the sugar will begin to caramelize and turn brown, ruining the clear, vibrant colors we want for our ducks. This is why a reliable, accurate candy thermometer is the absolute most important tool in your kitchen for this recipe. It removes the guesswork and ensures a perfectly crisp, glass-like snap every single time.
Essential Equipment for Hard Candy Making
Before you begin boiling sugar, it is crucial to have your workspace fully prepped and your tools ready. Boiling sugar is incredibly hot and requires your undivided attention. Here is what you need:
- Heavy-Bottomed Saucepan: A heavy-bottomed pot distributes heat evenly, preventing the sugar from scorching in hot spots.
- Candy Thermometer: A digital or traditional glass candy thermometer that clips to the side of your pan is non-negotiable for accuracy.
- Silicone Duck Molds: You will need heat-safe food-grade silicone molds shaped like small ducks. Ensure they are thoroughly cleaned and completely dry before use.
- Silicone Spatula: For gentle stirring before the mixture boils.
- Dropper or Small Funnel (Optional): Helpful for pouring the hot, dangerous sugar syrup into the small cavities of the duck molds without spilling.
Ingredients – What You Need
The beauty of hard candy is that it requires very few ingredients. The magic happens in the technique. Here is what you need to gather:
- – 2 cups granulated white sugar
- – 2/3 cup light corn syrup (this prevents the sugar from crystallizing and becoming grainy)
- – 3/4 cup filtered water
- – 1 dram (about 1 teaspoon) hard candy flavoring oil (such as strawberry, blueberry, lemon, or green apple to match your colors)
- – Liquid gel food coloring (pink, blue, yellow, green, purple, etc.)
- – 1/2 cup coarse sanding sugar or edible glitter flakes (for the bedazzled texture)
- – Cooking spray (for lightly greasing the molds)
Step-by-Step Instructions: Crafting Your Crystal Ducks
Follow these instructions carefully, and remember that safety is paramount when working with boiling sugar.
- Prepare the Molds: Lightly spray your silicone duck molds with cooking spray, then use a paper towel to wipe out the excess. You want the lightest possible coating. Place the molds on a heat-proof baking sheet.
- Combine Ingredients: In your heavy-bottomed saucepan, combine the granulated sugar, light corn syrup, and water. Stir gently with a silicone spatula until the sugar is just moistened.
- Attach Thermometer: Clip your candy thermometer to the side of the pot, ensuring the tip is submerged in the mixture but not touching the very bottom of the pan.
- Boil the Mixture: Place the saucepan over medium-high heat. Allow the mixture to come to a boil. Do not stir once the mixture starts boiling, as stirring can encourage unwanted crystallization. If sugar crystals form on the sides of the pan, brush them down with a wet pastry brush.
- Reach Hard Crack Stage: Watch the thermometer closely. Let the syrup boil until it reaches exactly 300°F (149°C). This can take 10 to 15 minutes depending on your stove.
- Remove and Flavor: Immediately remove the saucepan from the heat. Let the boiling bubbles subside completely. Carefully stir in your chosen hard candy flavoring oil and a few drops of gel food coloring. Stand back, as the flavoring oil can release a strong puff of steam.
- Pour the Candy: Carefully and quickly pour the hot candy syrup into the prepared silicone duck molds. If making multiple colors, you will need to do separate small batches, or divide the clear syrup into heat-proof glass measuring cups very quickly to color them before they set.
- Cooling: Allow the candy ducks to sit undisturbed at room temperature until completely cool and hardened, about 45 minutes to an hour. Do not put them in the fridge, as humidity can make them sticky.
- The Bedazzled Finish: Once the ducks are completely hard, pop them out of the molds. To create the sparkly, rhinestone effect, lightly brush the ducks with a tiny amount of water or edible glue using a fine brush, then immediately roll or dip them generously in the coarse sanding sugar and edible glitter. Let them dry completely.
Troubleshooting Common Candy Disasters
Even experienced candy makers occasionally run into issues. Here are common problems and how to avoid them. If your candy is sticky and won’t harden, it means you did not reach the 300°F hard crack stage, or you attempted to make candy on a very rainy, humid day. Sugar is hygroscopic, meaning it pulls moisture from the air. Always try to make hard candy on cool, dry days. If your candy turns out grainy or opaque instead of glass-like, the sugar crystallized. This usually happens if you stir the boiling mixture or if undissolved sugar crystals on the side of the pot fall back into the syrup. Always use corn syrup as directed, and refrain from stirring once it boils.
Flavor and Color Variations to Match Your Theme
The visual of a flock of multi-colored, sparkly ducks is fantastic, and you can match the flavors to the colors! For bright pink ducks, use a wild strawberry or watermelon flavoring. For the yellow ducks, a tart lemon or piña colada flavor is excellent. Blue ducks practically beg for a blue raspberry or cotton candy flavor, while green ducks are perfect for sour apple. Clear, uncolored ducks can be flavored with vanilla or peppermint and rolled in white sparkling sugar for an elegant, icy look.
Serving Suggestions and Party Themes
These Sparkly Rock Candy Ducks are incredibly versatile for events. They are the ultimate showstopper for a “Waddle It Be?” gender reveal party or a classic rubber ducky baby shower. You can place a sparkly duck on top of a swirl of blue buttercream on a cupcake to look like it’s floating in water. You can also package them individually in clear cellophane bags tied with a bright ribbon to give away as party favors. For a whimsical dessert table, arrange them on a platter coated in blue rock candy to simulate a sparkly pond.
How to Store Hard Candy Correctly
Proper storage is the key to keeping your Sparkly Rock Candy Ducks looking like pristine, bedazzled gems. Hard candy hates moisture. Store your finished, completely cooled and glittered ducks in an airtight container at room temperature. Do not refrigerate them. To prevent them from sticking together, you can dust them very lightly with powdered sugar (though this may dull the sparkle slightly) or wrap them individually in candy wax paper or cellophane. If kept in a cool, dark, and perfectly dry place, homemade hard candy can last for several months.
Fun Facts About Sugar Glass
Did you know that sugar glass, very similar to the recipe used for these ducks, was historically used in Hollywood movies for stunt scenes involving breaking windows? Because real glass is incredibly dangerous, prop makers would boil sugar to the hard crack stage and pour it into large sheets. When an actor jumped through a window, they were actually jumping through a giant sheet of hard candy! Today, movies mostly use synthetic breakaway resins, but the classic art of sugar glass remains a favorite technique for pastry chefs and enthusiastic home cooks alike.
Conclusion
Making Sparkly Rock Candy Ducks is a delightful project that combines basic kitchen science with an explosion of culinary creativity. By carefully managing your temperatures and taking the time to add that final, crucial layer of edible glitter, you transform basic sugar and water into a dazzling, bedazzled treat that looks like it belongs in a toy store or an art gallery. Gather your tools, pick your favorite flavor, and get ready to create a flock of the sweetest, sparkliest ducks you have ever seen. Happy candy making!
Sparkly Rock Candy Ducks
Ingredients
Equipment
Method
- Lightly grease silicone duck molds with cooking spray and wipe away excess. Set aside on a heat-proof surface.
- In a heavy-bottomed saucepan, combine sugar, corn syrup, and water. Stir gently until sugar is moistened.
- Attach a candy thermometer to the side of the pot, ensuring it does not touch the very bottom.
- Bring the mixture to a boil over medium-high heat. Do not stir once boiling begins.
- Boil until the thermometer reaches exactly 300°F (149°C), the hard crack stage.
- Immediately remove from heat. Once bubbling stops, carefully stir in flavoring oil and food coloring.
- Quickly pour the hot syrup into the prepared silicone molds. Allow to cool completely at room temperature for 45-60 minutes.
- Pop the hard candy ducks out of the molds. Lightly brush with water and dip into a mix of sanding sugar and edible glitter to create a bedazzled look. Let dry.