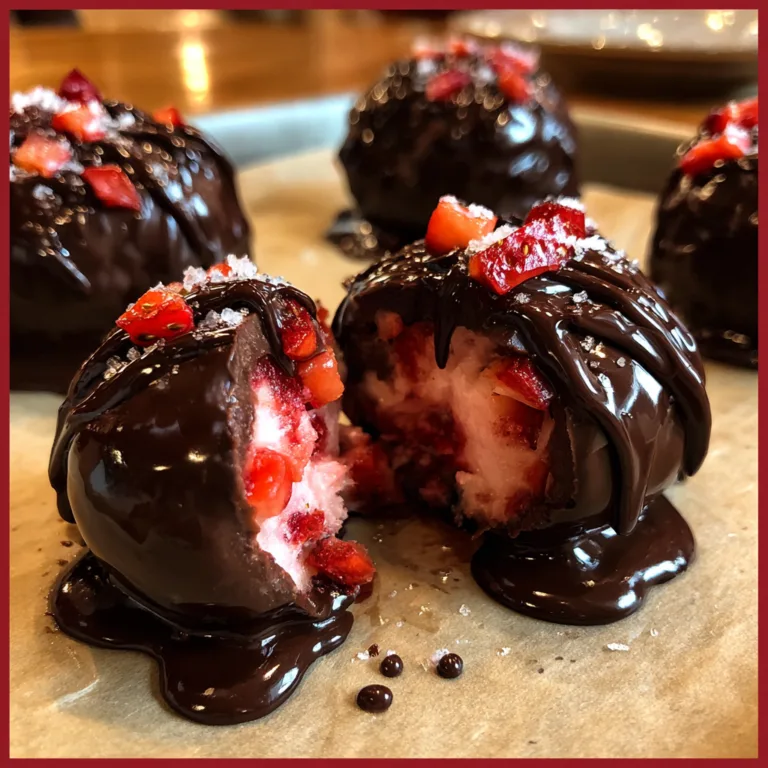
Tiramisu Truffles
Decadent No-Bake Tiramisu Truffles: A Bite-Sized Italian Masterpiece
There is something universally enchanting about Tiramisu. The way the bitter espresso cuts through the rich, sweet mascarpone, all held together by the delicate texture of ladyfingers and a dusting of cocoa, is nothing short of culinary magic. However, making a full-sized traditional Tiramisu can be a labor of love, requiring hours of setting time and a lot of fridge space. Enter the No-Bake Tiramisu Truffle. This recipe takes all those iconic flavors and condenses them into a sophisticated, bite-sized morsel that looks like it came from a high-end chocolatier but was actually whipped up in your kitchen in under an hour.
These truffles are the ultimate “impress your guests” hack. They require no oven, minimal equipment, and simple ingredients. The visual appeal is striking: a matte, velvety cocoa exterior topped with glistening chocolate shavings, hiding a creamy, pale interior that melts in your mouth. Whether you are prepping for a holiday cookie exchange, a romantic Valentine’s dinner, or just need a sweet pick-me-up with your afternoon coffee, these truffles are the answer.

Why You Will Love This Recipe
Aside from the obvious factor that they are absolutely delicious, there are several practical reasons why this recipe deserves a permanent spot in your repertoire. First, the texture contrast is incredible. You get the slight snap of the chocolate shavings, the bitterness of the cocoa powder, and then the smooth, dense richness of the mascarpone filling.
Secondly, they are make-ahead friendly. In fact, they taste better after sitting in the fridge for a day, allowing the coffee and vanilla flavors to meld completely with the cheese and cookie crumbs. Finally, they are versatile. You can adjust the strength of the coffee, add a splash of Marsala wine or rum for a boozy kick, or keep them kid-friendly with decaf.
The Key Ingredients
Because this recipe relies on so few ingredients, the quality of each one really shines through. Here is a breakdown of what you need and why:
- Mascarpone Cheese: The heart of any good Tiramisu. This Italian cream cheese is richer and sweeter than American cream cheese. Ensure it is cold when you start mixing to maintain the structure of the truffles.
- Ladyfingers (Savoiardi): You want the hard, crunchy Italian biscuits, not the soft sponge cake variety. These will be crushed into crumbs to act as the binder for the truffle. They absorb moisture without turning into mush.
- Espresso or Strong Coffee: This provides that signature “pick me up” flavor. If you don’t have an espresso machine, instant espresso powder dissolved in a small amount of hot water works perfectly.
- Powdered Sugar: To sweeten the filling without adding grit.
- Cocoa Powder: Use high-quality Dutch-processed cocoa powder for the dusting. It has a smoother, less acidic flavor that pairs beautifully with the sweet filling.
- Dark Chocolate: Used for the base and the shavings. A 70% cocoa solid bar provides a nice bitterness to balance the sugar.
Instructions
- Prepare the Cookie Crumbs: Place the ladyfingers in a food processor. Pulse until they are fine crumbs. If you don’t have a food processor, place them in a zip-top bag and crush them with a rolling pin. You want a texture similar to almond flour—fine, but with a tiny bit of texture remaining.
- Mix the Filling: In a large mixing bowl, combine the cold mascarpone cheese, powdered sugar, and vanilla extract. Beat with a hand mixer on low speed just until combined and creamy. Do not overbeat, or the mascarpone can separate and become oily.
- Combine Ingredients: Add the crushed ladyfingers and the cold espresso to the cheese mixture. Fold gently with a spatula until a thick dough forms. It should hold its shape when pressed. If it feels too soft, let it chill in the fridge for 15 minutes before rolling.
- Shape the Truffles: Using a small cookie scoop or a tablespoon, portion out the dough. Roll them between your palms to create smooth, round balls. Place them on a baking sheet lined with parchment paper.
- The Chocolate Dip (The Base): Melt the dark chocolate in the microwave in 30-second intervals, stirring in between. Dip the bottom half of each truffle into the melted chocolate, creating a solid chocolate base. Place them back on the parchment paper.
- Chill: Place the baking sheet in the refrigerator for at least 20–30 minutes to allow the truffles to firm up and the chocolate base to set.
- The Finish: Once set, roll the top of the truffles in cocoa powder (or use a small sieve to dust them heavily). Top with fresh chocolate shavings. To make shavings, simply run a vegetable peeler along the edge of a chocolate bar.
- Serve: Keep refrigerated until ready to serve. They are best enjoyed cold.
Tips for the Perfect Truffle
Avoid the “Mush”: One common mistake with Tiramisu truffles is making the mixture too wet. Add your coffee gradually. Depending on the humidity in your kitchen and the brand of ladyfingers, you might need slightly less liquid. The dough should feel like playdough—pliable but not sticky.
The Cocoa Coating: Cocoa powder absorbs moisture over time. If you roll these in cocoa powder the night before serving, the coating might darken and look “wet” by the next day. For the most beautiful presentation, do the final cocoa dusting and shaving topping just before guests arrive.
Flavor Infusions: For an adult twist, replace half of the espresso with coffee liqueur, dark rum, or Marsala wine. Just be mindful not to add too much liquid, or you will need to increase the amount of cookie crumbs.
Storage and Freezing
These truffles are dairy-based, so they must be kept cool.
Refrigerator: Store in an airtight container for up to 5 days. Separate layers with wax paper to prevent sticking.
Freezer: These freeze surprisingly well! Place them in a freezer-safe container for up to 2 months. Thaw them in the refrigerator overnight before eating. Note that the cocoa powder may need a fresh dusting after thawing.

Cultural Context: A Twist on a Classic
Tiramisu literally translates to “pick me up” or “cheer me up” in Italian, likely referring to the caffeine kick from the espresso and cocoa. The original dessert was born in the Veneto region of Italy in the 1960s or 70s. By transforming it into a truffle, we are modernizing the format while respecting the flavor profile. It aligns with the current trend of “deconstructed” desserts, where texture and form are played with, but the soul of the dish remains intact.
Whether you call them truffles, bombs, or bites, these No-Bake Tiramisu treats are guaranteed to vanish from the dessert table in minutes.
No-Bake Tiramisu Truffles
Ingredients
Equipment
Method
- Crush the ladyfingers into fine crumbs using a food processor or rolling pin.
- In a medium bowl, beat mascarpone cheese, powdered sugar, and vanilla until smooth.
- Add the crushed ladyfingers and espresso to the cheese mixture; mix until a dough forms.
- Refrigerate the mixture for 15 minutes to firm up.
- Scoop tablespoons of dough and roll into smooth balls.
- Dip the bottom half of each truffle into melted dark chocolate and place on parchment paper.
- Chill in the refrigerator for 20 minutes until the chocolate sets.
- Dust the tops generously with cocoa powder and garnish with chocolate shavings.