Ultimate Fudge Brownie Sundae
The Ultimate Fudge Brownie Sundae: A Masterclass in Decadence
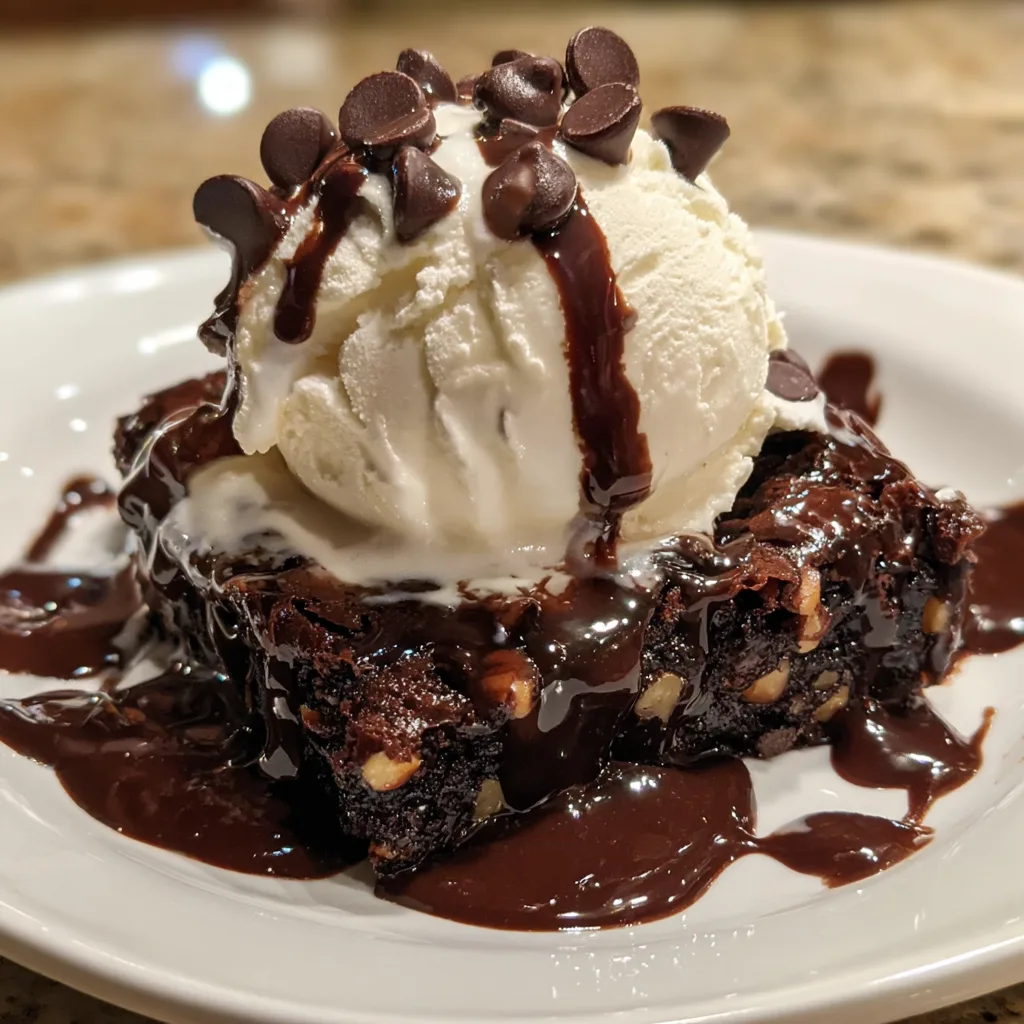
There are few desserts in the culinary world as universally beloved and instantly comforting as a warm, freshly baked chocolate brownie topped with a generous scoop of vanilla ice cream and drizzled with a waterfall of rich chocolate syrup. This classic combination, often referred to as a brownie sundae, represents the pinnacle of dessert contrasts: warm and cold, chewy and creamy, deeply chocolatey and cleanly sweet. Creating the perfect version of this dish at home elevates a simple weeknight treat into a restaurant-quality dessert experience. This comprehensive guide will take you through everything you need to know to master the ultimate fudge brownie sundae, from the science of a fudgy crumb to the optimal assembly method.
The Anatomy of the Perfect Brownie Sundae
To understand what makes this dessert so extraordinary, we must break it down into its core components. A true brownie sundae is not just an afterthought; it is a carefully constructed tower of complementary flavors and textures.
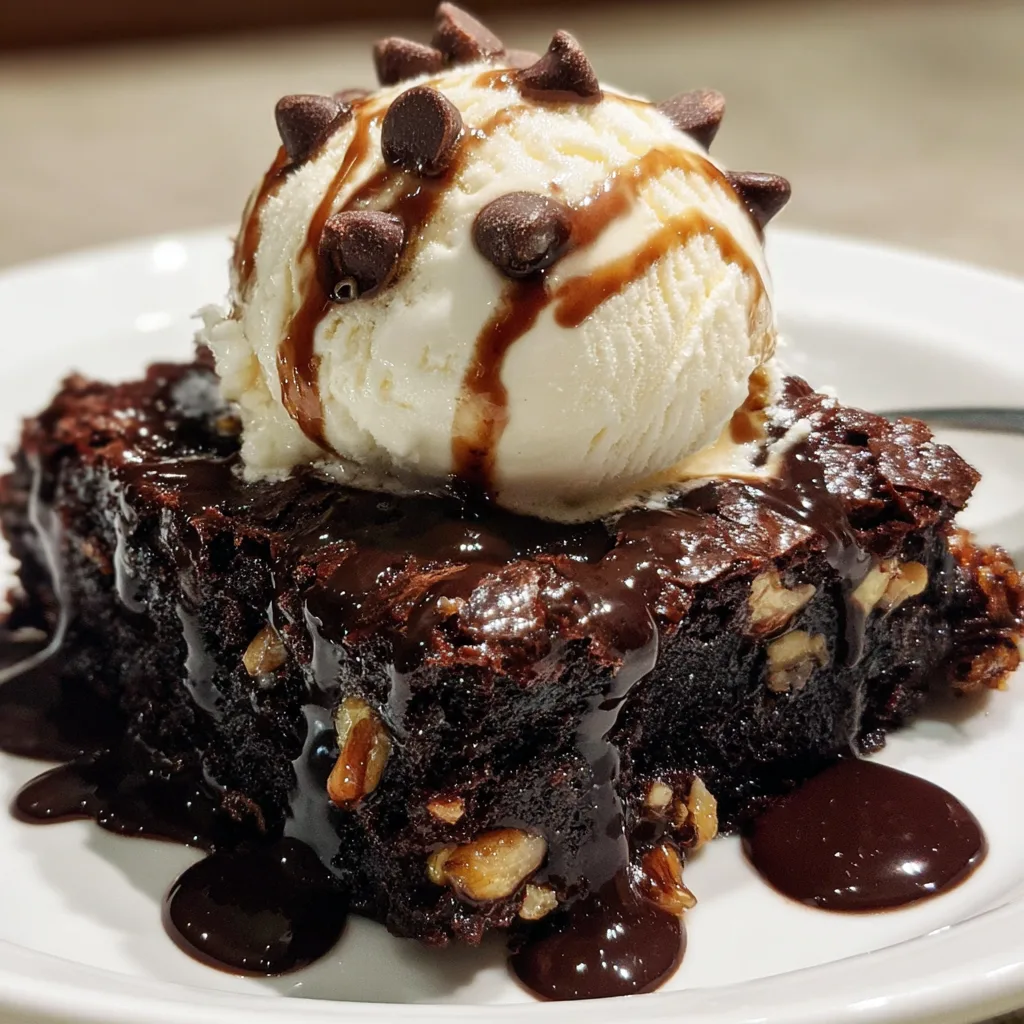
The foundation is the brownie itself. For a sundae, a cakey brownie will not suffice. You need a dense, fudgy, and incredibly rich brownie that can support the weight and moisture of the melting ice cream without disintegrating into a soggy mess. The inclusion of chopped nuts—traditionally walnuts or pecans—adds an essential textural crunch that breaks up the softness of the crumb and the ice cream.
The crown of the dessert is the vanilla ice cream. While it might be tempting to use a flavored ice cream, a high-quality vanilla bean ice cream provides the necessary clean, milky contrast to the intense, borderline-bitter notes of the dark chocolate brownie. As the ice cream slowly melts over the warm brownie, it creates a rich, sweet sauce that soaks into the top layer of the pastry.
Finally, the garnishes tie everything together. A heavy drizzle of glossy chocolate syrup enhances the visual appeal and adds a concentrated hit of sweetness. A scattering of semi-sweet chocolate chips introduces pockets of intense, solid chocolate that contrast beautifully with the smooth syrup and melting ice cream.
The Science of the Fudgy Brownie
Baking is fundamentally chemistry, and the difference between a fudgy brownie and a cakey brownie comes down to the fat-to-flour ratio and the method of mixing. Fudgy brownies contain a higher percentage of fat (from butter and chocolate) and less flour than their cakey counterparts.
Furthermore, the way the sugar and eggs are incorporated plays a critical role. By vigorously whipping the eggs and sugar together until they form a pale, thick ribbon, you incorporate enough air to give the brownie a slight lift, allowing you to use minimal leavening agents like baking powder. This prevents the brownie from rising too much and developing a spongy, cake-like texture. Using a mix of brown sugar and white sugar is also a common technique; the molasses in the brown sugar contributes to chewiness and moisture retention.
Ingredients
For the Brownie Base:
- – 1/2 cup (1 stick) unsalted butter
- – 8 oz high-quality semi-sweet or dark chocolate, chopped
- – 1 cup granulated white sugar
- – 1/4 cup tightly packed light brown sugar
- – 3 large eggs, room temperature
- – 1 teaspoon pure vanilla extract
- – 1/2 cup + 2 tablespoons all-purpose flour
- – 1/4 cup unsweetened Dutch-process cocoa powder
- – 1/2 teaspoon kosher salt
- – 3/4 cup chopped walnuts or pecans (optional but recommended)
For Assembly:
- – High-quality vanilla bean ice cream
- – Thick chocolate syrup or hot fudge sauce
- – 1/4 cup semi-sweet chocolate chips
Instructions
- Preheat and Prepare: Preheat your oven to 350°F (175°C). Line an 8×8-inch metal baking pan with parchment paper, leaving an overhang on the sides to easily lift the brownies out later. Lightly grease the parchment paper with butter or non-stick spray.
- Melt the Chocolate and Butter: In a heatproof bowl set over a saucepan of simmering water (a double boiler), combine the chopped chocolate and the unsalted butter. Stir gently until completely melted, smooth, and glossy. Remove from heat and let it cool slightly.
- Whisk the Eggs and Sugars: In a large mixing bowl, combine the granulated sugar, brown sugar, and eggs. Using a whisk or a hand mixer, beat the mixture vigorously for about 3 to 5 minutes until it is pale, thick, and voluminous. This step is crucial for achieving that crackly top on your brownies.
- Combine Wet Ingredients: Slowly pour the slightly cooled melted chocolate and butter mixture into the whipped eggs and sugar. Add the vanilla extract. Gently fold the mixture together using a rubber spatula until just combined. Do not overmix.
- Add the Dry Ingredients: Sift the all-purpose flour, cocoa powder, and kosher salt directly over the wet batter. Using the rubber spatula, fold the dry ingredients into the batter until just a few streaks of flour remain.
- Incorporate the Nuts: Gently fold in the chopped walnuts or pecans, making sure they are evenly distributed throughout the thick batter.
- Bake: Pour the batter into the prepared baking pan, smoothing the top with your spatula. Bake in the preheated oven for 25 to 30 minutes. A toothpick inserted into the center should come out with moist crumbs attached, but not wet batter. Be careful not to overbake, as they will continue to set as they cool.
- Cool: Allow the brownies to cool in the pan on a wire rack for at least 45 minutes before attempting to lift them out using the parchment paper overhang. For the cleanest cuts, wait until they are completely cool.
- Assemble the Sundae: To serve, cut a generous square of the brownie. If the brownie has cooled completely, warm the individual square in the microwave for 10-15 seconds until just heated through. Place the warm brownie on a serving plate. Top immediately with a large, perfectly round scoop of vanilla bean ice cream.
- Garnish and Serve: Drizzle the dessert generously with thick chocolate syrup, allowing it to cascade down the sides of the ice cream and pool onto the plate. Sprinkle the semi-sweet chocolate chips over the top. Serve immediately while the brownie is warm and the ice cream is beginning to melt.
Tips for Perfection
Achieving the perfect brownie requires attention to detail. The quality of your chocolate is paramount. Because chocolate is the primary flavor profile, avoid using inexpensive baking chips for the melted chocolate portion of the recipe, as they contain stabilizers that prevent them from melting smoothly. Instead, opt for baking bars from reputable brands.
When cutting your brownies, use a large, sharp chef’s knife. Run the knife under hot water and wipe it dry between each cut. This melts the chocolate slightly as it slices, ensuring exceptionally clean edges that make for a beautiful presentation on your plate.
Variations to Try
While the classic walnut and chocolate chip combination is timeless, this dessert serves as a fantastic blank canvas for experimentation.
The Salted Caramel Pecan Sundae: Swap the walnuts for toasted pecans. Replace the chocolate syrup with a rich, buttery salted caramel sauce, and sprinkle the top with flaky sea salt instead of chocolate chips.
The Peanut Butter Lover’s Dream: Swirl dollops of creamy peanut butter into the brownie batter before baking. Top the warm brownie with peanut butter ripple ice cream, and garnish with a mix of chocolate syrup and melted peanut butter.
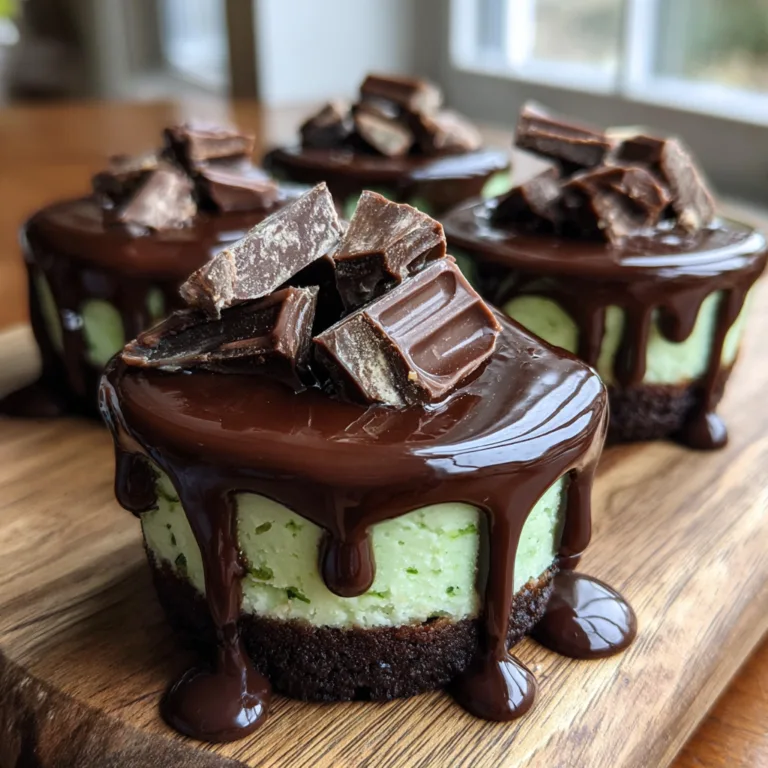
The Mint Chocolate Chip: Substitute the vanilla ice cream with a vibrant green mint chocolate chip ice cream. Garnish with a sprig of fresh mint and a drizzle of dark chocolate ganache.
Serving Suggestions and Cultural Context
The brownie itself has deep roots in American culinary history, with early references dating back to the late 19th and early 20th centuries. The Palmer House Hotel in Chicago claims to have invented the first brownie in 1893 for the World’s Columbian Exposition. Their original recipe featured a dense chocolate cake topped with a walnut and apricot glaze.
Serving a brownie sundae is an event. It is a dessert that demands immediate attention. Due to its richness, it pairs beautifully with beverages that provide a slight bitter contrast, such as an espresso or a dark roast coffee. If serving to children or those avoiding caffeine, an ice-cold glass of whole milk remains the undisputed champion of brownie pairings.
When plating, consider the aesthetics. A simple white plate allows the deep browns of the brownie and the bright white of the ice cream to pop. Ensure you have a spoon and a fork available, as tackling the dense brownie base and the melting ice cream requires proper utensils.
Storage and Make-Ahead Advice
While a brownie sundae must be assembled a la minute (at the last minute), the components can be prepared well in advance. The brownies themselves are actually better the next day. Storing them in an airtight container at room temperature allows the moisture to redistribute, resulting in an even fudgier texture. They will keep well for up to 4 days on the counter.
If you wish to make a large batch, brownies freeze exceptionally well. Wrap individual squares tightly in plastic wrap, then place them in a zip-top freezer bag. They can be frozen for up to 3 months. When the craving for a sundae strikes, simply unwrap a frozen brownie and microwave it for 30-45 seconds until warm and gooey, then proceed with the ice cream and toppings.
Ultimate Fudge Brownie Sundae
Ingredients
Equipment
Method
- Preheat oven to 350°F (175°C). Line an 8×8-inch pan with parchment paper and grease lightly.
- Melt chopped chocolate and butter in a double boiler until smooth. Let cool slightly.
- In a large bowl, vigorously whisk together eggs, granulated sugar, and brown sugar until pale and voluminous.
- Fold the melted chocolate mixture and vanilla extract into the egg mixture until just combined.
- Sift flour, cocoa powder, and salt over the batter. Fold gently until just a few streaks of flour remain.
- Fold in the chopped walnuts evenly.
- Pour batter into the pan. Bake 25-30 minutes until a toothpick comes out with moist crumbs. Cool before slicing.
- To serve, place a warm brownie square on a plate, top with a scoop of vanilla ice cream, drizzle heavily with chocolate syrup, and sprinkle with chocolate chips.