Jolly Santa Claus Bauble Ornament 🎅🎄 Free Amigurumi Holiday Crochet Pattern
📖 B. INTRODUCTION
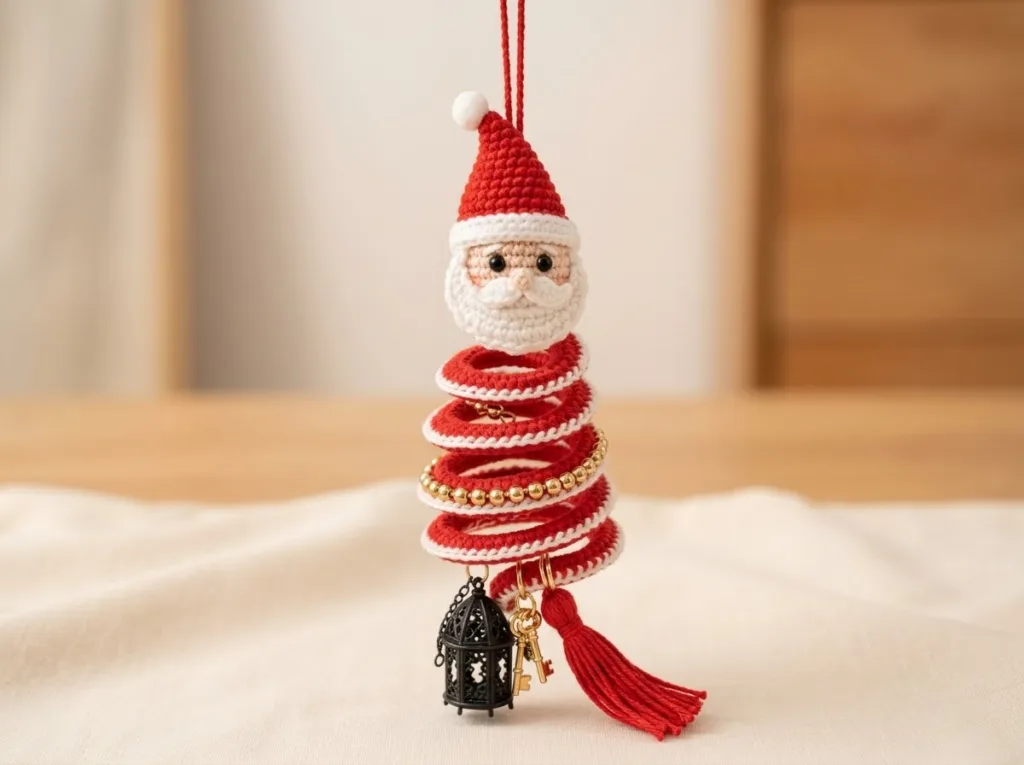
Bring classic festive cheer to your holiday tree with this plush, 3D Jolly Santa Claus Bauble Ornament. Designed as an easy-to-crochet sphere, this ornament combines a traditional red-and-black suit body with an adorable amigurumi face, textured fluffy white beard, symmetrical mustache, and a cozy stocking cap topped with a white pom-pom.
It is ideal for quick holiday crafting, stocking stuffers, secret Santa exchanges, or craft fair best-sellers. The tight, continuous single-crochet construction holds its round shape without collapsing, ensuring your handmade heirloom lasts for generations.
Customize your Santa by adjusting his beard fullness, adding rosy blush to his cheeks, or embroidering a sparkling gold buckle on his belt. Worked up in under two hours using scrap yarn, this project is a rewarding way to ring in the Christmas spirit.
🔍 C. MAIN PATTERN OVERVIEW
- The Bauble Body: Worked as a smooth, continuous sphere that transitions seamlessly from Santa’s red jacket and black belt at the base to his warm skin-tone face at the top.
- The Stocking Cap: Crocheted separately in vibrant red with a plush white brim and stuffed mini pom-pom, angled gently over the top of the head.
- Facial Details & Beard: Built with a layered white textured beard, a sculpted twirly mustache, a small bobble nose, safety eyes, and simple embroidered belt details.
- The Hanging System: Anchored through the top center of the hat with gold thread or rustic twine for effortless tree hanging.
🎯 D. SKILL LEVEL
Easy / Advanced Beginner Uses fundamental amigurumi shaping techniques, basic color changes, and simple embroidery stitches.
- Magic Ring (MR) and single crochet (sc) in continuous spirals
- Basic invisible decreases (dec) and increases (inc)
- Simple color changes at the back seam
- Basic assembly and sewing of small appliques
📏 E. FINISHED SIZE
Measurements: 4.0 inches (10.2 cm) tall from the base of the suit to the tip of the hat x 3.0 inches (7.6 cm) wide. Size Factors: Using a larger hook (e.g., 4.0 mm) and worsted weight yarn will yield a larger 5-inch ornament, while fingering weight yarn with a 2.0 mm hook will produce a miniature 2.5-inch tree charm.
🧮 F. GAUGE
Amigurumi Tension: 6 sts x 6 rounds = 1 inch (2.5 cm) in single crochet. Maintain tight, even tension throughout so the polyfill stuffing remains completely hidden inside the bauble body.
🧶 G. REQUIRED YARN AMOUNTS
| Yarn Color | Component | Estimated Yardage |
| Bright Red (MC) | Santa suit & stocking cap | ~ 35 yards (32 m) |
| Fluffy White (CC1) | Beard, mustache, hat brim & pom-pom | ~ 20 yards (18 m) |
| Skin Tone (CC2) | Face & nose | ~ 15 yards (14 m) |
| Black (CC3) | Suit belt | ~ 5 yards (4.5 m) |
| Metallic Gold | Belt buckle embroidery | ~ 1 yard (1 m) |
Yarn used is standard Category 3 (DK) or Category 4 (Worsted) acrylic/cotton blend.
🧰 H. MATERIALS
- Hook: 3.0 mm (C/D) crochet hook
- Eyes: 1 pair of 6mm black safety eyes
- Stuffing: High-loft polyester fiberfill
- Hanger: 8 inches of metallic gold cord, jute twine, or thin ribbon
- Tools: Tapestry needle, scissors, stitch marker, straight pins
- Optional: Pink powdered blush or fabric marker for cheeks
🔤 I. ABBREVIATIONS – US TERMS
| Abbreviation | Definition |
| MR | Magic Ring |
| ch | Chain |
| st(s) | Stitch(es) |
| sl st | Slip Stitch |
| sc | Single Crochet |
| hdc | Half Double Crochet |
| dc | Double Crochet |
| inc | Increase (2 sc in one st) |
| dec | Invisible Decrease (sc 2 together) |
| FLO | Front Loop Only |
| FO | Fasten Off |
📝 J. NOTES BEFORE YOU BEGIN
- Continuous Spiral: The main head/body and hat are worked in continuous spirals without joining at the end of rounds. Place a stitch marker in the first stitch of every round.
- Color Changes: Switch colors on the final pull-through of the stitch preceding the new color to keep color transitions clean.
- Safety Eye Safety: Place safety eyes firmly before stuffing the upper head. If gifting to children under 3 years old, embroider the eyes with black thread instead.
🪡 K. COMPLETE PATTERN
🧠 Bauble Body & Head (Combined)
Start with Bright Red (MC). Work in continuous rounds.
R1: MR 6 sc. (6) R2: inc x 6. (12) R3: (1 sc, inc) x 6. (18) R4: (2 sc, inc) x 6. (24) R5: (3 sc, inc) x 6. (30) R6: (4 sc, inc) x 6. (36) Change to Black (CC3). R7: sc around. (36) Change back to Bright Red (MC). R8-R9: sc around. (36) Change to Skin Tone (CC2). R10-R14: sc around. (36) Insert 6mm safety eyes between R12 and R13, spaced 6 stitches apart. R15: (4 sc, dec) x 6. (30) R16: (3 sc, dec) x 6. (24) R17: (2 sc, dec) x 6. (18) Stuff the body firmly with polyfill. R18: (1 sc, dec) x 6. (12) R19: dec x 6. (6) FO, weave yarn tail through front loops of remaining 6 sts, pull tight to close, and weave in end.
🎅 Santa’s Fluffy Beard
Use White (CC1). Worked flat in rows.
Row 1: ch 13. Row 2: Starting in 2nd ch from hook, sc in each ch across. (12) Row 3: ch 1, turn. sc in next st, (1 hdc, 1 dc, 1 hdc) in next st. Repeat from * to * 5 more times. (6 textured scallops formed) Row 4: ch 1, turn. sl st loosely around the outer edge to stabilize the scallops. FO, leaving a long tail (12 inches) for sewing onto the face.
👨 Mustache
Use White (CC1).
Row 1: ch 8. Row 2: Starting in 2nd ch from hook: sl st in 1st ch, sc in 2nd, (hdc, dc) in 3rd, sl st in 4th, (dc, hdc) in 5th, sc in 6th, sl st in 7th. FO, leaving a tail for sewing.
👃 Santa’s Nose
Use Skin Tone (CC2).
R1: MR 6 sc. (6) R2: sc around. (6) FO, leaving a tail to sew directly above the mustache.
🎩 Stocking Cap
Start with Bright Red (MC). Work in continuous rounds.
R1: MR 4 sc. (4) R2: (1 sc, inc) x 2. (6) R3: (2 sc, inc) x 2. (8) R4: (3 sc, inc) x 2. (10) R5: (4 sc, inc) x 2. (12) R6: (1 sc, inc) x 6. (18) R7: (2 sc, inc) x 6. (24) R8: (3 sc, inc) x 6. (30) R9: (4 sc, inc) x 6. (36) R10-R11: sc around. (36) Change to White (CC1) for brim. R12-R13: sc around in White. (36) FO, leaving a long tail for sewing.
⚪ Mini Hat Pom-Pom
Use White (CC1).
R1: MR 6 sc. (6) R2: inc x 6. (12) R3-R4: sc around. (12) R5: dec x 6. (6) Stuff tiny pinch of fiberfill into pom-pom. FO, cinch closed, and sew to the pointed tip of the red stocking cap.
🎨 L. STYLING / ASSEMBLY / STABILITY / FINAL SHAPING
1. Embroidering the Belt Buckle Using a tapestry needle and gold metallic yarn, embroider a small square (spanning 2 stitches wide by 1 round tall) over the black belt in the front center of the red suit.
2. Attaching the Beard and Mustache Pin the textured white beard in a U-shape around the lower face (R10–R14), framing the safety eyes. Sew in place using the long white tail. Position the mustache centrally over the top edge of the beard, directly below the eyes, and sew in place.
3. Attaching the Nose Sew the tiny nose centered directly between the safety eyes, resting right on top of the mustache center.
4. Mounting the Hat Place the stocking cap over the top of the head at a slight angle. Pin the white brim so it rests just above the safety eyes and slightly overlaps the top edge of the beard. Sew around the perimeter using the white yarn tail.
5. Adding Cheeks & Hanging Loop Dab a tiny amount of pink powdered blush on the skin tone face on either side of the nose. Thread an 8-inch length of gold cord through the top center of the hat, tie a secure overhand knot, and hide the knot inside the hat.
✅ Final Finishing Checklist
- ✅ Safety eyes are symmetrical and securely backed.
- ✅ Belt buckle is centered under the nose and mustache.
- ✅ Beard is sewn flat so stuffing does not peek through.
- ✅ Hanging loop is firmly anchored to carry the ornament’s weight.
💡 M. HELPFUL CROCHET TIPS
- 💡 Clean Belt Line: Work Round 7 (black belt) in FLO if you want an extra sharp color change border on Santa’s jacket.
- 💡 Fluffier Beard: Gently brush the white yarn of the beard with a clean pet slicker brush before sewing to create a faux-fur effect.
- 💡 Weight Balance: Stuff the bottom of the red bauble slightly tighter than the top head section so the ornament hangs upright naturally.
- 💡 Preventing Gaps: Use invisible decreases (dec) exclusively throughout the head and hat to prevent stuffing from showing.
🧼 N. CARE INSTRUCTIONS
Spot clean gently with a damp cloth and mild liquid soap. Do not submerge completely in water or tumble dry, as it may distort the polyfill shape and dull the gold embroidery thread. Store flat in a dry, tissue-lined storage box during the off-season.
❓ R. FAQ
❓ Can I use safety nose pieces instead of crocheting one? Yes! A 7mm pink or oval safety nose works wonderfully. Insert it between rounds 12 and 13 at the same time you attach the safety eyes.
❓ How do I make this ornament child-safe? Replace safety eyes with French knots embroidered in black yarn, and stitch all components twice for reinforced safety.
❓ Can I make this with velvet yarn? Yes. Using plush/velvet yarn with a 4.5 mm hook creates a super soft, oversized 6-inch Santa bauble!
Share the love! Did you crochet this Jolly Santa Ornament? Tag your photos on social media so we can share your festive creations with the community!
Categories: Holiday Decor, Christmas Ornaments, Amigurumi Patterns, Free Crochet Tags: santa ornament, crochet christmas, amigurumi santa, holiday tree decor, quick christmas crochet
You might also like:
- Amigurumi Gingerbread Man Ornament
- Crochet Snowman Bauble Pattern
- Miniature Christmas Tree Garland
- Rustic Peppermint Swirl Coasters