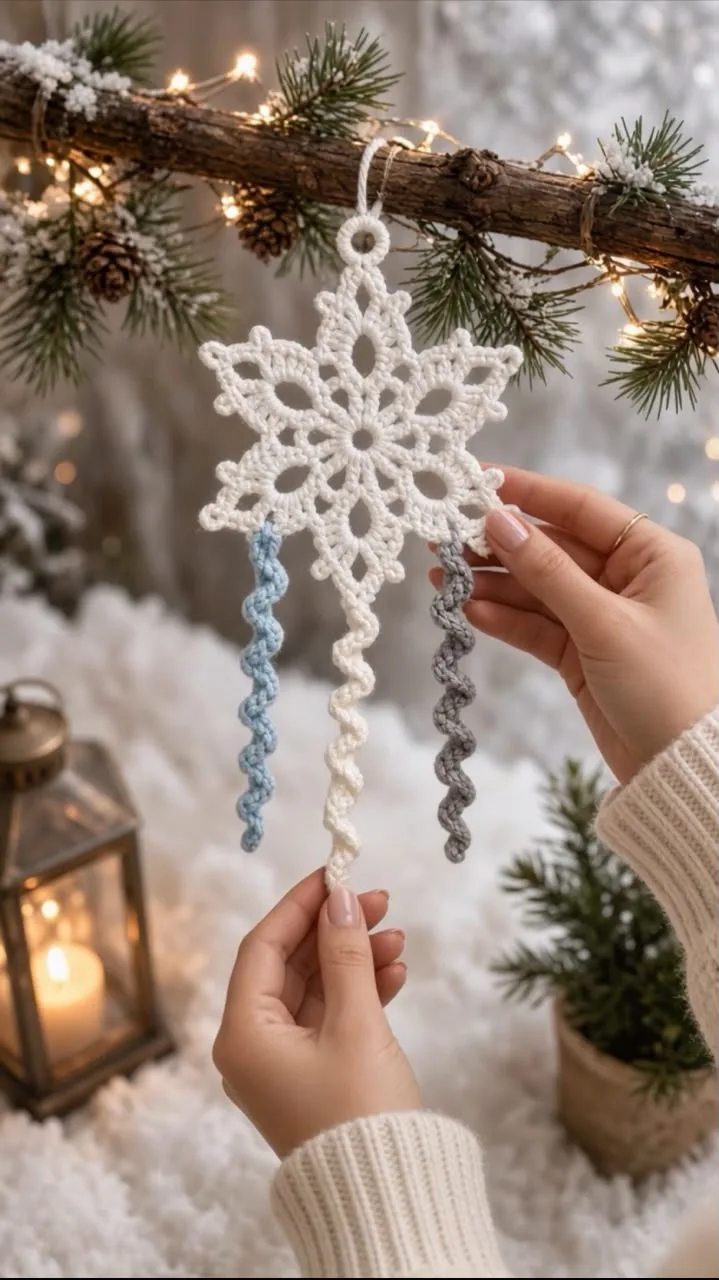
Snowflake & Icicle Trio Ornament ❄️✨
📖 B. INTRODUCTION
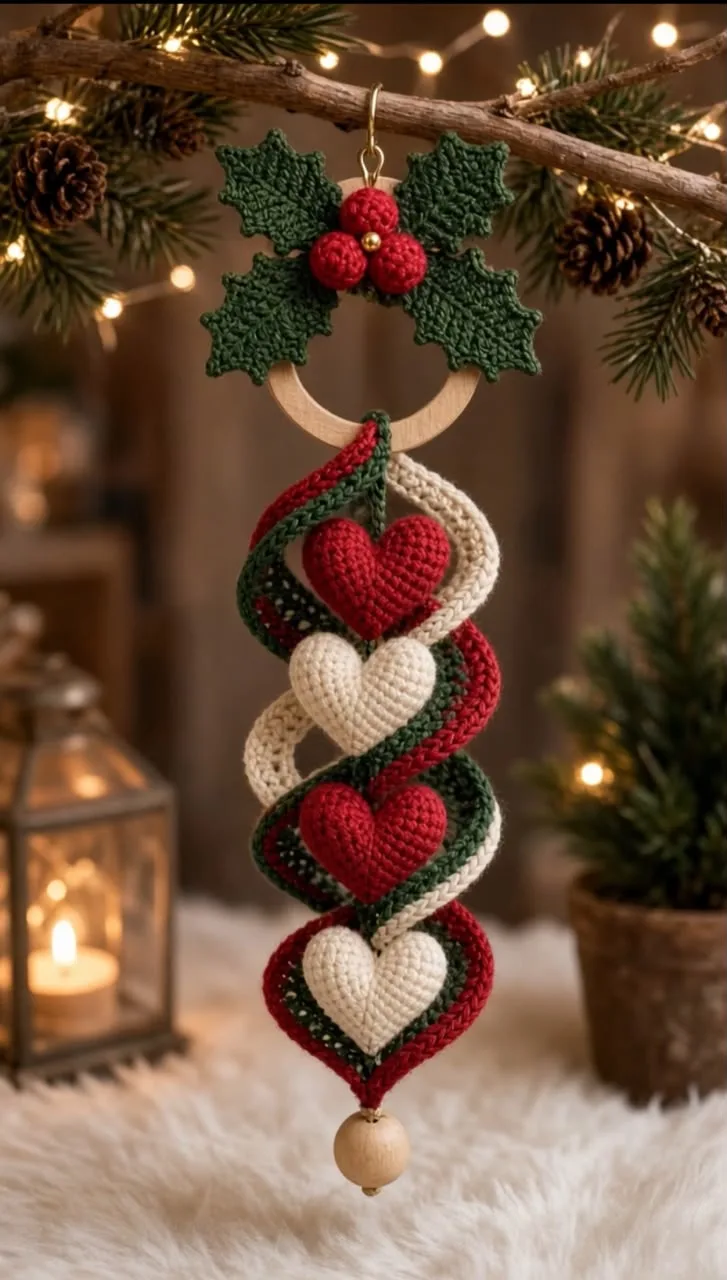
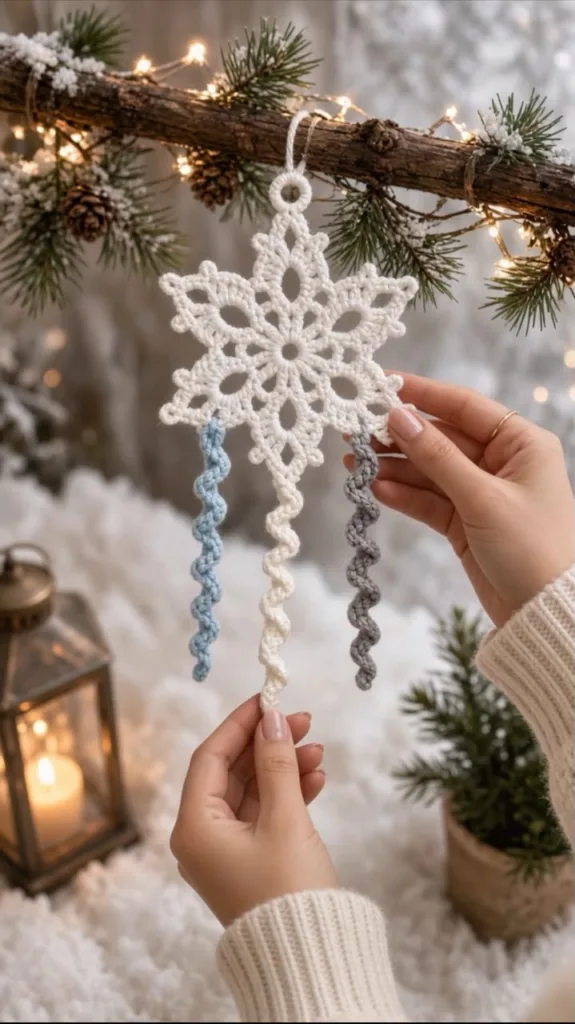
Transform your home into a breathtaking winter wonderland with our stunning DIY Snowflake & Icicle Trio Ornament! Inspired by the crisp, frosty aesthetic seen in , this original pattern brings the magic of falling snow indoors without the freezing temperatures. If you are looking to elevate your holiday decor with something elegant yet whimsical, this eye-catching piece perfectly bridges the gap between traditional lacework and modern amigurumi-style movement.
Crocheting your own snowflakes is an incredibly rewarding holiday tradition. They look delightfully intricate but are surprisingly quick to work up, making them the ultimate afternoon craft. This specific design stands out by pairing a crisp, 8-pointed snowflake with three dangling “icicle” spirals that catch the light and twirl gently in the air.
Whether you hang them in your front window, drape them along a rustic evergreen garland, or use them as breathtaking centerpieces on your Christmas tree, these ornaments are guaranteed to spark joy. Best of all, you can easily customize the icicle colors to match your home’s unique seasonal palette!
🔍 C. MAIN PATTERN OVERVIEW
This ornament is created in two distinct phases. First, you will crochet the flat, 8-pointed star/snowflake motif. It is worked in the round from the center outward, utilizing chains and cluster stitches to create a beautiful, open-lace geometry with pointed picot tips.
The second part of the pattern involves crocheting the three dangling spirals (icicles). These are constructed by working multiple stitches into a single foundation chain, which forces the fabric to curl naturally into a spring. Finally, the ornament undergoes a crucial blocking and stiffening process to ensure the snowflake remains perfectly flat and star-shaped while suspended.
🎯 D. SKILL LEVEL
Skill Level: Intermediate
While the stitches used are relatively standard, achieving the intricate lacy look and properly blocking the finished piece requires a bit of patience and structural understanding.
Techniques involved:
- Working in the round for flat motifs
- Working with chain spaces and clusters
- Creating a picot stitch for pointed tips
- Crocheting multiple stitches into one chain to create a curl
- Wet blocking and applying fabric stiffener
📏 E. FINISHED SIZE
When made with the recommended fingering/sport weight cotton yarn and a 2.5mm hook, the finished ornament measures approximately 8.5 inches (21.5 cm) from the top of the snowflake to the bottom of the longest central spiral. The snowflake motif itself measures about 4.5 inches (11.5 cm) in diameter.
Note: The final size will depend heavily on how aggressively you stretch and pin the snowflake during the blocking phase.
🧮 F. GAUGE
Gauge: 1st two rounds of the snowflake = 1.5 inches (3.8 cm) in diameter.
Exact gauge is not strictly necessary for this ornament. However, maintaining even, firm tension is critical so that your lacework looks neat before the stiffening process. If your snowflake is buckling significantly, try sizing up your hook; if the stitches look overly loose and messy, size down.
🧶 G. REQUIRED YARN AMOUNTS
For crisp snowflakes that hold their shape when stiffened, 100% mercerized cotton yarn is highly recommended. Acrylic yarns do not absorb fabric stiffeners as well.
- White: Approximately 30 yards / 15 grams (For the snowflake and the central long spiral)
- Light Blue: Approximately 10 yards / 5 grams (For one side spiral)
- Silver/Grey: Approximately 10 yards / 5 grams (For one side spiral)
- Total Project Estimate: ~50 yards
🧰 H. MATERIALS
- Yarn: Size 2 (Sport) or Size 3 (DK) mercerized cotton yarn in White, Light Blue, and Silver/Grey.
- Hook: 2.5mm crochet hook.
- Tools: Tapestry needle, small sharp scissors.
- For Blocking & Assembly:
- Liquid fabric stiffener (or a 50/50 mixture of PVA craft glue and water).
- Rust-proof blocking pins.
- Foam blocking board or a thick towel over cardboard.
- A small piece of twine or metallic cord for hanging.
⚠️ Caution: Always use rust-proof (stainless steel or brass) pins when blocking white yarn. Standard sewing pins can rust when wet, permanently staining your beautiful snowflake!
🔤 I. ABBREVIATIONS – US TERMS
- MR – Magic Ring
- ch – chain
- st(s) – stitch(es)
- sl st – slip stitch
- sc – single crochet
- hdc – half double crochet
- dc – double crochet
- tr – treble crochet
- sp – space
- picot – ch 4, sl st in the 4th chain from the hook
- FO – fasten off
- ( … ) x N – repeat the instructions between parentheses N times
- [ … ] – total stitch count at the end of the round
📝 J. NOTES BEFORE YOU BEGIN
- Joined Rounds: The snowflake is worked in joined rounds. At the end of each round, you will slip stitch to the designated starting chain to close the circle.
- Anatomy of the Curl: To get those plump, defined spirals in the icicles, we will use Half Double Crochets (hdc). Working 2 hdc into every chain forces the piece to curl tightly.
- Sewing Tails: Leave a 6-inch yarn tail when fastening off the spirals. You will use these tails to tie the spirals to the snowflake points later.
🪡 K. COMPLETE PATTERN
❄️ The Snowflake Motif
What it is for: The main 8-pointed star base. Color: White Quantity: Make 1
R1: MR, ch 1, work 16 sc into the ring. Join with a sl st to the first sc. Pull the ring mostly closed, but leave a small visible hole in the center. [16 sc] R2: ch 1, sc in the same st. ch 3, skip 1 st, sc in the next st. Repeat from * 7 times. ch 3, skip the last st, join with a sl st to the first sc. [8 sc, 8 ch-3 spaces] R3: sl st into the first ch-3 space. ch 3 (counts as first dc), work (1 dc, ch 2, 2 dc) in the same space. In the next ch-3 space work (2 dc, ch 2, 2 dc). Repeat from * around. Join with a sl st to the top of the initial ch 3. [8 shell clusters, 8 ch-2 spaces] R4: sl st into the next dc, then sl st into the ch-2 space. ch 3 (counts as first dc). In the same space work (1 tr, ch-4 picot, 1 tr, 1 dc). ch 3, sc in the space between the two shell clusters of the previous round, ch 3. Next, in the next ch-2 space work: (1 dc, 1 tr, ch-4 picot, 1 tr, 1 dc). ch 3, sc between the next shell clusters, ch 3. Repeat from * around. Join with a sl st to the top of the initial ch 3. FO: Fasten off and weave in all ends securely. [8 picot points]
🌪️ The Short Icicle Spirals
What it is for: The flanking dangling elements. Color: Make one in Light Blue and one in Silver/Grey. Quantity: Make 2 total.
Row 1: Ch 26. Row 2: 2 hdc in the 3rd ch from the hook. Work 2 hdc in each remaining chain across. [48 hdc] FO: Fasten off, leaving an 8-inch tail for attaching. Manually twist the fabric around your finger to train the spiral into a neat, corkscrew shape.
🌪️ The Long Icicle Spiral
What it is for: The central dangling element that creates a tapered look. Color: White Quantity: Make 1
Row 1: Ch 36. Row 2: 2 hdc in the 3rd ch from the hook. Work 2 hdc in each remaining chain across. [68 hdc] FO: Fasten off, leaving an 8-inch tail. Twist into a neat spiral.
🎨 L. STYLING / ASSEMBLY / STABILITY / FINAL SHAPING
1. Blocking and Stiffening the Snowflake (CRITICAL STEP): Your snowflake will likely look crumpled right off the hook. Do not skip this step!
- Lay your snowflake on a foam blocking board.
- Pin the center ring so it remains perfectly round.
- Gently stretch each of the 8 picot points outward and pin them down, ensuring the star is perfectly symmetrical.
- Once pinned, generously spray or brush the snowflake with liquid fabric stiffener.
- Let it dry completely (usually 12-24 hours depending on humidity). Once dry and unpinned, it will hold its shape like a piece of flexible plastic.
2. Attaching the Spirals:
- Identify the bottom three points of your blocked snowflake.
- Take the Long White Spiral. Using your tapestry needle and the yarn tail, securely tie and sew the top of the spiral to the back loop of the bottom-center picot point. Weave in the end.
- Attach the Short Light Blue Spiral to the picot point immediately to the left of the center.
- Attach the Short Silver/Grey Spiral to the picot point immediately to the right of the center.
3. Adding the Hanging Loop:
- Find the picot point directly opposite the long white spiral (the absolute top point).
- Thread a 10-inch piece of rustic twine, metallic cord, or extra white yarn through the picot hole. Tie a knot at the top to form a loop.
✅ Finishing Checklist:
- ✅ Snowflake is stiffened and points are sharp and symmetrical.
- ✅ All three spirals are attached to the back of the points so the front looks clean.
- ✅ Spirals are manually twisted so they all coil in the same direction.
- ✅ Hanging loop is perfectly centered opposite the long tail for balanced hanging.
💡 M. HELPFUL CROCHET TIPS
- 💡 Liquid Starch Alternative: If you don’t have commercial fabric stiffener, mix equal parts regular school glue (PVA) and water. Paint it onto the pinned snowflake with a small brush. It dries perfectly clear and incredibly stiff!
- 💡 Add some sparkle: While the stiffener/glue is still wet on the blocking board, lightly dust the snowflake with ultrafine silver or iridescent glitter.
- 💡 Consistent coils: When working the hdc stitches into the chain for your spirals, ensure you are always working into the same loop of the chain (e.g., the top loop). Twisting the chain while crocheting will result in a messy, inconsistent curl.
- 💡 Mind the gap: In Round 1 of the snowflake, don’t pull your magic ring entirely shut. Leaving a small 1/4-inch gap in the center enhances the classic lacy snowflake look.
🧼 N. CARE INSTRUCTIONS
Because this ornament is treated with a stiffening agent, do not wash or submerge it in water, as this will dissolve the stiffener and ruin the shape.
- Dusting: Gently blow on the ornament or use a clean, dry, soft-bristled makeup brush to dust it.
- Storage: Store flat in a shallow box. Do not cram this ornament into a bag with heavy items, as a stiffened snowflake can become permanently creased or bent if subjected to weight during the hot summer months in an attic.
❓ R. FAQ
❓ Can I use acrylic yarn instead of cotton? You can, but the results will not be as crisp. Acrylic yarn does not absorb water-based stiffeners well, so your snowflake may remain floppy. If you must use acrylic, try using a much smaller hook to make the stitches incredibly tight, or use a specialized commercial spray stiffener designed for synthetics.
❓ My spirals are coiling in different directions. How do I fix that? Spirals coil based on your tension and hand dominance. Simply run your fingers down the spiral, twisting it manually into the desired direction. The yarn has “memory” and will eventually stay in the direction you train it.
❓ Can I make a giant version of this for a wall hanging? Absolutely! Swap the fingering weight yarn for a super bulky (Category 6) yarn and an 8.0mm hook. You likely won’t even need to stiffen it if you crochet tightly enough!
❓ How do I make the icicles longer? Simply add more chains to your foundation row! For every 5 extra chains you add, your finished spiral will be approximately 1 inch longer. Just remember to continue placing 2 hdc in every chain.