The Ultimate Christmas Kitchen Sink Cookies Recipe
The Ultimate Christmas Kitchen Sink Cookies: Sweet, Salty & Festive
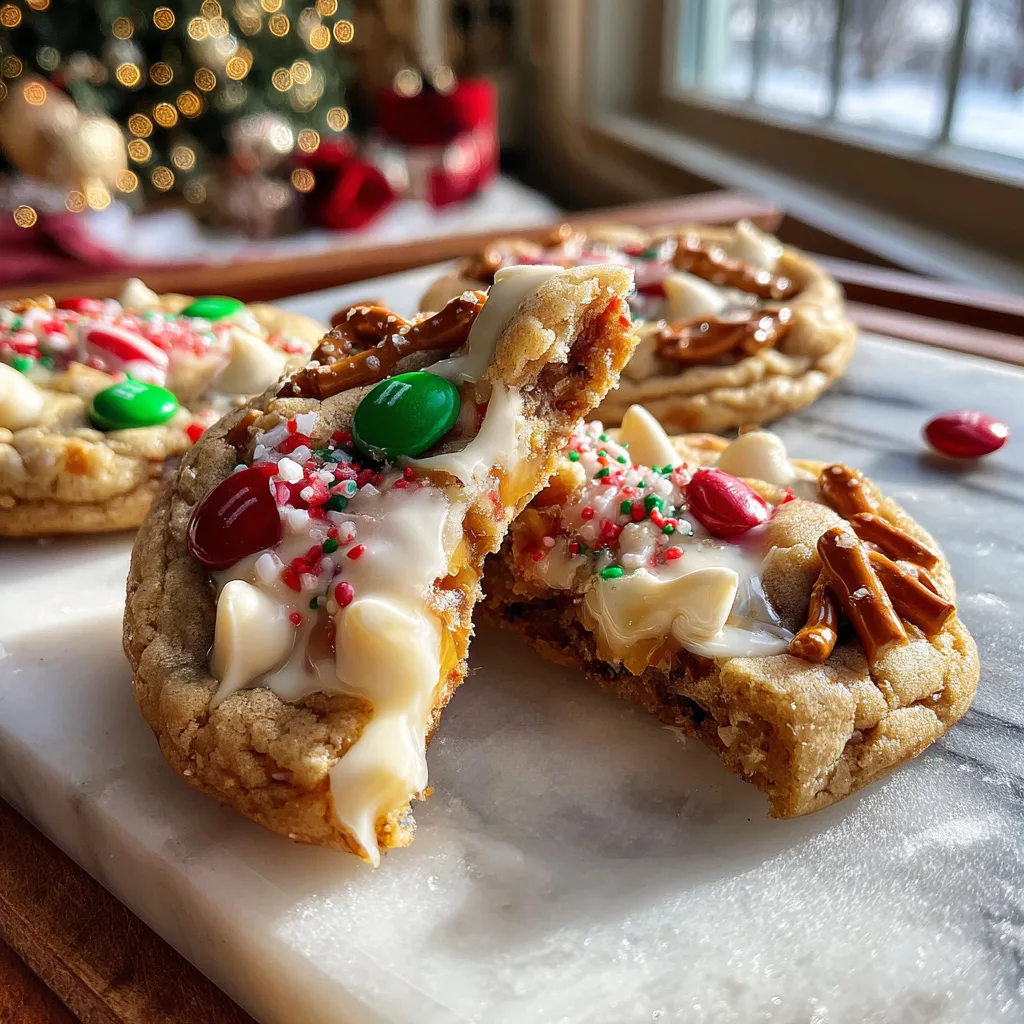
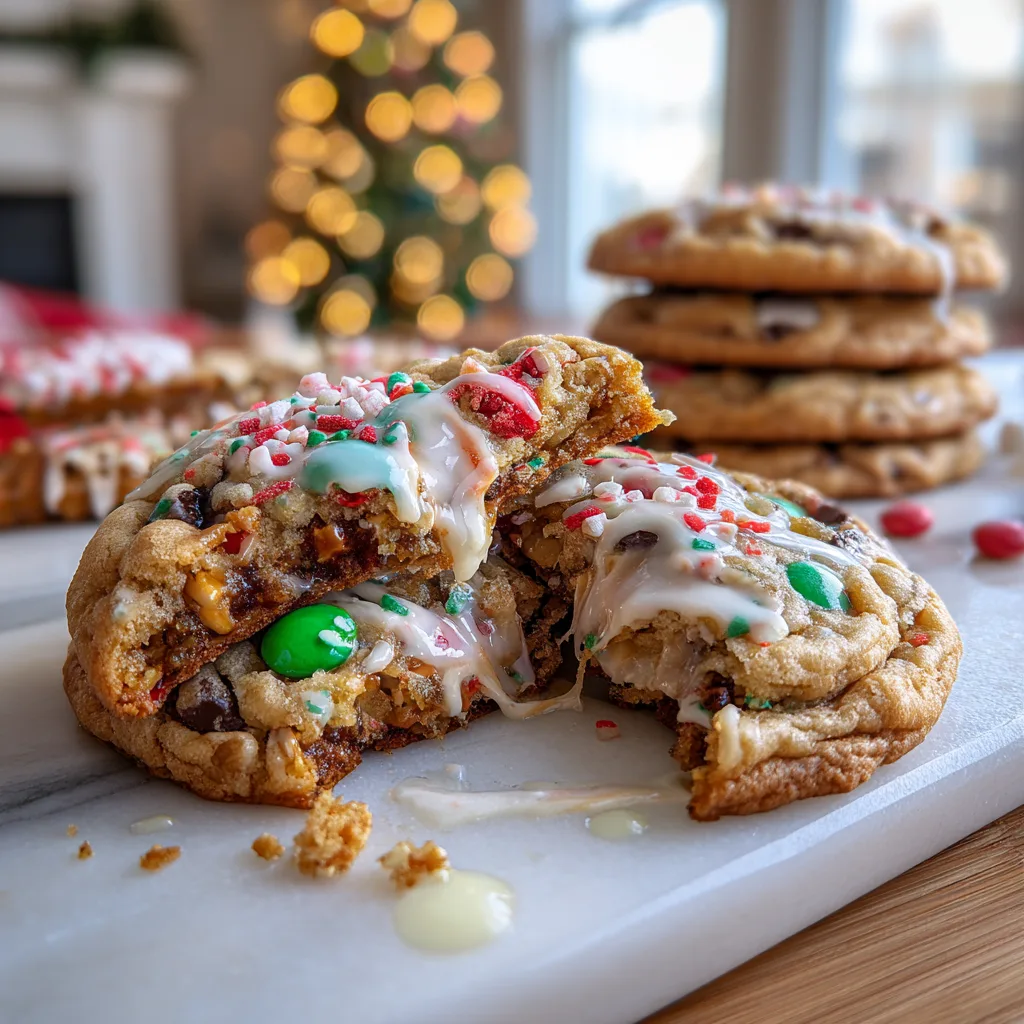
If you are looking for the absolute showstopper for your holiday cookie exchange this year, look no further than these Christmas Kitchen Sink Cookies. Often affectionately called “Santa’s Trash Cookies” or “Garbage Cookies,” these treats are anything but refuse. They are a decadent, chewy, buttery masterpiece loaded with literally everything but the kitchen sink. We are talking about the perfect marriage of sweet and salty: crunchy pretzels, potato chips, festive red and green M&Ms, creamy white chocolate chips, and holiday sprinkles, all held together by a rich vanilla dough.
There is something inherently joyful about a cookie that doesn’t take itself too seriously. This recipe captures the chaos and excitement of the holiday season in a single bite. The texture is complex—you get the soft chew of a classic bakery-style cookie, the snap of a pretzel, the crunch of a potato chip, and the smooth melt of chocolate. It is a sensory experience that stands out on any dessert platter.
In this comprehensive guide, we will walk you through exactly how to make these festive treats, why the ingredients work together so well, and how to ensure they come out perfectly soft and chewy every single time. Whether you are baking for Santa, your neighbors, or just a cozy movie night, these cookies are guaranteed to disappear fast.
Why You Will Fall in Love With This Recipe
The magic of the Christmas Kitchen Sink Cookie lies in its versatility and texture profile. Most holiday cookies are one-note—either purely sweet (like sugar cookies) or heavily spiced (like gingerbread). These cookies break the mold by introducing salt and crunch.
- Perfect Texture Contrast: The base dough is designed to stay soft and chewy, providing a pillow-like contrast to the crunchy mix-ins.
- Sweet and Salty Balance: The addition of pretzels and potato chips cuts through the sugar, making the cookie addictive rather than cloying.
- Visual Appeal: With pops of red, green, and white, these cookies look incredibly festive without needing hours of decoration or royal icing skills.
- Customizable: While we provide a specific list of mix-ins, this recipe is forgiving. You can swap ingredients based on what you have in your pantry.
Ingredients
To achieve that bakery-quality chew and flavor, we use a specific ratio of ingredients. Here is what you will need:
The Cookie Base
- Unsalted Butter (1 cup / 2 sticks): Softened to room temperature. This provides the structure and rich flavor.
- Light Brown Sugar (1 cup, packed): The molasses in brown sugar adds moisture and chewiness, distinct from white sugar.
- Granulated White Sugar (1/2 cup): Helps the edges crispen up slightly for that perfect bite.
- Eggs (1 large whole egg + 1 yolk): The extra yolk adds fat and richness, contributing to a fudgier texture.
- Vanilla Extract (2 teaspoons): Use high-quality pure vanilla for the best flavor background.
- All-Purpose Flour (2 ¼ cups): The structural backbone. Be sure to spoon and level your flour so you don’t dry out the dough.
- Baking Soda (1 teaspoon): This leavening agent reacts with the brown sugar to help the cookies rise and spread.
- Salt (½ teaspoon): Essential to balance the sweetness, even with the salty mix-ins.
The “Kitchen Sink” Mix-Ins
- Semi-Sweet Chocolate Chips (½ cup): A classic cookie staple.
- White Chocolate Chips (½ cup): Adds a creamy, milky sweetness that pairs well with the pretzels.
- Pretzels (½ cup, roughly chopped): Mini twists or sticks work best. Do not pulverize them; you want distinct chunks.
- Potato Chips (½ cup, crushed): Use a sturdy chip (like Ruffles or Kettle cooked) so they don’t vanish into the dough.
- Holiday M&Ms (½ cup): The red and green variety makes these instantly festive.
- Festive Sprinkles (2 tablespoons): Jimmies or confetti sprinkles work best; avoid nonpareils (balls) as they can bleed color.
- Flaky Sea Salt (Optional): For sprinkling on top after baking.
Step-by-Step Instructions
Follow these steps closely to ensure your cookies don’t spread too much and retain that thick, chewy texture.
1. Preheat and Prep
Preheat your oven to 350°F (175°C). Line two large baking sheets with parchment paper or silicone baking mats. This prevents sticking and ensures the bottoms don’t brown too quickly.
2. Cream the Butter and Sugars
In the bowl of a stand mixer fitted with the paddle attachment (or using a large bowl and hand mixer), beat the softened butter, brown sugar, and white sugar together on medium-high speed. You want to cream them for about 2-3 minutes until the mixture is pale and fluffy. This step aerates the dough.
3. Add Wet Ingredients
Add the egg, the egg yolk, and the vanilla extract to the butter mixture. Mix on medium speed just until combined. Scrape down the sides of the bowl to ensure everything is incorporated.
4. Mix Dry Ingredients
In a separate medium bowl, whisk together the flour, baking soda, and salt. Turn the mixer to low speed and gradually add the dry ingredients to the wet ingredients. Mix only until streaks of flour disappear. Do not overmix at this stage, or you will develop too much gluten, resulting in tough cookies.
5. Fold in the Mix-Ins
Remove the bowl from the mixer. Using a sturdy rubber spatula or wooden spoon, gently fold in the chocolate chips, white chocolate chips, chopped pretzels, crushed potato chips, M&Ms, and sprinkles. Save a few pieces of each mix-in to press onto the tops of the dough balls later for a professional look.
6. Scoop and Chill (Optional but Recommended)
Use a large cookie scoop (about 3 tablespoons) to portion the dough. Roll them into balls. *Tip: For thicker cookies, chill the dough balls in the fridge for 30 minutes before baking.* If you are in a rush, you can bake immediately, but they may spread slightly more.
7. Bake
Place dough balls on the prepared baking sheets, spaced about 2 inches apart. Bake for 9-11 minutes. The edges should be golden brown, but the centers should still look slightly soft and underbaked. They will firm up as they cool.
8. Cool and Serve
Remove from the oven. Immediately press a few reserved pretzels or M&Ms into the tops of the hot cookies for visual appeal. Let the cookies cool on the baking sheet for 5-10 minutes before transferring them to a wire rack to cool completely.
Expert Baking Tips for Success
Making Christmas Kitchen Sink Cookies is easy, but a few technical tricks can take them from good to great.
- Room Temperature Ingredients: Ensure your butter and eggs are at room temperature. This allows them to emulsify properly, creating a smoother dough structure.
- Don’t Crush Too Small: When chopping pretzels and crushing chips, aim for pea-sized to dime-sized pieces. If they are dust, they will absorb into the dough and lose their crunch.
- Pan Banging: If your cookies are puffing up too much in the oven, open the door halfway through baking, lift the pan up, and let it drop onto the rack. This ripples the edges and creates a denser center.
- Quality Matters: Since there are so many flavors competing, use high-quality butter and real vanilla extract. It acts as the anchor for all the wild mix-ins.
Variations and Substitutions
The beauty of a “Kitchen Sink” recipe is that it is essentially a blank canvas for your pantry staples. Here are some fun twists:
- The Nutty Professor: Add chopped pecans or walnuts for an earthier flavor profile that complements the brown sugar.
- Caramel Lovers: Chop up soft caramels or use caramel bits. Be careful, as caramel can stick to the pan, so parchment paper is a must.
- Dried Fruit: Dried cranberries (Craisins) add a tart chewiness that looks beautiful (red!) and cuts through the richness of the chocolate.
- Butterscotch: Swap the white chocolate chips for butterscotch chips for a deeper, more buttery sweetness.
Storage and Freezing Instructions
These cookies are fantastic for making ahead, which is a lifesaver during the busy holiday season.
Room Temperature: Store baked cookies in an airtight container at room temperature for up to 4 days. To keep them soft, place a slice of white bread in the container with them (the cookies absorb moisture from the bread).
Freezing Dough: This is the best method for fresh cookies on demand. Scoop the dough into balls and place them on a baking sheet in the freezer. Once frozen solid (about an hour), transfer them to a zip-top bag. Bake directly from frozen, adding an extra minute or two to the bake time.
Freezing Baked Cookies: Fully cooled cookies can be frozen in an airtight container for up to 3 months. Thaw at room temperature before serving.
Serving Suggestions
These cookies are hearty. They pair exceptionally well with:
- A tall glass of cold milk (to balance the saltiness).
- Hot cocoa topped with whipped cream.
- A scoop of vanilla ice cream to make a decadent ice cream sandwich.
Whether you call them Kitchen Sink Cookies, Santa’s Trash, or just the best holiday cookie ever, this recipe is sure to become a yearly tradition in your home. The combination of textures—crunchy, chewy, soft, and melty—makes every bite an adventure.
Happy Baking and Merry Christmas!
Christmas Kitchen Sink Cookies
Ingredients
Equipment
Method
- Preheat oven to 350°F (175°C) and line two large baking sheets with parchment paper.
- In a large bowl or stand mixer, cream together softened butter, brown sugar, and granulated sugar until light and fluffy (about 2-3 minutes).
- Add the egg, egg yolk, and vanilla extract. Mix until combined, scraping down the sides of the bowl.
- In a separate bowl, whisk together flour, baking soda, and salt. Gradually add this to the wet ingredients, mixing on low just until streaks of flour disappear.
- Gently fold in the chocolate chips, white chocolate chips, chopped pretzels, crushed potato chips, M&Ms, and sprinkles by hand.
- Scoop dough into balls (approx 3 tbsp each) and place on baking sheets 2 inches apart.
- Bake for 9-11 minutes. The edges should be golden but centers slightly soft. Do not overbake.
- Press extra M&Ms or pretzels on top immediately after removing from oven for looks. Let cool on sheet for 5 minutes before transferring to wire rack.