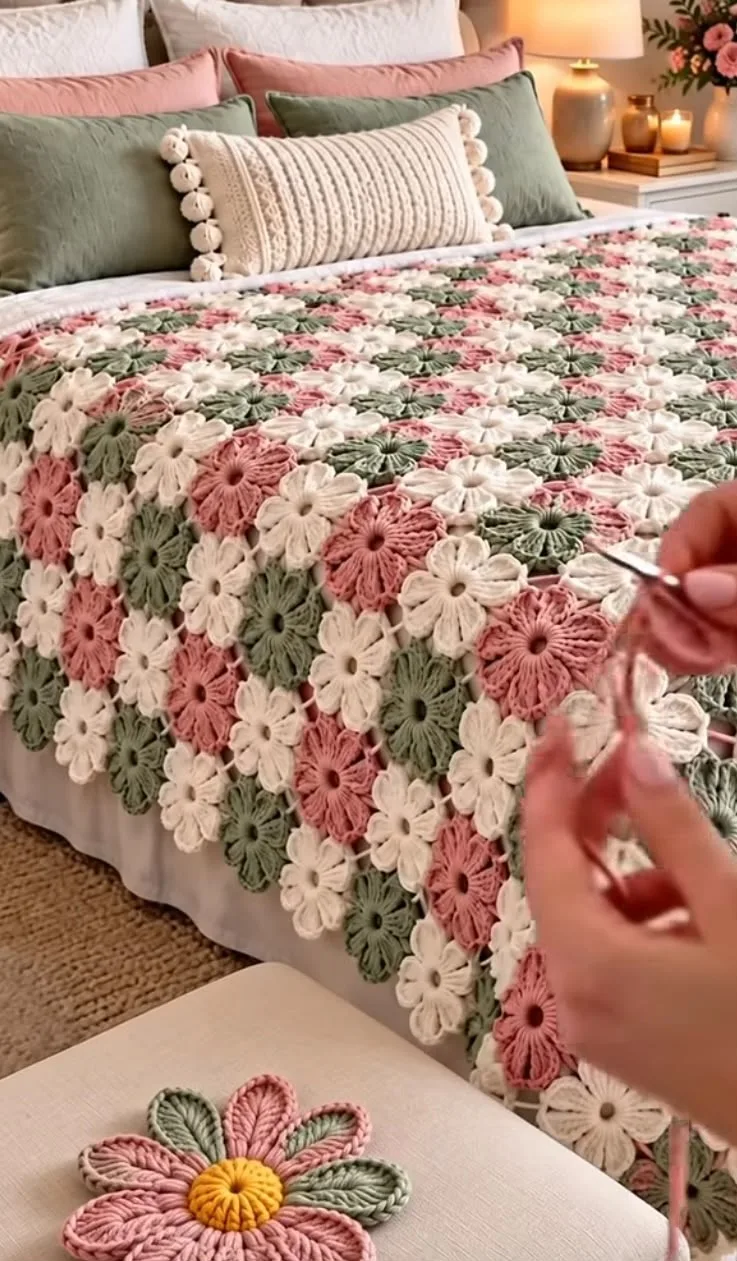
Vintage-Inspired Lacy Squares Crochet Bedspread Pattern
If you’re searching for a crochet project that combines timeless beauty with a touch of sophistication, this vintage-inspired lacy squares bedspread pattern is perfect for you. Featuring alternating strips of intricate burgundy and creamy white geometric squares, this bedspread boasts bold visual lines, openwork textures, and a decorative flair that instantly elevates any bedroom. Each motif is founded on a square design with lacy diamond centers and graphic lines, creating an elegant yet approachable aesthetic.
The contrast between the rich burgundy and soft cream makes the pattern pop, while the lacy openwork ensures the finished piece is lightweight and breathes well, unlike heavier afghans. The overall effect is both cozy and refined, reminiscent of classic heirloom bedspreads, yet modern enough for contemporary interiors. This project can be adapted as a throw, blanket, pillow, or even as table runners, making it incredibly versatile and gifting-friendly. Whether draped across a bed or featured as a decorative accent, the bold striping and geometric motifs will capture attention and admiration from family and guests alike.
Crocheting a large motif-based bedspread is a deeply satisfying and creative undertaking. The joy of watching each motif grow, followed by the magic of joining them in a striking stripe pattern, ensures this project is as engaging to make as it is rewarding to display. Plus, the repeating motifs are perfect for practicing skills or crocheting in spare moments, and piecing together the finished heirloom will leave you with a true sense of accomplishment.
Project Overview
This bedspread is constructed from multiple lacy square motifs, each worked separately in either burgundy or creamy white, then joined together in vertical striped columns. The squares are arranged in alternating color strips, joined using either a join-as-you-go or a simple whipstitch seam. Finally, a cohesive border is added around the entire piece, echoing the lacy internal motif pattern. The project involves crocheting in rows and rounds, with motifs made in the round and joined in rows to form elongated stripes.
Skill Level
Intermediate
A solid understanding of crochet basics, including working in the round, joining motifs, color changes, tall stitches, and evenly adding borders, is recommended for this project. The lacy spaces and geometric pattern require careful stitch placement, making it best suited for intermediate crocheters.
Materials
- Yarn: Worsted weight (4 medium), approximately 1800g total
- Suggested fiber: 100% cotton, cotton/acrylic blend, or soft acrylic for durability and drape
- Main colors:
- Cream (A): approx. 950g
- Burgundy (B): approx. 850g
- Crochet hook: 5.0 mm (H-8) or size needed to obtain gauge
- Tapestry needle: For weaving in ends and joining motifs
- Scissors
- Stitch markers (optional, helpful when joining motifs)
- Measuring tape
- Blocking mats and pins (for finished assembly)
Finished Size
Bedspread as shown (approximate for standard double/full bed):
Width: 170 cm (67 inches)
Length: 220 cm (87 inches)
Each motif square is approximately 20 cm x 20 cm (8 in x 8 in).
The size can be adjusted by adding or subtracting rows of motifs along the width and length.
Gauge
1 motif square = 20 cm x 20 cm (8 in x 8 in) after blocking
A swatch motif is recommended before beginning to ensure sizing. Small differences in gauge may slightly alter your finished bedspread size.
Stitches and Abbreviations
- ch – chain
- sl st – slip stitch
- sc – single crochet
- dc – double crochet
- tr – treble crochet
- MR – magic ring
- sp – space
- st(s) – stitch(es)
- rep – repeat
- RS – right side
- WS – wrong side
Important Pattern Notes
- Work motifs in the round, joining at the end of each round with a slip stitch.
- Chains at the start of each round count as stitches except where noted.
- Use the indicated color for each motif; change colors only between motifs.
- Motifs can be joined using the whipstitch, slip stitch, or join-as-you-go method.
- Keep the RS of all motifs facing up when joining for a neat look.
- Use stitch markers to align corners when joining motifs.
- Weave in all ends as you go for a cleaner assembly process.
Detailed Crochet Pattern
Part 1: Lacy Square Motif (Make 48 Cream, 45 Burgundy for a bedspread 6 motifs wide and 11 motifs long)
Motifs are crocheted in the round. Adjust the number of squares for your bed size, maintaining the striping pattern.
With chosen color (cream or burgundy),
- Begin with a MR, or ch 4 and join with sl st to form a ring.
- Round 1: Ch 5 (counts as 1 dc + ch 2), [dc, ch 2] 7 times into ring (total 8 dc separated by ch-2 spaces). Join with sl st to 3rd ch of starting ch-5. (8 dc, 8 ch-2 sps)
- Round 2: Sl st to next ch-2 sp, ch 3 (counts as dc), (2 dc, ch 2, 2 dc) in same ch-2 sp, *[dc in next dc, (2 dc, ch 2, 2 dc) in next ch-2 sp]* rep 7 times, join with sl st to top of beginning ch-3. (32 dc, 8 ch-2 sps)
- Round 3: Sl st into next dc and ch-2 sp, ch 4 (counts as tr), (2 tr, ch 3, 2 tr) in same sp, *[tr in next 4 sts, (2 tr, ch 3, 2 tr) in next ch-2 sp]* rep around. Join with sl st to top of beg ch-4. (56 tr, 8 ch-3 sps)
- Round 4: Sl st into next tr and ch-3 sp, ch 3 (counts as dc), (3 dc, ch 2, 4 dc) in same ch-3 sp, *[dc in next 8 tr, (4 dc, ch 2, 4 dc) in next ch-3 sp]* rep around. Join with sl st to first ch-3. (96 dc, 8 ch-2 sps)
- Round 5: Sl st into next dc and ch-2 sp, ch 6 (counts as dc + ch 3), 3 dc in same ch-2 sp, *[ch 3, skip 4 sts, 4 dc in next st, ch 3, skip 4 sts, (dc, ch 3, 3 dc) in next ch-2 sp]* rep around. Join with sl st to top of beg ch-3. (32 4-dc groups, 16 ch-3 sps)
- Round 6: Sl st to ch-3 sp, ch 3 (counts as dc), 2 dc in same sp, ch 4, 3 dc in next ch-3 sp, [ch 2, 3 dc in next ch-3 sp] rep to next corner, (3 dc, ch 4, 3 dc) in corner ch-3 sp. Continue around, working corners as (3 dc, ch 4, 3 dc) in each ch-3 corner sp, and sides as [ch 2, 3 dc in next ch-3 sp]. Join with sl st to first dc. (64 3-dc groups, 16 ch-4 corners & ch-2 sps)
- Round 7: Ch 1, sc in same st, *[sc in each dc across to next corner, (sc, ch 3, sc) in ch-4 corner sp]* rep around. Join with sl st to first sc. Fasten off.
Block squares to 20 x 20 cm (8 x 8 inches) for uniform assembly.
Part 2: Assembling Motifs into Striped Panels
Lay out motifs in alternating vertical stripes, starting and ending with the color of your choosing for symmetry (e.g., Cream, Burgundy, Cream, Burgundy, Cream, Burgundy for a bedspread 6 motifs wide). Each vertical strip consists of 11 motifs joined edge to edge. Join motifs in vertical strips first, then join strips side by side.
- Align corresponding corners and edges. With RS up, use whipstitch or slip stitch (through outer loops only) along motif edges.
- Repeat for remaining motifs in each vertical column until you have six 11-motif-long strips.
- Join strips to each other in the same manner, keeping vertical stripes aligned.
Part 3: Border
Once all strips are joined and the bedspread is complete, add a decorative lacy border:
- Attach cream yarn at any corner. Ch 1, work sc evenly around entire perimeter, working (sc, ch 3, sc) in each corner. Join with sl st to first sc.
- Ch 4 (counts as dc + ch 1), skip next st, *dc in next st, ch 1, skip 1* repeat to corner, (dc, ch 3, dc) in each corner ch-3 sp. Continue pattern around. Join with sl st to 3rd ch of beg ch-4.
- Repeat previous row for 2-3 more rows (alternating colors if desired), always working (dc, ch 3, dc) at each corner.
- Optional: For a more decorative touch, add a final row of picots: ch 1, sc in same st, *ch 3, sl st in 1st ch (picot made), sc in next st* rep to next corner, (sc, ch 3, sc) in corners.
Part 4: Optional Decorative Elements (for Matching Pillows or Edges)
- Use extra motifs to make matching pillow covers; join 2 motifs back-to-back and add a border as above.
- If desired, crochet small flower or diamond appliqués for the center of each square and tack them down securely.
Assembly and Finishing
- Block all motifs to equal size before joining for a professional look.
- Join motifs with RS up for a smooth, neat visible seam.
- Weave in all ends on the WS with a tapestry needle.
- After assembling and bordering, wet block the entire bedspread on foam mats: soak in cool water, gently squeeze, lay flat, pin straight, and allow to dry fully.
- Ensure corners and sides are square and straight while blocking.
Customization Ideas
- Use different color combinations: try navy and ivory for nautical flair or pastel stripes for a softer look.
- Substitute yarn weight for a lighter throw (sport/DK) or chunky blanket (bulky yarn), adjusting hook size and motif count accordingly.
- Join fewer motifs for a smaller throw, baby blanket, or even table runner.
- Make extra squares and join them for pillow shams, curtain panels, or couch throws.
- Use single motifs as decorative doilies, coasters, or placemats.
- Add extra rows to each motif for larger squares with more visual impact.
Troubleshooting Tips
- If motifs curl: Block squares thoroughly and steam gently if needed.
- Edges uneven: Make sure your stitch count is consistent on each motif, and join with even tension.
- Bedspread too large or small: Adjust by adding or subtracting motifs or rows from each motif.
- Loose color changes: Securely weave in color-change ends, especially on motif joins and edges.
- Tension inconsistent: Remind yourself to relax your hook grip. Blocking can even out minor inconsistencies.
Care Instructions
Hand wash in cool water with mild detergent or use gentle cycle in a mesh bag. Lay flat to dry, blocking to maintain shape. Avoid bleach or high heat. Spot-clean stains promptly. Store flat or rolled; avoid hanging to prevent stretch.
Final Notes
Frequently check your motif counts and tension to keep your bedspread uniform in size. Minor differences can be corrected during final blocking. Refer to photos for visual guidance on motif arrangement and color striping. Take your time joining pieces to achieve the neatest finish, and enjoy creating an heirloom-quality piece you’ll treasure for years to come.