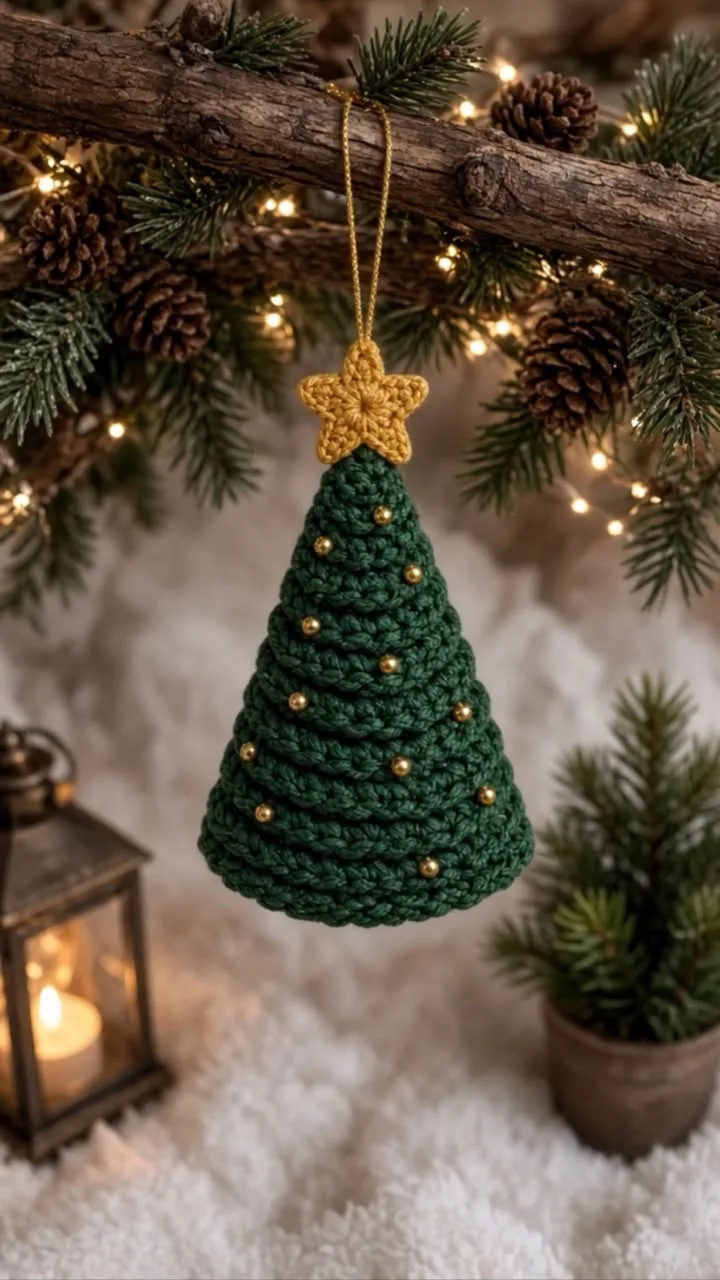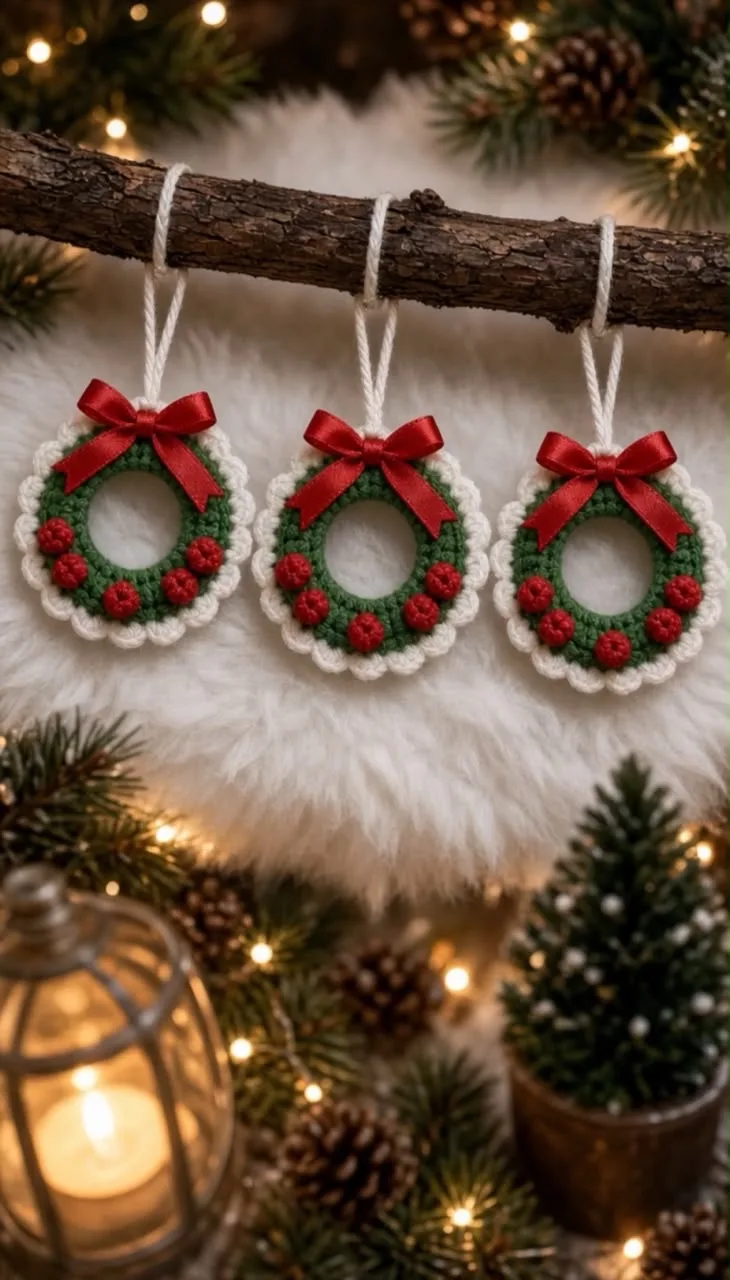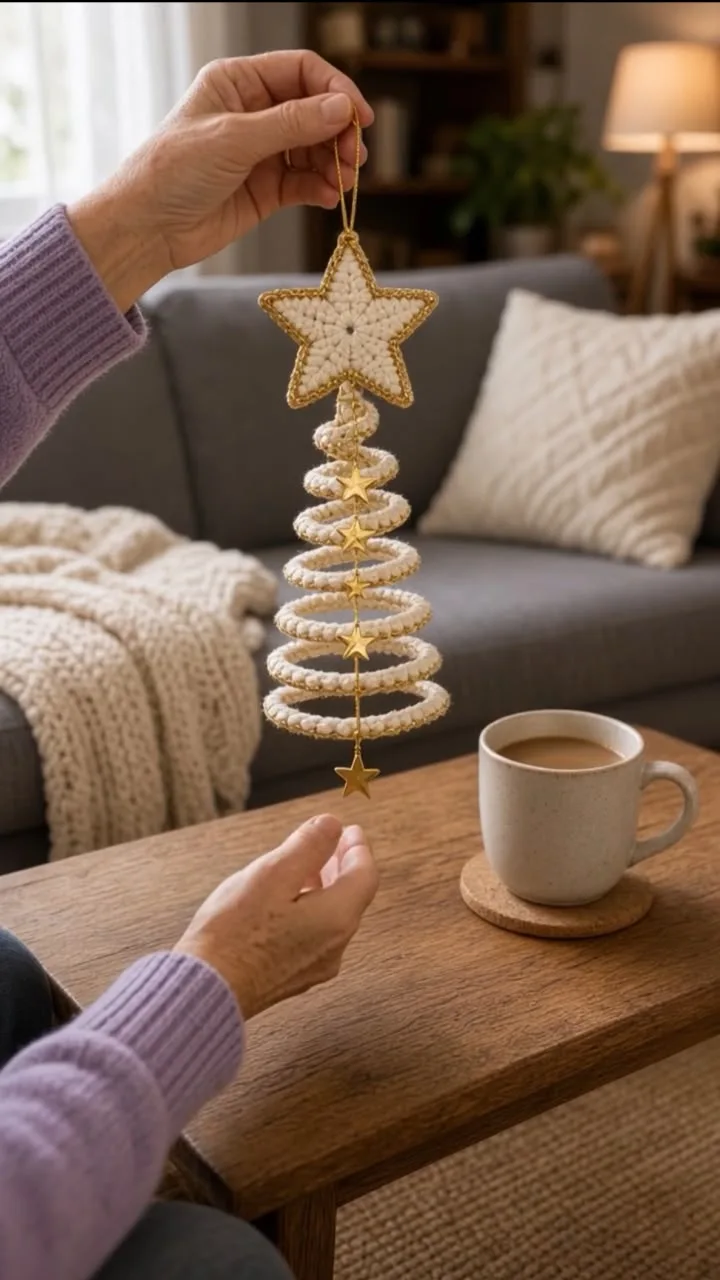
Snowflake Star, Spiral & Holly Bell Ornament Trio 🎄✨
📖 ## INTRODUCTION
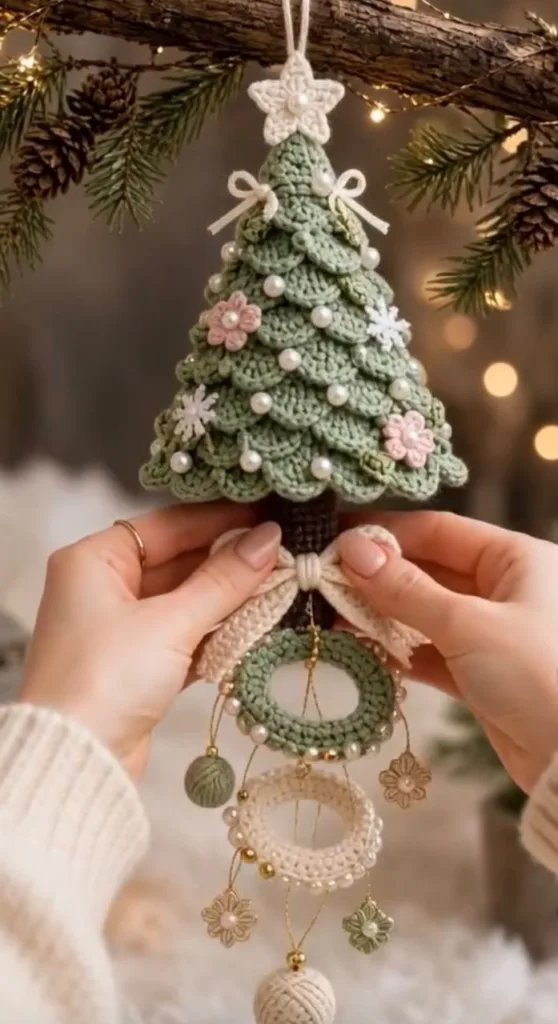
Bring a touch of enchanting woodland magic to your holiday decor with this magnificent, multi-layered Christmas tree ornament. Inspired by vintage heirlooms and whimsical winter forests, this breathtaking piece goes far beyond a standard bauble. It features a beautifully textured, sage-green tiered tree, topped with a delicate star and adorned with miniature pink flowers, white snowflakes, tiny bows, and classic pearl beads.
The true showstopper of this design, however, lies in its cascading, chandelier-style base. Suspended by fine gold thread beneath a textured cream bow and a dark wooden trunk, you’ll find elegant crocheted hoops, golden beads, and miniature yarn-ball baubles that dangle and dance with every movement. It makes an unforgettable statement on a large Christmas tree, a stunning window hanging, or a deeply personal, bespoke holiday gift.
While the exact details in the reference image—such as the specific gold charms and bead styles—can be customized with whatever you have in your craft stash, this pattern provides the complete foundation to recreate this opulent, heirloom-quality decoration.
🔍 ## MAIN PATTERN OVERVIEW
This ornament is constructed in several distinct modules that are assembled at the end. You will begin by crocheting the main body of the tree as a cone worked in the Back Loops Only (BLO). Once the cone is finished, you will work shell stitches into the exposed front loops to create the layered branches. After making the trunk and the large textured bow, you will crochet around craft rings to create the dangling hoops. Finally, you will create the small appliqués (star, snowflakes, flowers, and mini baubles) and assemble the entire piece using gold embroidery thread and pearl beads.
🎯 ## SKILL LEVEL
Intermediate to Advanced This pattern requires comfort with amigurumi construction, front-loop surface crochet, working with fine thread, and complex, multi-piece assembly.
Techniques Involved:
- Working in continuous rounds and joined rounds
- Crocheting in the Back Loop Only (BLO) and Front Loop Only (FLO)
- Crocheting over a solid ring/hoop
- Creating shell stitches for texture
- Jewelry-style assembly with fine thread and beads
📏 ## FINISHED SIZE
Measurements:
- Total Height (including dangling hoops): Approximately 10 inches (25 cm)
- Tree Height (Star to Trunk): Approximately 5 inches (12.5 cm)
- Tree Width (at base): Approximately 4 inches (10 cm)
Note: The final length of the dangling section can be easily adjusted by shortening or lengthening the gold suspending threads.
🧮 ## GAUGE
- Tree Cone: 6 sc x 6 rounds = 1 inch (2.5 cm)
Gauge is not critical for the structural integrity of this project, but tight, consistent stitches are required so the stuffing does not show through the tree cone or trunk.
🧶 ## REQUIRED YARN AMOUNTS
For this project, a DK weight (Size 3) cotton yarn is highly recommended for its stitch definition and structure.
- 🟢 Main Color (MC) – Sage Green: Approx. 60 yards (55 meters). Used for the tree and one hoop.
- 🤍 Contrast Color 1 (CC1) – Cream/White: Approx. 30 yards (27 meters). Used for the bows, star, snowflakes, and one hoop.
- 🟤 Contrast Color 2 (CC2) – Dark Brown: Approx. 10 yards (9 meters). Used for the trunk.
- 🌸 Accent Color (AC) – Light Pink: Approx. 5 yards (4.5 meters). Used for the small flowers.
🧰 ## MATERIALS
- Hook: 2.5 mm (US Size C) crochet hook
- Yarn: DK weight cotton in Sage Green, Cream, Dark Brown, and Light Pink
- Thread: Strong gold embroidery thread or thin metallic cord for the dangling elements
- Rings: Two solid craft rings (wood, metal, or plastic). Recommended sizes: 1.5 inch (3.8 cm) and 2 inch (5 cm) diameters.
- Beads: Assorted pearl beads (4mm to 6mm) and small gold spacer beads
- Stuffing: High-quality polyester fiberfill
- Needles: A tapestry needle and a fine beading needle (that fits through your pearls)
- Scissors: Sharp embroidery scissors
- Optional: Small gold flower charms, clear craft glue to secure knots
🔤 ## ABBREVIATIONS – US TERMS
- ch: chain
- sl st: slip stitch
- sc: single crochet
- hdc: half double crochet
- dc: double crochet
- tr: treble crochet
- inc: increase (2 sc in one stitch)
- dec: decrease (sc 2 together)
- BLO: back loop only
- FLO: front loop only
- MR: magic ring
- sk: skip
- st(s): stitch(es)
📝 ## NOTES BEFORE YOU BEGIN
- Continuous Rounds: The tree cone, trunk, and mini baubles are worked in continuous spiral rounds. Do not join or turn unless explicitly instructed. Use a stitch marker to mark the first stitch of each round.
- Tree Construction: The tree is made inside-out first! You will make a simple cone in BLO. The unworked front loops create a visible spiral track running from the top to the bottom of the cone. You will attach your yarn to this track later to crochet the branches.
- Beading: Keep your beading needle handy. It is much easier to sew pearls onto the branches before you stuff and close the bottom of the tree, though surface sewing is possible afterward.
🪡 ## COMPLETE PATTERN
🌲 1. The Tree Cone Base (MC – Sage Green)
This forms the hidden structure of the tree.
R1: MR 4. (4) R2: (1 sc, inc) x2. (6) R3: BLO sc in each st around. (6) R4: BLO (1 sc, inc) x3. (9) R5: BLO sc in each st around. (9) R6: BLO (2 sc, inc) x3. (12) R7: BLO sc in each st around. (12) R8: BLO (3 sc, inc) x3. (15) R9: BLO sc in each st around. (15) R10: BLO (4 sc, inc) x3. (18) R11: BLO sc in each st around. (18) R12: BLO (5 sc, inc) x3. (21) R13: BLO (6 sc, inc) x3. (24) R14: BLO (7 sc, inc) x3. (27) R15: BLO (8 sc, inc) x3. (30) R16: BLO (9 sc, inc) x3. (33) R17: BLO (10 sc, inc) x3. (36) R18: BLO (11 sc, inc) x3. (39) R19: BLO (12 sc, inc) x3. (42) R20: BLO (13 sc, inc) x3. (45) R21: BLO (14 sc, inc) x3. (48) Pause here. Do not fasten off the green yarn yet. Pull up a large loop or place a stitch marker to hold your place. We will crochet the branches before closing the bottom.
🍃 2. The Tree Branches (MC – Sage Green)
Working from the TOP of the tree down to the bottom, along the exposed Front Loops.
Row 1: Hold the cone upside down (tip pointing away from you). Join a new strand of MC yarn with a sl st to the very first exposed FLO near the tip of the tree (R2/R3). Row 2 (Branch Shells): sk 1 st, 5 dc in the next st, sk 1 st, sl st in the next st. Repeat this pattern sequentially all the way down the spiral track of exposed front loops until you reach the bottom edge of R21. Note: Because of the spiral, the math may not end perfectly on your last stitch. Simply adjust by skipping 0 or 2 stitches at the very end to anchor the final shell. Fasten off this strand and weave in the ends inside the cone.
🛑 3. Closing the Tree Base
Go back to your live loop at the end of R21 of the cone.
Stuff the tree firmly with fiberfill. Keep the bottom flat. R22: BLO (6 sc, dec) x6. (42) R23: (5 sc, dec) x6. (36) R24: (4 sc, dec) x6. (30) R25: (3 sc, dec) x6. (24) R26: (2 sc, dec) x6. (18) Add any final stuffing. R27: (1 sc, dec) x6. (12) R28: dec x6. (6) Fasten off, leaving a tail. Weave the tail through the remaining 6 front loops and pull tight to close. Hide the end.
🪵 4. The Trunk (CC2 – Dark Brown)
R1: MR 6. (6) R2: inc x6. (12) R3: BLO sc in each st around. (12) R4-R10: sc in each st around. (12) Fasten off, leaving a long tail for sewing. Stuff the trunk firmly.
⭐ 5. Snowflake Star (CC1 – Cream)
R1: MR, ch 1. sc into MR, ch 3, sl st in 2nd ch from hook, ch 1. Repeat from * 4 more times to create 5 points. sl st to the first sc to join. Fasten off, leaving a tail for sewing. Glue or sew a small pearl to the center.
🌸 6. Small Pink Flowers (AC – Light Pink) – Make 2 or 3
R1: MR, ch 1. sc, ch 2, dc, ch 2, sl st into MR. Repeat from * 4 more times for 5 petals. Fasten off tightly. Add a pearl to the center.
❄️ 7. Small Snowflakes (CC1 – Cream) – Make 2 or 3
R1: MR, ch 1. sc, ch 4, sl st in 2nd ch, sl st in next 2 chs (creates a spike), sl st back into MR. Repeat from * 5 more times for 6 spikes. Fasten off.
🎀 8. The Main Bow (CC1 – Cream)
Worked in rows to create a textured, ribbed band.
Row 1: ch 40. hdc in the 2nd ch from the hook and each ch across. (39) Row 2-3: ch 1, turn. BLO hdc in each st across. (39) Fasten off. Fold the band into a bow shape (ends crossing over the center). Secure the center tightly with a separate piece of yarn, wrapping it multiple times to cinch the bow, then knotting at the back.
⭕ 9. The Hanging Hoops
Green Hoop (MC): Take your smaller (1.5 inch) craft ring. Join MC with a sl st around the ring. sc densely around the entire ring until the material is completely covered. sl st to the first sc. Fasten off and weave in ends. Sew 4-5 pearls evenly spaced around the surface. Cream Hoop (CC1): Take your larger (2 inch) craft ring. Repeat the process using CC1. Sew pearls evenly around.
🧶 10. Mini Yarn Ball Baubles (Make 2)
You can use MC or CC1 for these.
R1: MR 6. (6) R2: inc x6. (12) R3-4: sc in each st around. (12) Stuff lightly. R5: dec x6. (6) Fasten off, pull tight to close. Wrap a long strand of matching yarn around the sphere randomly multiple times to mimic a tiny ball of yarn. Secure with a tiny dot of glue or a hidden knot.
🎨 ## L. STYLING / ASSEMBLY / STABILITY / FINAL SHAPING
The magic of this ornament is in the assembly. Follow these steps sequentially:
- Attach the Trunk: Sew the dark brown trunk exactly to the center bottom of the tree base. Ensure it stands straight.
- Attach the Star: Sew the cream star to the very top tip of the tree. Attach a hanging loop made of cream yarn to the top of the star.
- Decorate the Tree:
- Using your tapestry needle, sew the pink flowers and cream snowflakes onto the green branches.
- Sew small white bows made from simple tied lengths of cream yarn to the upper branches.
- Sew pearl beads randomly around the branches.
- Attach the Main Bow: Sew or hot glue the large textured cream bow to the base of the trunk, where the dangling threads will originate.
- Rigging the Dangling Elements (The Chandelier):
- Thread a beading needle with your gold thread.
- Anchor the thread at the bottom center of the trunk.
- String 2-3 gold beads, then tie the thread around the top of the Green Hoop.
- Anchor a new thread at the bottom of the Green Hoop. String a few beads, then attach the Cream Hoop.
- From the sides of the Green Hoop and the bottom of the Cream Hoop, hang additional lengths of gold thread. Attach your mini yarn ball baubles and gold charms to the ends of these threads.
- Final Check: ✅ Hold the ornament by the top loop. Ensure it hangs perfectly straight. If it tilts, your trunk or hoops are off-center; adjust the gold thread rigging to balance the weight.
💡 ## M. HELPFUL CROCHET TIPS
- 💡 Hide the Transitions: When working the shell branches, the point where you jump from one row of front loops down to the next can look gappy. Keep your tension tight at these transitions, or add an extra sl st to anchor it.
- 💡 Stiffening the Bow: If your large cream bow is floppy, lightly spray it with fabric stiffener or hairspray and let it dry before attaching it.
- 💡 Secure the Hoops: When single crocheting around the craft rings, push the stitches closely together so the ring underneath never peaks through.
- 💡 Knot Security: Gold embroidery thread is notoriously slippery. When tying your hoops and baubles, use a square knot and secure it with a microscopic dot of clear craft glue.
- 💡 Pearls: If your pearl holes are too small for a yarn needle, use standard sewing thread in a matching color to attach them.
- 💡 Weight Distribution: The dangling elements act as a pendulum. Keep them perfectly centered on the trunk, or the tree will hang sideways on the branch.
🧼 ## N. CARE INSTRUCTIONS
Due to the delicate assembly, gold threads, and pearl beads, this is a highly fragile decorative item.
- Storage: Always store this ornament in its own small rigid box. Do not crush it under heavier decorations, as the tree cone will lose its shape and the gold threads will tangle.
- Cleaning: Use a soft, dry makeup brush to dust the branches and hoops. Do not machine wash or submerge in water.
❓ ## R. FAQ
❓ Can I make this without the solid rings? You can crochet a stiff chain and work around that, but it will not hold a perfect circular shape under the weight of the dangling beads. Solid rings (even cheap plastic shower curtain rings) are strongly recommended.
❓ The branches are curling upwards, what do I do? Crocodile stitches and shells naturally curl. You can gently block the tree by steaming it lightly with an iron (do not touch the yarn with the iron) and pressing the branches downward with your fingers while warm.
❓ My tree looks lumpy after stuffing! Make sure you are pulling your yarn tightly when working the decreases on the base. Stuffing in small, even clumps rather than one massive handful helps maintain a smooth cone shape.
❓ Is this safe for a house with cats or toddlers? ⚠️ No. The small pearls, gold charms, and dangling threads pose a significant choking hazard, and cats will absolutely try to bat at the dangling yarn balls. Hang this very high on the tree or on a secure wall hook.