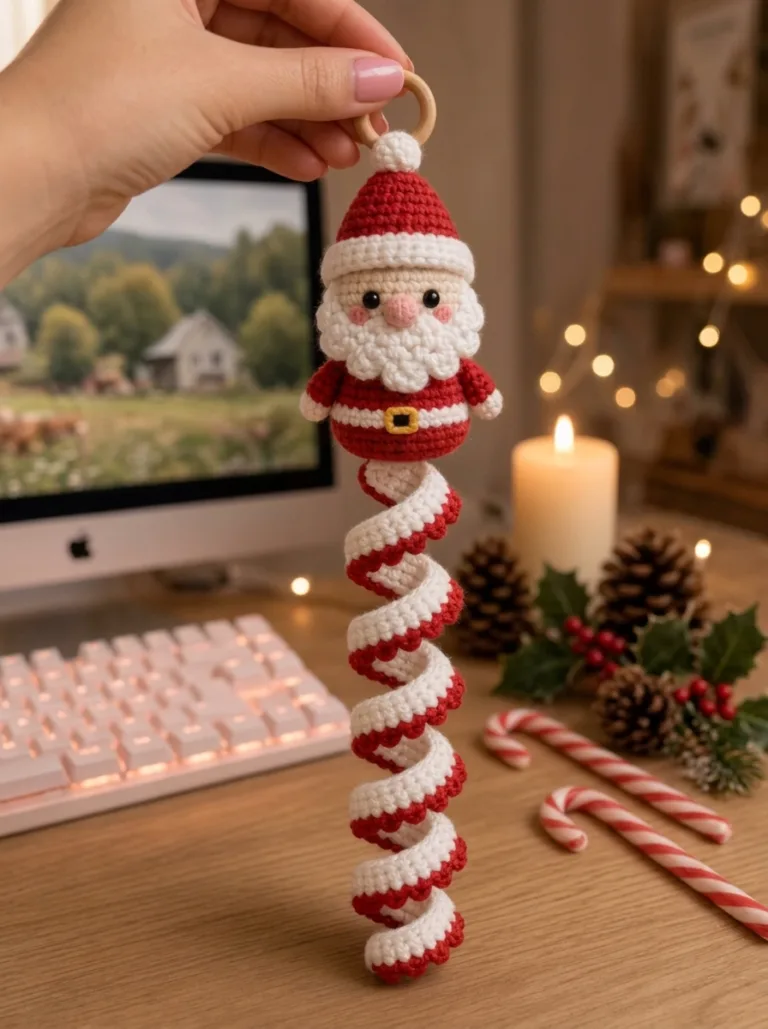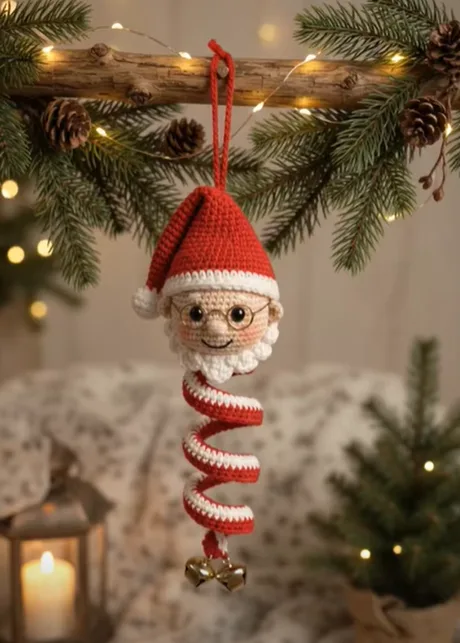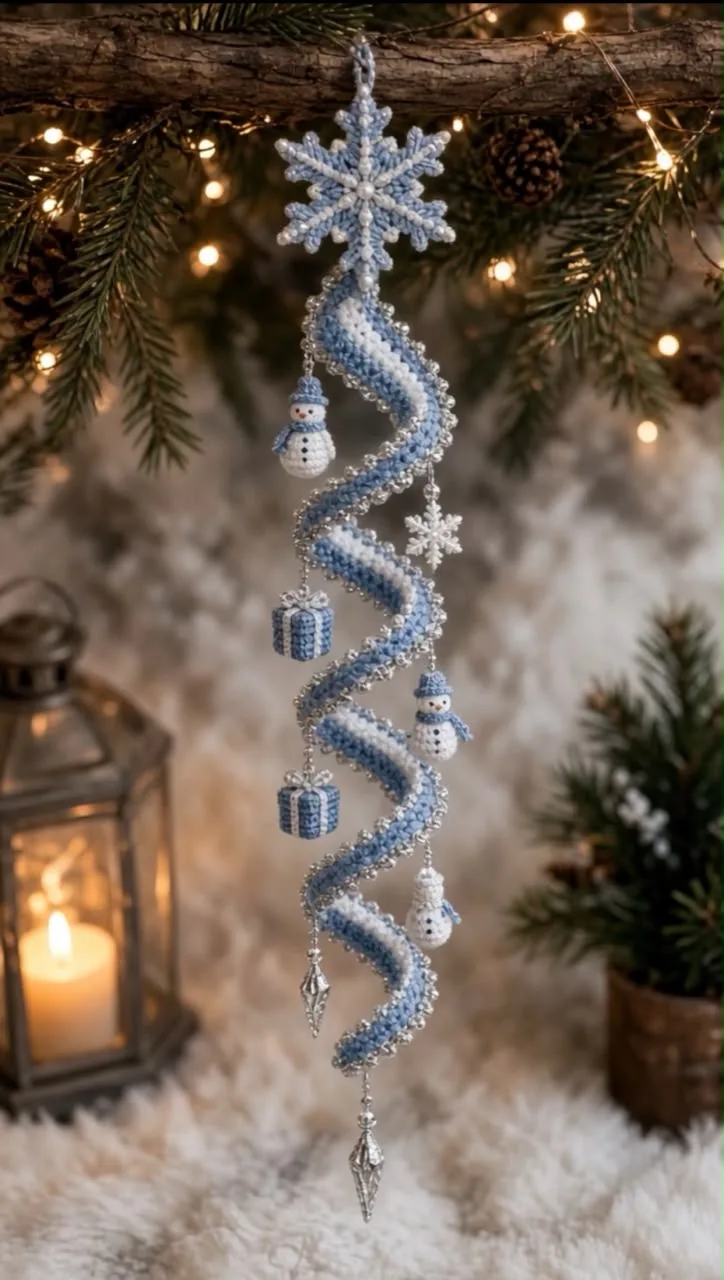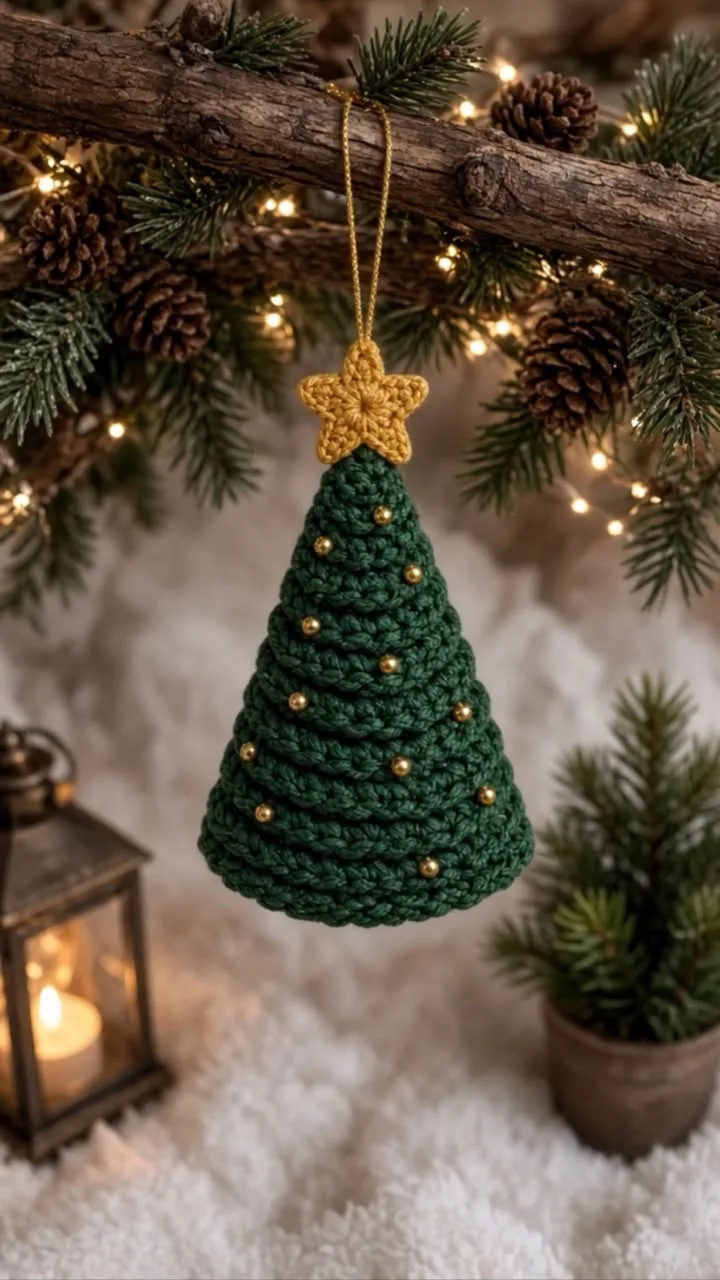
Crochet Heart Spiral Wind Spinner Ornament 🎄❤️✨
📖 B. INTRODUCTION
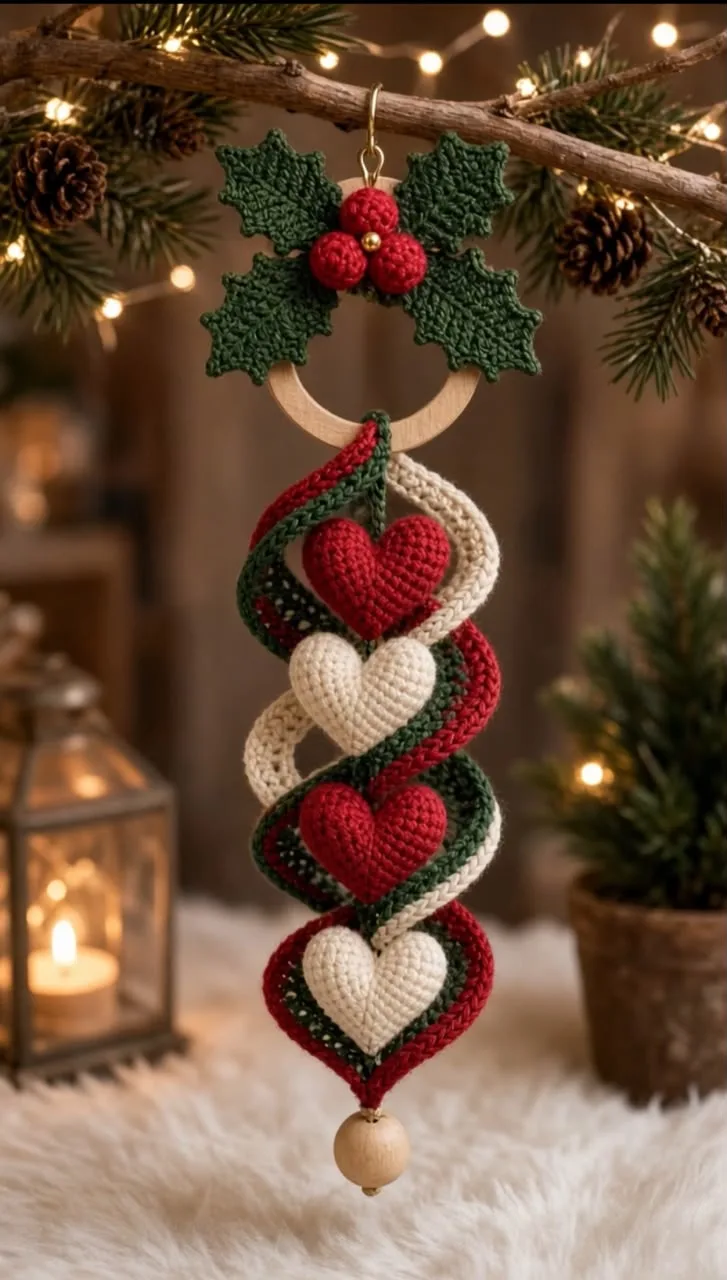
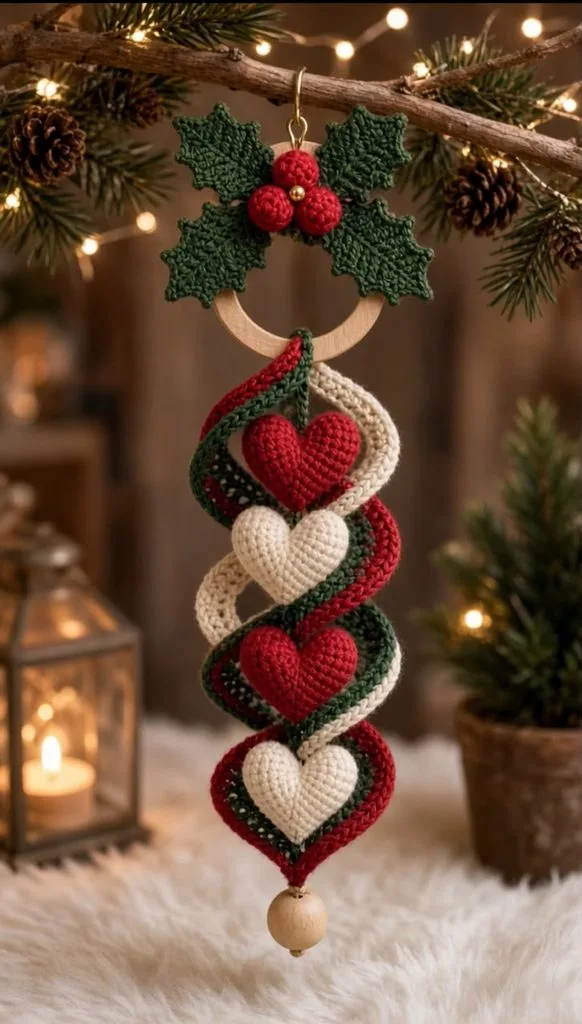
Add whimsical elegance to your holiday decorating with this Holiday Heart Helix Wind Spinner crochet pattern. Combining a rustic wooden ring topper adorned with textured holly leaves and bright red berries, a cascade of triple-intertwined spiral ribbons, and a central axis of plump 3D amigurumi hearts, this hanging ornament creates an eye-catching focal point for windows, doorways, mantels, or Christmas trees.
When suspended, the alternating green, red, and cream spirals form a natural helix structure that gently sways and spins with subtle air currents. Nested comfortably inside the ribbon helix is a vertical chain of four amigurumi hearts that alternate between festive crimson and soft off-white. A weighted wooden bead at the base provides the tension required to keep the spiral ribbon elongated and beautifully defined.
The visible design traits featured in this design include:
- ⭕ A natural wooden mounting ring decorated with four spiky crochet holly leaves and three dimensional berry clusters.
- 🌀 A triple-strand spiral ribbon cascade in Forest Green, Crimson Red, and Cream.
- 🔴 Four stuffed 3D amigurumi hearts suspended vertically through the core.
- 🪵 A smooth natural wooden end bead finial balancing the bottom tip.
This project offers fantastic versatility beyond the Christmas season. By shifting the color palette to pastel shades or shades of pink and red, you can easily adapt this hanging spinner for Valentine’s Day, nursery decor, or year-round boho home accents. Gather your worsted cotton yarn and a wooden ring to craft this heirloom-quality holiday piece!
🔍 C. MAIN PATTERN OVERVIEW
The Holiday Heart Helix Wind Spinner is constructed in four distinct modular stages before final integration:
                  [ Holiday Heart Helix Structural Breakdown ]
                                       │
            ┌──────────────────────────┼──────────────────────────┐
            ▼                          ▼                          ▼
  ┌──────────────────┐       ┌──────────────────┐       ┌──────────────────┐
  │  Holly Ring Head │       │   Triple Helix   │       │ Stuffed Hearts   │
  ├──────────────────┤       ├──────────────────┤       ├──────────────────┤
  │ • Wooden Ring    │       │ • Forest Green   │       │ • 2 Crimson Red  │
  │ • 4 Holly Leaves │       │ • Crimson Red    │       │ • 2 Cream        │
  │ • 3 Berry Spheres│       │ • Cream Ribbon   │       │ • Vertical Axis  │
  └──────────────────┘       └──────────────────┘       └──────────────────┘
                                       │
                                       ▼
                             ┌──────────────────┐
                             │ Bottom Wooden    │
                             │ Bead Finial      │
                             └──────────────────┘
- Holly Ring Topper: Four structured crochet holly leaves and three stuffed berry spheres are stitched onto a natural 5 cm wooden ring.
- Stacked Central Heart Axis: Four stuffed 3D amigurumi hearts (two crimson red, two cream) are crocheted individually and strung onto a central anchor cord in an alternating sequence.
- Triple-Strand Helix Ribbons: Three long, tightly twisted spiral strips (worked in Forest Green, Crimson Red, and Cream) are crocheted using multi-stitch increases per chain to induce a natural helical twist.
- Bottom Assembly: The three ribbon tips and central heart cord anchor into a wooden bead at the base, keeping the spiral weighted and vertically taut.
🎯 D. SKILL LEVEL
Skill Level: Intermediate
This design is best suited for crocheters who are comfortable with basic amigurumi techniques, working flat spirals, and multi-piece structural assembly.
- 🧶 Techniques Used:
- ⭕ Magic Ring (MR)
- 🧵 Single Crochet (sc), Half Double Crochet (hdc), Double Crochet (dc)
- 📐 Picot stitches (for pointed holly tips)
- 📈 Multi-stitch increase rows (to create ribbon spirals)
- 🔗 Joining amigurumi humps (for 3D hearts)
- 📉 Invisible decreases (dec)
- 🪡 Cord threading and multi-component assembly
📏 E. FINISHED SIZE
When made with DK or Worsted Weight (#3/#4) cotton yarn and a 3.0 mm crochet hook:
- 📐 Total Length: Approximately 40 cm (15.7 inches) from top of hanging ring to bottom of wooden bead.
- 📐 Topper Width: Approximately 11 cm (4.3 inches) across the holly leaves.
- 📐 Helix Diameter: Approximately 8.5 cm (3.3 inches) at the widest ribbon turn.
- 📐 Individual Heart Size: Approximately 4.5 cm wide x 4 cm tall (1.8″ x 1.6″).
🧮 F. GAUGE
- 📏 Gauge Target: 20 sts and 22 rows in sc = 10 cm x 10 cm (4″ x 4″) using a 3.0 mm hook.
- 🎯 Gauge Relevance: Gauge is not strictly critical for this decorative item. However, dense stitches are essential for the hearts to keep polyester fiberfill from peeking through.
🧶 G. REQUIRED YARN AMOUNTS
Amounts are based on DK / Light Worsted (#3) Cotton Yarn:
| Color | Shade | Quantity Needed |
| 🌲 Forest Green | Deep Pine | ~35 g / 80 m (87 yds) |
| 🔴 Crimson Red | Festive Christmas Red | ~30 g / 70 m (76 yds) |
| 🍦 Cream | Natural Off-White | ~25 g / 58 m (63 yds) |
🧰 H. MATERIALS
- 🪡 Crochet Hook: 3.0 mm (US C-2 or D-3).
- ⭕ Wooden Ring: 1 unfinished natural wooden ring (50–60 mm outer diameter).
- 🪵 Wooden Bead: 1 large natural wooden bead (18–20 mm diameter with a 4–5 mm center hole).
- ☁️ Stuffing: Premium polyester fiberfill (small amount for hearts and berries).
- 🪡 Tapestry Needle: Long yarn needle (7–10 cm length recommended for threading hearts).
- ✂️ Tools: Stitch markers, scissors, straight pins, measuring tape.
- 🔗 Hanging Attachment: Metal eyelet/ring hook (optional, for hanging top ring).
🔤 I. ABBREVIATIONS – US TERMS
- ⭕ MR: Magic Ring
- 🧵 st / sts: Stitch / Stitches
- 🔗 ch: Chain
- 💧 sl st: Slip Stitch
- ➕ sc: Single Crochet
- 📐 hdc: Half Double Crochet
- 📊 dc: Double Crochet
- 🔺 picot: Ch 2, sl st in 1st ch (creates sharp leaf point)
- 📈 inc: Increase (2 sc in same st)
- 📈 hdc-inc: 2 hdc in same st
- 📉 dec: Invisible Decrease (sc 2 together)
- 🔄 BLO: Back Loop Only
- 🔁 rep: Repeat
- ⭕ rnd / rnds: Round / Rounds
📝 J. NOTES BEFORE YOU BEGIN
- 🔄 Spiral Rounds: The 3D hearts and holly berries are worked in continuous spiral rounds. Do not join with a slip stitch or chain 1 at the end of rounds unless specified.
- 📍 Spiral Mechanics: The helix ribbons twist naturally because multiple stitches are worked into every foundation chain stitch. If your ribbon curls tightly while stitching, gently smooth it between your fingers to form a uniform spiral.
- 🧵 Yarn Tails: Leave extra-long tails (30–40 cm) on the spiral ribbons and central cord to facilitate threading through the hearts and securing the bottom wooden bead.
🪡 K. COMPLETE PATTERN
⭕ MODULE 1: WOODEN RING MOUNT & HOLLY TOPPER
                                [ Holly Topper Ring Assembly ]

                                        (Berry Cluster)
                                         🔴  🔴  🔴
                                      🌿 🌿  🌿 🌿  (4 Holly Leaves)
                                     ┌──────────────┐
                                     │  WOODEN RING │ (50mm Diameter)
                                     └──────────────┘
🌿 Holly Leaves (Make 4 in Forest Green)
Worked in flat rounds around a central foundation chain.
- Foundation: Ch 8.
- Rnd 1: Starting in 2nd ch from hook:
- Sc in 2nd ch, hdc in next, dc in next 2 chs, hdc in next, sc in next.
- In last ch work: (sc, picot, sc) to turn corner.
- Working along opposite side of foundation chain: sc in next, hdc in next, dc in next 2 chs, hdc in next, sc in next, sl st to first sc to join.
- Rnd 2 (Leaf Points):
[sl st 1, (sc, picot, sc) in next st, sl st 1]rep 2 times up side of leaf.- At top tip: (sc, picot, sc) in picot space.
[sl st 1, (sc, picot, sc) in next st, sl st 1]rep 2 times down opposite side.- Sl st to base. Fasten off, leaving a 25 cm tail for sewing.
                           [ Holly Leaf Stitch Map ]

                                  (Picot Tip)
                                     /  \
                       (Picot) --  [ Leaf ]  -- (Picot)
                       (Picot) --  [ Body ]  -- (Picot)
                                     \  /
                                    (Base)
🔴 Holly Berries (Make 3 in Crimson Red)
Worked in continuous spiral rounds.
- R1: MR 6 sc. (6)
- R2: (1 sc, inc) x3. (9)
- R3: 9 sc around. (9)
- R4: (1 sc, dec) x3. (6)
- Stuff lightly with fiberfill. Fasten off, weave tail through remaining 6 front loops and pull tight to close sphere. Leave a tail for assembly.
❤️ MODULE 2: 3D STUFFED AMIGURUMI HEARTS
(Make 4 total: 2 Crimson Red, 2 Cream)
                            [ Heart Amigurumi Architecture ]

                             Hump 1        Hump 2
                            ┌──────┐      ┌──────┐
                            │ R1-3 │      │ R1-3 │
                            └──┬───┘      └──┬───┘
                               └──────┬──────┘
                                      ▼
                                [ R4 Join (24) ]
                                [ R5-10 Decs  ]
                                      │
                                      ▼
                                   ( Tip )
First Hump
- R1: MR 6 sc. (6)
- R2: inc in each st around. (12)
- R3: 12 sc around. (12)
- Fasten off with a sl st. Weave in starting tail.
Second Hump & Heart Body
- R1: MR 6 sc. (6)
- R2: inc in each st around. (12)
- R3: 12 sc around. (12)
- Do NOT fasten off. Continue directly to join humps:
- R4 (Joining Round): Sc in next 12 sts of First Hump, sc in next 12 sts of Second Hump. (24)
- R5: 24 sc around. (24)
- R6: (4 sc, dec) x4. (20)
- R7: (3 sc, dec) x4. (16)
- R8: (2 sc, dec) x4. (12)
- Stuff heart firmly with fiberfill now.
- R9: (1 sc, dec) x4. (8)
- R10: dec x4. (4)
- Fasten off, weave tail through remaining 4 sts, pull tight to cinch point. Weave in ends.
🌀 MODULE 3: TRIPLE-HELIX SPIRAL RIBBONS
(Make 3 Ribbon Strips: 1 Forest Green, 1 Crimson Red, 1 Cream)
                       [ Spiral Ribbon Stitch Construction ]

      Row 2:  [ sc  ][ sc  ][ sc  ][ sc  ][ sc  ][ sc  ] (240 sts)
      Row 1:  [hdc2 ][hdc2 ][hdc2 ][hdc2 ][hdc2 ][hdc2 ] (240 sts)
      Base:   [ ch1 ][ ch1 ][ ch1 ][ ch1 ][ ch1 ][ ch1 ] (Ch 121)
- Foundation: Ch 121.
- Row 1: 2 hdc in 2nd ch from hook and in each ch across. (240 hdc)
- Row 2: Ch 1, turn. Sc in each st across. (240 sc)
- Fasten off, leaving a 35 cm tail at both ends.
- Twisting: Hold top of strip and twist downward manually to form a uniform spiral helix.
🪵 MODULE 4: CENTRAL ANCHOR CORD & FINIAL
Using Cream Yarn (or doubled strong cotton thread).
- Cord Length: Cut a 75 cm length of yarn.
- Process: Fold strand in half. Thread double end through a long tapestry needle to serve as the vertical core line that holds the stacked hearts and secures to the top wooden ring and bottom wooden bead.
🎨 L. STYLING / ASSEMBLY / STABILITY / FINAL SHAPING
                             [ Comprehensive Assembly Diagram ]

                                   ( Hanging Hook )
                                          │
                                    [Wooden Ring]
                                    /     │     \
                             (Leaves)  (Berries) (Leaves)
                                    \     │     /
                                 ┌────────┴────────┐
                                 │   Top Anchor    │
                                 └────────┬────────┘
                                          │
                    ┌─────────────────────┼─────────────────────┐
                    ▼                     ▼                     ▼
             [ Green Ribbon ]      [ Central Cord ]      [ Red Ribbon ]
                    │               (Red Heart 1)               │
                    │               (Cream Heart 2)             │
                    │               (Red Heart 3)               │
                    │               (Cream Heart 4)             │
                    └─────────────────────┬─────────────────────┘
                                          │
                                   [ Cream Ribbon ]
                                          │
                                          ▼
                                 [ Bottom Wooden Bead ]
🪡 Step-by-Step Assembly Sequence
1. Prepare Top Ring & Holly Topper
- Arrange the 4 Holly Leaves around top arc of wooden ring (two on left, two on right). Pin in place.
- Using yarn tails, stitch leaves firmly around wooden frame.
- Nest the 3 Red Holly Berries in center junction of leaves. Sew securely through leaf bases and ring.
2. String Central Heart Core
- Thread the 75 cm Cream Central Anchor Cord onto a long tapestry needle.
- Secure cord top to lower center of wooden ring with a strong knot.
- Thread cord down through center of Heart 1 (Crimson Red) from top humps through bottom tip.
- Leave a 3 cm gap, tie a small knot on cord to act as a stopper, then thread Heart 2 (Cream).
- Repeat process for Heart 3 (Crimson Red) and Heart 4 (Cream), keeping equal ~3 cm spacing between each heart.
                           [ Vertical Heart Core Spacing ]

                                [ Top Ring Anchor ]
                                         │
                                  ( Red Heart 1 )
                                         │ (3 cm gap & stopper knot)
                                 ( Cream Heart 2 )
                                         │ (3 cm gap & stopper knot)
                                  ( Red Heart 3 )
                                         │ (3 cm gap & stopper knot)
                                 ( Cream Heart 4 )
                                         │
                               [ Bottom Bead Anchor ]
3. Attach & Intertwine Spiral Ribbons
- Tie top tails of all 3 Spiral Ribbons (Forest Green, Crimson Red, Cream) securely around bottom loop of wooden ring.
- Intertwine the 3 ribbons around central heart chain, allowing spirals to drape around hearts without compressing them.
- Pass bottom tails of all 3 ribbons along with central cord through center hole of the 20 mm wooden bead.
- Knot all tails together snugly under wooden bead to lock helix structure in tension. Apply a drop of clear craft glue inside bead hole for extra durability. Trim excess yarn.
✅ Final Shaping & Finishing Checklist
- ✅ Holly leaves fan out symmetrically on top ring without obscuring mounting hole.
- ✅ Holly berries sit compactly in center of leaves.
- ✅ Hearts hang vertically aligned without tilting or clustering together.
- ✅ Spiral ribbons twist cleanly in smooth, open helix loops around hearts.
- ✅ Bottom wooden bead holds entire structure taut without over-stretching stitches.
💡 M. HELPFUL CROCHET TIPS
- 💡 Optimizing Spiral Twists: Increasing stitch counts (2 hdc per chain) creates natural physics-driven curling. If spirals twist too tightly, pull gently along strip length to relax gauge.
- 💡 Invisible Decreases on Hearts: Always perform invisible decreases (working in FLO) when shaping heart tips to prevent visible gaps.
- 💡 Non-Slip Ring Attachment: Wrap yarn around wooden ring 2–3 times before tying knots to prevent holly topper from sliding around frame.
- 💡 Equal Heart Spacing: Measure gaps between hearts with a ruler before tying stopper knots to ensure crisp alignment.
- 💡 Fiberfill Density: Stuff heart humps firmly but leave lower tip slightly lighter so needle passes easily during stringing.
- 💡 Prevent Fraying: Dab textile glue on knot underneath wooden bead to prevent unraveling from outdoor breezes.
- 💡 Blocking Ribbons: Steam-block spiral strips lightly before assembly if using cotton yarn for crisp edge definition.
🧼 N. CARE INSTRUCTIONS
- 🧼 Cleaning: Dust gently with a soft brush or compressed air. Spot clean using a damp cloth and cold water if needed. Do not submerge wooden elements in water.
- 🧻 Drying: Air dry flat in shade if spot cleaned.
- 📦 Storage: Wrap spinner loosely around a piece of cardstock when storing for off-season to keep ribbons from tangling.
❓ R. FAQ
❓ Can I make this without a wooden ring?
Yes! You can crochet a stiff ring base by working 36 single crochets around a 5 cm plastic curtain ring or heavy-gauge craft wire loop.
❓ How can I make the spinner longer?
To extend length, increase foundation chain of ribbons to Ch 151 or Ch 181, and add 1 or 2 additional amigurumi hearts to central axis.
❓ My ribbons look wavy instead of spiraling cleanly. Why?
Wavy ribbons usually happen when stitch tension varies along foundation chain. Ensure foundation chains are worked loosely, and verify you place exactly 2 hdc in every chain.
❓ Can I use acrylic yarn instead of cotton?
Yes, acrylic yarn works well! However, cotton yarn provides crisper stitch definition and better natural weight for spiral drape.
❓ Can I use this outdoor as a porch wind spinner?
Yes, provided it is hung under a covered porch protected from direct heavy rain and moisture.
🎁 CLOSING
Your Holiday Heart Helix Wind Spinner is complete! Whether hung in a sunlit window to catch afternoon light or gifted as a winter keepsake, this piece brings handmade holiday cheer to any space. Experiment with soft pastels for springtime spinners or traditional rich tones for Christmas decor. Happy crocheting!