Beaded Spiral Pine Tree Ornaments Free Crochet Pattern
📖 ## INTRODUCTION
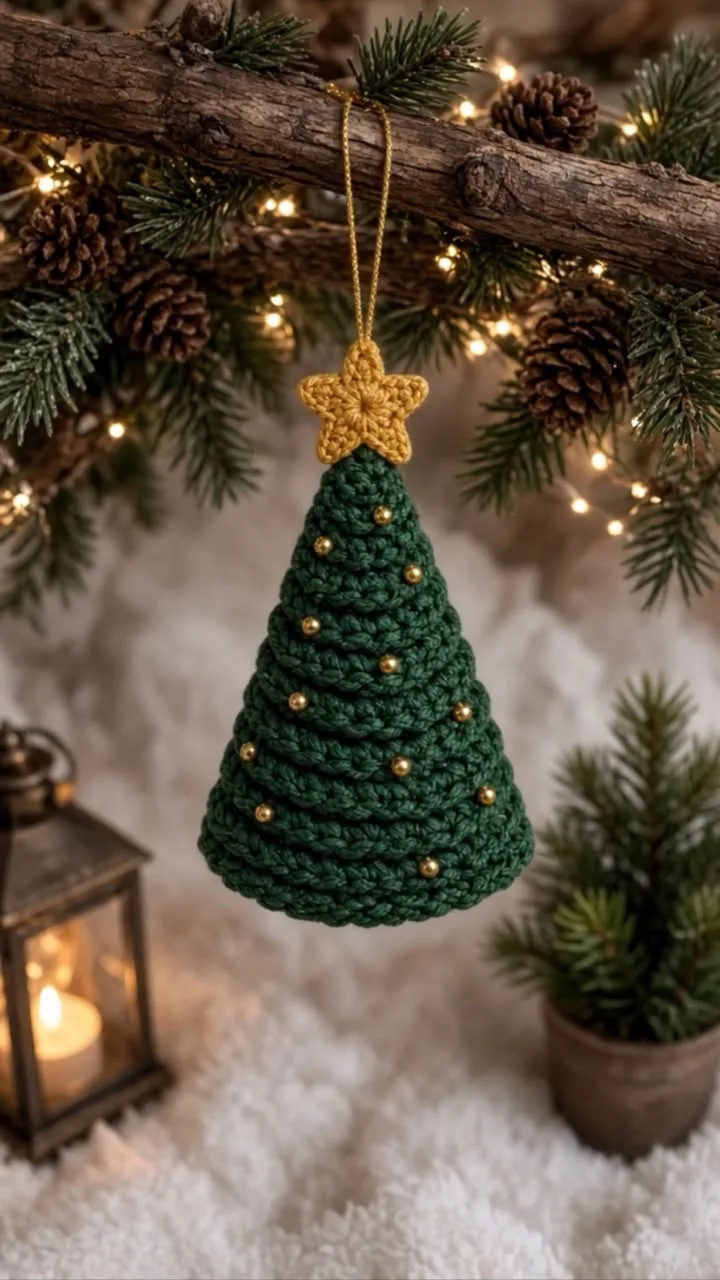
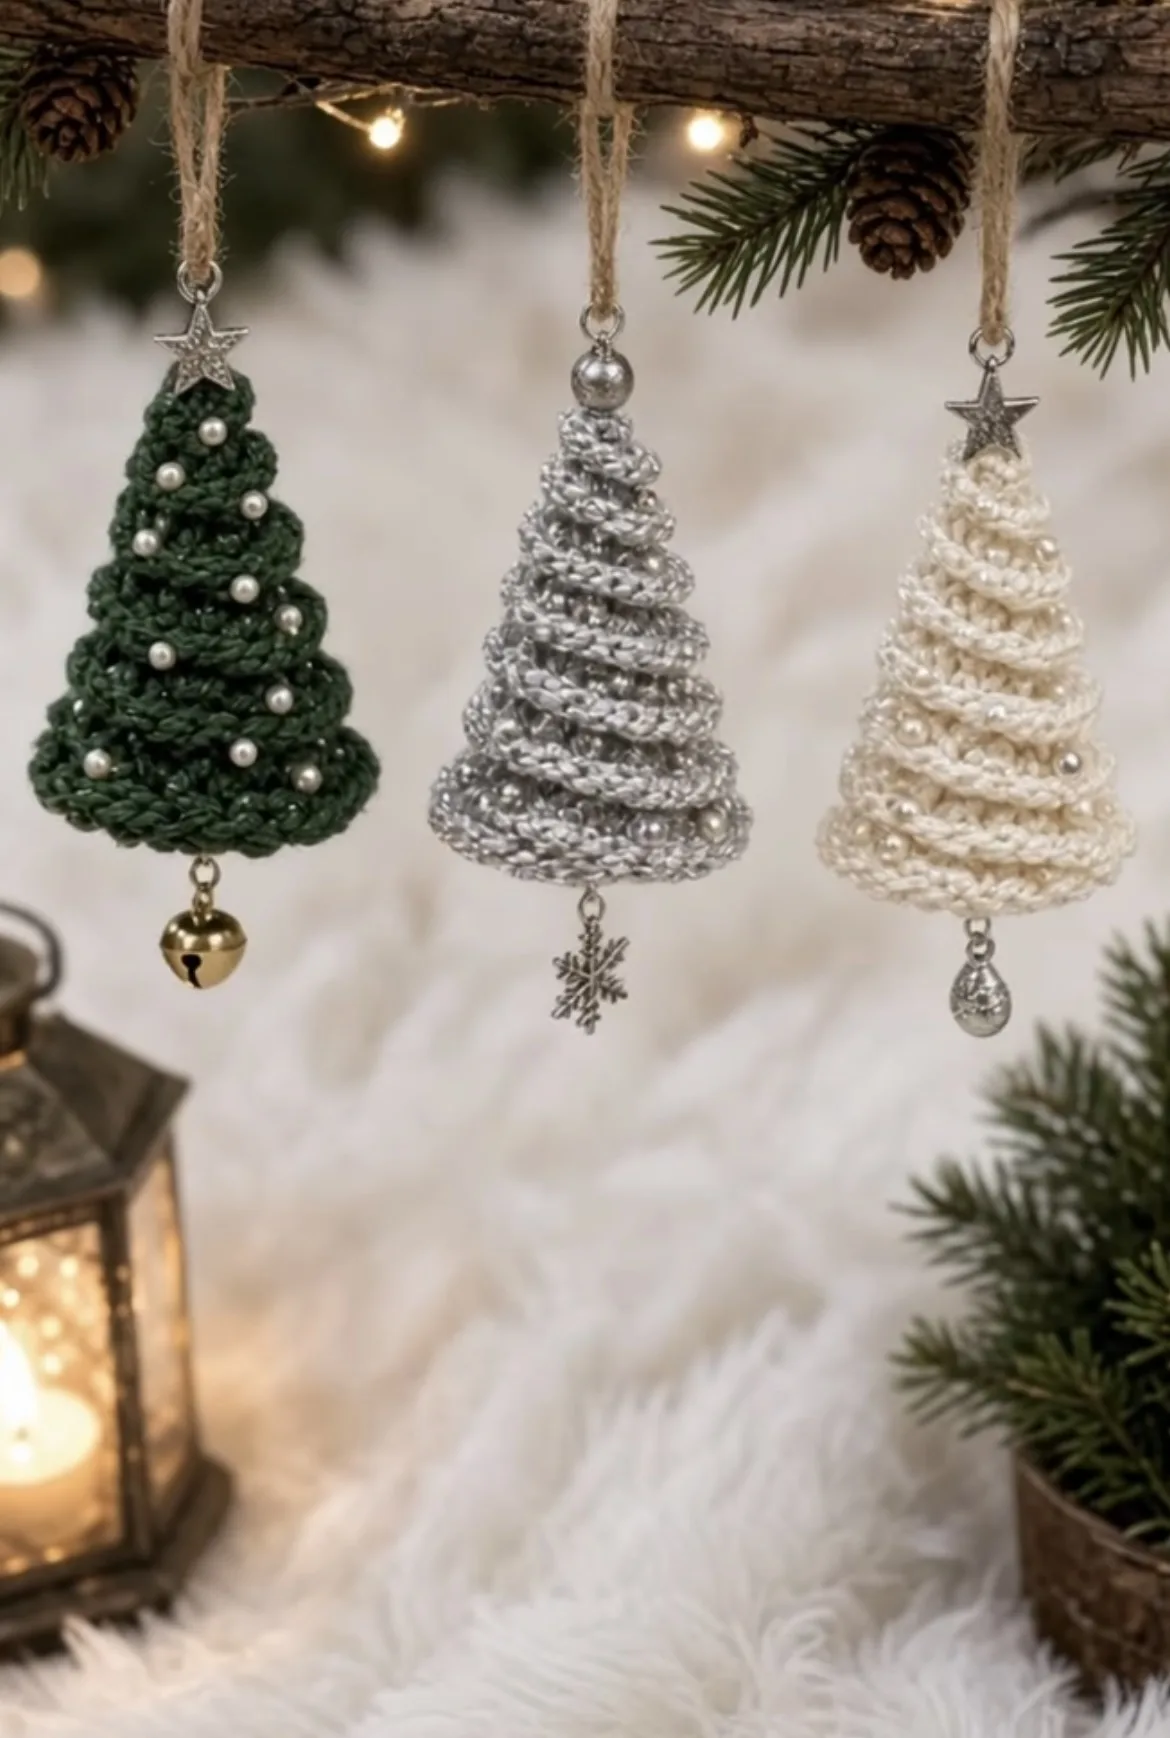
Deck the halls with a touch of woodland elegance! The Beaded Spiral Pine Tree Ornaments bring a perfect blend of rustic charm and modern sophistication to your holiday decor. Inspired by the deep, snowy ridges of evergreen branches, this design features a stunning, continuous spiral texture that catches the light beautifully—especially when adorned with delicate pearl beads and metallic charms.
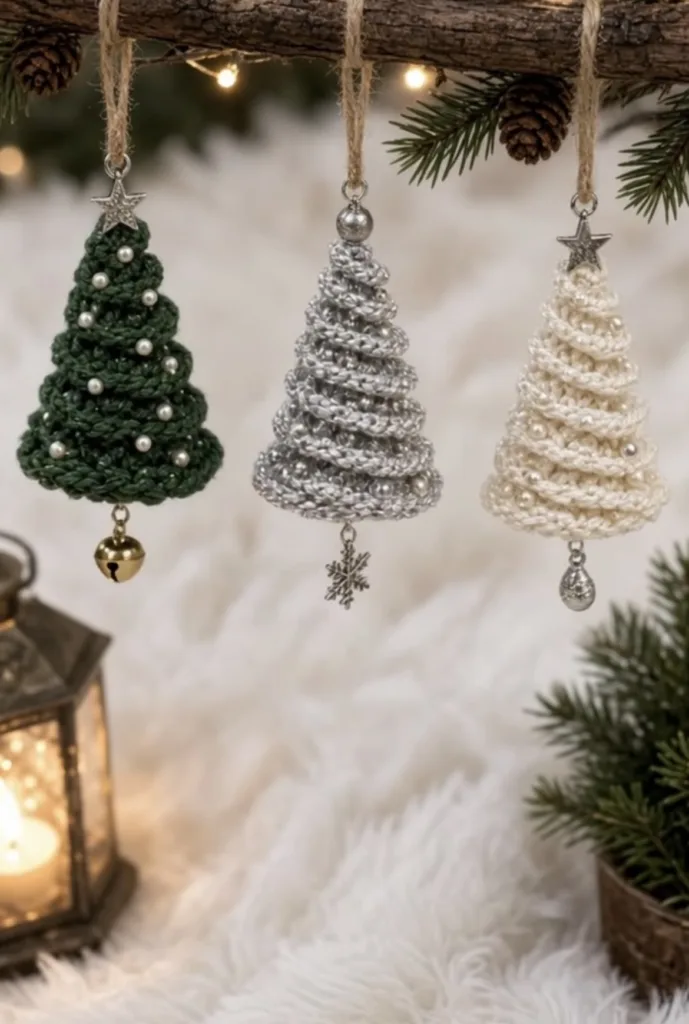
These ornaments are remarkably versatile. As seen in the design inspiration, they look absolutely breathtaking in a trio of classic winter colors: a rich, matte forest green, a shimmering metallic silver, and a soft, creamy winter white. The heavy texture of the spiral ridge is perfectly complemented by natural jute twine hangers, polished metal top-caps, and whimsical dangling charms like miniature bells, snowflakes, or teardrop baubles.
Whether you are looking to create a cohesive designer look for your own Christmas tree, searching for the perfect quick-make for holiday craft markets, or wanting to gift a beautiful handmade keepsake to a loved one, these little pine trees are a joy to crochet. They use very little yarn, making them the ultimate stash-busting project for those leftover half-skeins of beautiful worsted weight yarn!
🔍 ## MAIN PATTERN OVERVIEW
This pattern is a brilliant exercise in texture. You will construct the ornament in three distinct steps. First, you will crochet a simple, unstuffed cone working entirely in the Back Loops Only (BLO). This leaves a continuous, winding track of unworked front loops from the tip to the base. Next, you will attach yarn to the top of this track and surface-crochet down the spiral to create the thick, pronounced branches. Finally, you will crochet a flat base cap to seal the stuffing inside and provide a crisp, flat bottom, before adding the jewelry-style hardware and pearl embellishments.
🎯 ## SKILL LEVEL
Easy to Intermediate While the basic stitches are beginner-friendly, the surface crochet and precise assembly require a bit of finesse.
Techniques Involved:
- Working in a continuous spiral (amigurumi style)
- Crocheting in the Back Loop Only (BLO) and Front Loop Only (FLO)
- Surface crochet techniques
- Sewing flat pieces to three-dimensional shapes
- Basic jewelry/charm attachment
📏 ## FINISHED SIZE
Measurements:
- Tree Height (excluding hanging loop and bottom charm): Approximately 4 inches (10 cm)
- Base Diameter: Approximately 2.5 inches (6.5 cm)
- Total Hanging Length: Approximately 8 inches (20 cm)
Note: You can easily adjust the size of these trees by using a bulkier yarn and larger hook, or a fine crochet thread and smaller hook, while following the exact same stitch counts.
🧮 ## GAUGE
- 5 sc x 5 rounds = 1 inch (2.5 cm) in a continuous spiral.
Gauge is not critical for these ornaments. However, it is important that your stitches are tight enough that the polyester fiberfill does not peek through the cone base.
🧶 ## REQUIRED YARN AMOUNTS
These trees are fantastic scrap busters! A medium Worsted Weight (Size 4) yarn provides excellent stitch definition for the spiral ridges.
- 🌲 Main Color (MC) – Forest Green, Silver/Grey, or Cream: Approximately 40 yards (36 meters) per tree.
Yarn Tip: To achieve the metallic look of the silver tree, look for a yarn blended with a metallic thread (lurex), or hold a strand of standard grey worsted yarn together with a fine silver embroidery thread!
🧰 ## MATERIALS
- Hook: 3.5 mm (US Size E) crochet hook
- Yarn: Worsted weight (Size 4) in your chosen tree colors
- Twine: Natural jute twine or hemp cord for the hanging loops
- Beads: Small faux pearl beads (approx. 4mm – 6mm)
- Hardware / Charms:
- Small metal stars or spacer beads for the top
- Dangling charms for the bottom (miniature jingle bells, metal snowflakes, teardrop beads)
- Headpins or jump rings to attach the bottom charms
- Stuffing: High-quality polyester fiberfill
- Needles: A tapestry needle and a fine sewing needle (for the pearls)
- Thread: Matching sewing thread for attaching the pearls
- Scissors: Sharp craft scissors
🔤 ## ABBREVIATIONS – US TERMS
- ch: chain
- sl st: slip stitch
- sc: single crochet
- inc: single crochet increase (2 sc in one stitch)
- dec: single crochet decrease (sc 2 together)
- BLO: back loop only
- FLO: front loop only
- MR: magic ring
- st(s): stitch(es)
📝 ## NOTES BEFORE YOU BEGIN
- Continuous Rounds: The main cone and the base cap are worked in continuous spiral rounds. Do not join with a slip stitch or ch 1 at the end of rounds unless specified. Use a stitch marker to keep track of the first stitch of each round.
- The Ridge Mechanic: When crocheting the cone base, you MUST work in the Back Loops Only (BLO) starting from Round 2. If you miss a stitch and work through both loops, your surface-crochet spiral track will be broken.
- Stuffing: Firm stuffing is key. Because the surface ridge adds weight to the outside, an under-stuffed tree will collapse on itself.
🪡 ## COMPLETE PATTERN
🌲 1. The Tree Cone Base (Main Color)
This cone acts as the canvas for your spiral. Remember to work in the BLO!
R1: Make a MR, 4 sc into the ring. (4) R2: Working in BLO for this round and ALL subsequent rounds: (1 sc, inc) x2. (6) R3: BLO (2 sc, inc) x2. (8) R4: BLO (3 sc, inc) x2. (10) R5: BLO (4 sc, inc) x2. (12) R6: BLO (3 sc, inc) x3. (15) R7: BLO (4 sc, inc) x3. (18) R8: BLO (5 sc, inc) x3. (21) R9: BLO (6 sc, inc) x3. (24) R10: BLO (7 sc, inc) x3. (27) R11: BLO (8 sc, inc) x3. (30) R12: BLO sc in each st around. (30) Do not fasten off yet. Pull up a large loop and remove your hook. We will add the surface texture before closing the bottom, as it is much easier to hold the piece while it is empty.
✨ 2. The Spiral Branches
Now we will create that beautiful, thick ridge working top-down.
Step 1: Turn the cone upside down (pointy tip facing you). Locate the very first unworked Front Loop near the tip from Round 2. Step 2: Join a new strand of the SAME color yarn to this front loop with a slip stitch. Step 3: ch 1, sc into that same front loop. Step 4: Work 1 sc into every single exposed front loop, following the spiral track continuously down the body of the cone. Keep your tension even and slightly relaxed; if your single crochets are too tight, the cone will pucker. Step 5: Continue until you reach the final front loop at the bottom edge (Round 12). sl st into the first back loop of Round 12 to anchor the ridge. Fasten off this surface strand and weave the ends to the inside of the cone.
⚪ 3. The Flat Base Cap (Main Color)
This flat circle will be sewn to the bottom of the cone to seal it.
R1: Make a MR, 6 sc into the ring. (6) R2: inc in each st around. (12) R3: (1 sc, inc) x6. (18) R4: (2 sc, inc) x6. (24) R5: (3 sc, inc) x6. (30) sl st in the next st to finish off the circle nicely. Fasten off, leaving a very long tail (about 18 inches) for sewing.
🎨 ## L. STYLING / ASSEMBLY / STABILITY / FINAL SHAPING
Now, transform your crocheted parts into a polished, high-end ornament!
- Phase 1: Stuffing & Sealing
- Stuff the textured tree cone firmly with fiberfill. Use the back of your crochet hook to push the stuffing all the way into the pointy tip.
- Thread your tapestry needle with the long tail from the Flat Base Cap.
- Pin the Base Cap to the open bottom of the cone.
- Whip-stitch the Base Cap to the bottom edge of the cone, working through both loops of the cap and the remaining back loops of the cone’s final round. Add any final pinches of stuffing before closing completely. Fasten off and hide the tail inside the tree.
- Phase 2: Adding the Pearls ⚪
- Thread a fine sewing needle with thread that matches your tree.
- Secure the thread with a hidden knot at the base of the tree.
- Sew the small pearl beads randomly along the “valleys” of the spiral (the indented spaces between the thick ridges). Spacing them out sporadically gives a beautiful, natural snowy look.
- Phase 3: Top Hardware & Twine Loop 🌟
- Cut a 10-inch length of rustic jute twine. Fold it in half to form a loop.
- Tie a sturdy double knot at the bottom (open ends) of the loop.
- Thread the folded top of the loop through a metal star charm or a decorative metal spacer bead.
- Using a large-eye needle (or a smaller crochet hook), pull the knotted end of the twine loop through the very tip of the crocheted cone, anchoring the knot securely inside the stuffing. The metal charm should sit flush against the top of the crocheted tree.
- Phase 4: Bottom Dangling Charms 🔔
- Take your chosen bottom charm (a brass bell, a silver snowflake, etc.).
- Using a small metal jump ring, attach the charm to the exact center of the Flat Base Cap. If you don’t have jump rings, you can sew the charm tightly to the center using a matching piece of yarn or strong thread.
- Phase 5: Final Check ✅
- ✅ Hold the ornament by the twine loop; ensure it hangs perfectly straight. (If it leans, your bottom charm might be off-center).
- ✅ Gently squeeze the cone to distribute the stuffing evenly and flatten the bottom cap so the tree looks sharp and geometric.
💡 ## M. HELPFUL CROCHET TIPS
- 💡 Ridge Alternative: If you find the single crochet ridge too thick or stiff, try surface slip-stitching instead. Just be sure to keep your slip stitches very loose, or it will compress the cone.
- 💡 Glue vs. Sewing: While you can use hot glue or fabric glue to attach the pearls, sewing them on is highly recommended. It prevents messy glue strings from ruining the texture of the yarn and ensures the pearls won’t pop off during storage.
- 💡 Jute Friction: Twine can be quite grippy. When pulling it through the top of the tree, wiggle it gently so it doesn’t snag your top-most stitches.
- 💡 Stiffening: If you want your trees to be rock-solid, you can lightly mist the finished cone (before adding pearls and hardware) with an aerosol fabric stiffener.
🧼 ## N. CARE INSTRUCTIONS
- Storage: Store these ornaments carefully wrapped in tissue paper inside a rigid box. The metal charms can tarnish or scratch if thrown loosely into a bin with other decorations.
- Cleaning: Gently dust with a dry, soft-bristled brush (like a clean makeup brush). Do not wash, as the jute twine may untwist and the metal components may rust.
❓ ## R. FAQ
❓ Can I make a giant version of this for a table centerpiece? Absolutely! You can hold two or three strands of worsted yarn together and use a larger hook (like a 6.0mm or 7.0mm). To make it taller, simply continue the pattern of increasing by 3 stitches every round until you reach your desired height, then work the surface ridge all the way down.
❓ My surface spiral looks messy and jagged. What happened? This usually occurs if you accidentally skipped some front loops, or if your tension varied greatly. Ensure you are putting exactly one single crochet into every single front loop in a continuous line.
❓ Is it possible to crochet the beads in as I go? Yes! If you prefer not to sew them later, you can string all your pearls onto your yarn before you begin the surface crochet step. When you reach a spot where you want a pearl, slide one up to your hook and lock it in place with your next single crochet.
❓ I don’t have jump rings for the bottom charm. What can I do? You can leave a long tail of yarn when finishing the base cap, thread it through the loop on your charm, and tie a secure knot pulled tight against the center of the base.